
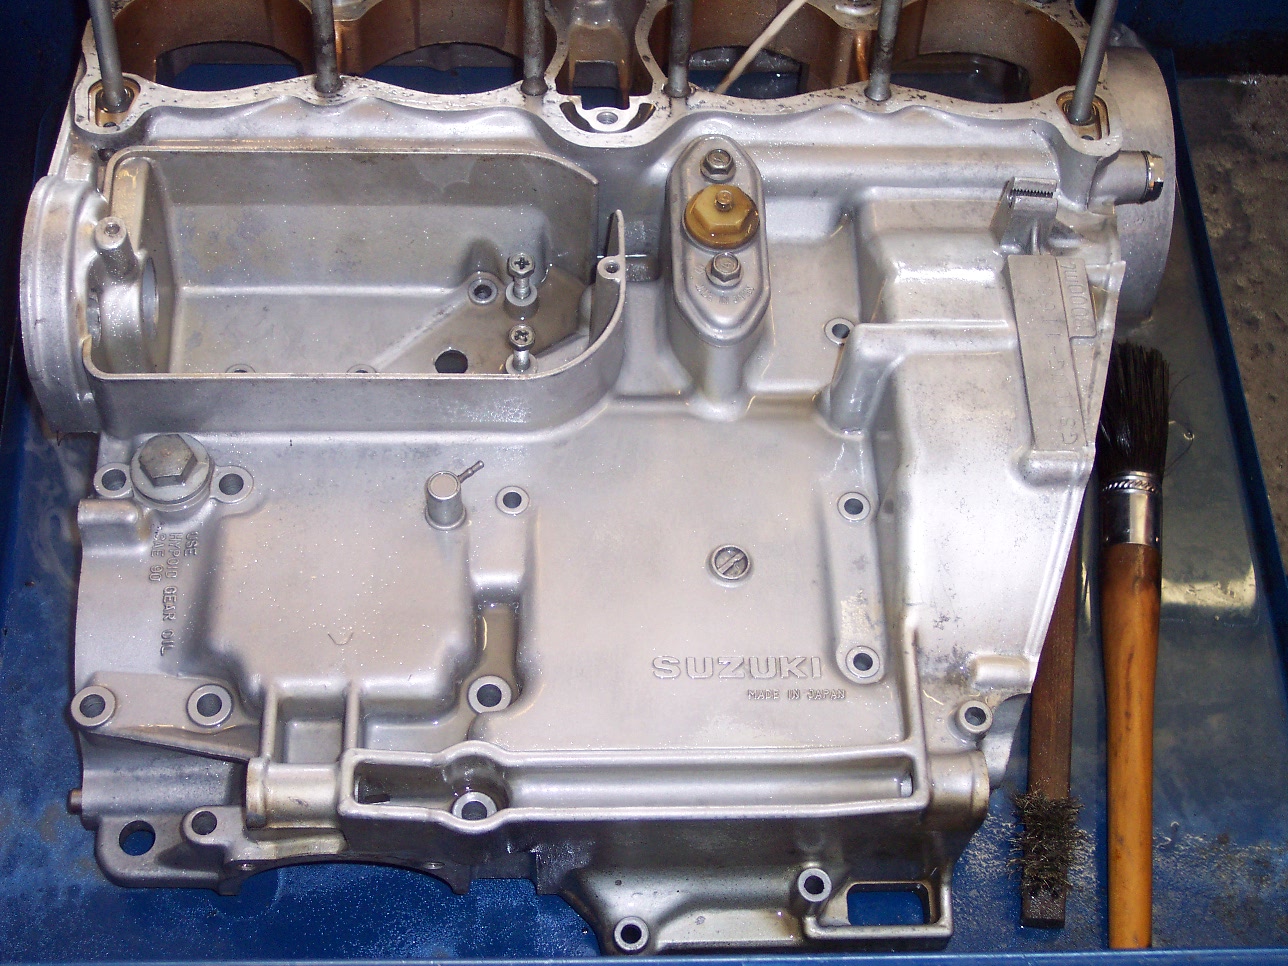
Here's the section where the transmission and engine cases get all cleaned up and ready for the new transmission gears and crankshaft to be reinstalled. Below on the left is how we start out with the upper half of the case....I used a pressure washer to remove the majority of the grease and grime. It would have been nice to just run it through the blasting cabinet and glass-bead it like the other parts, but it was just too big. Guess that's a good enough excuse to buy a bigger cabinet! So after the pressure wash, I put it into the parts washer to finish the degreasing.
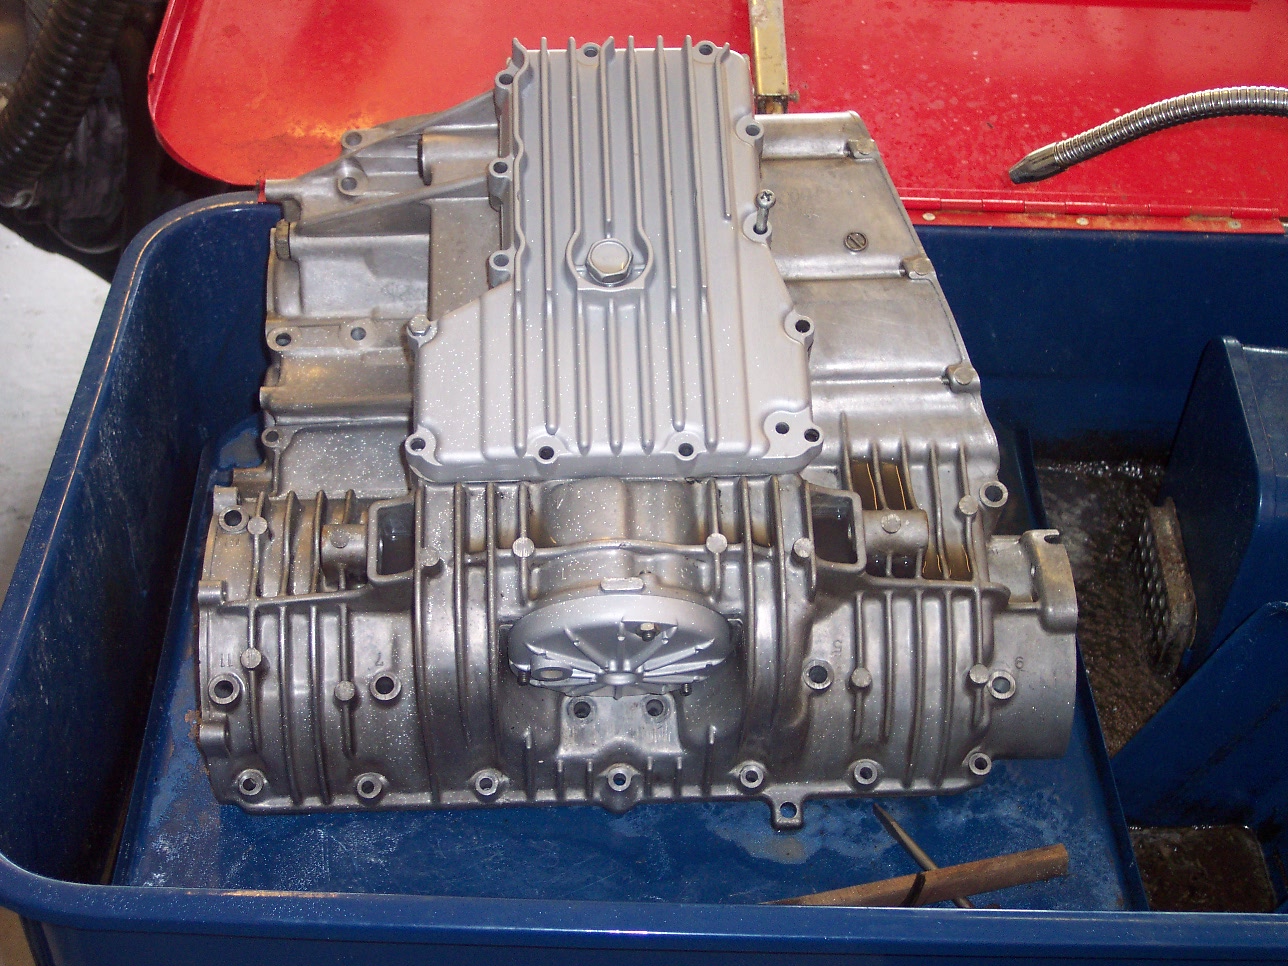
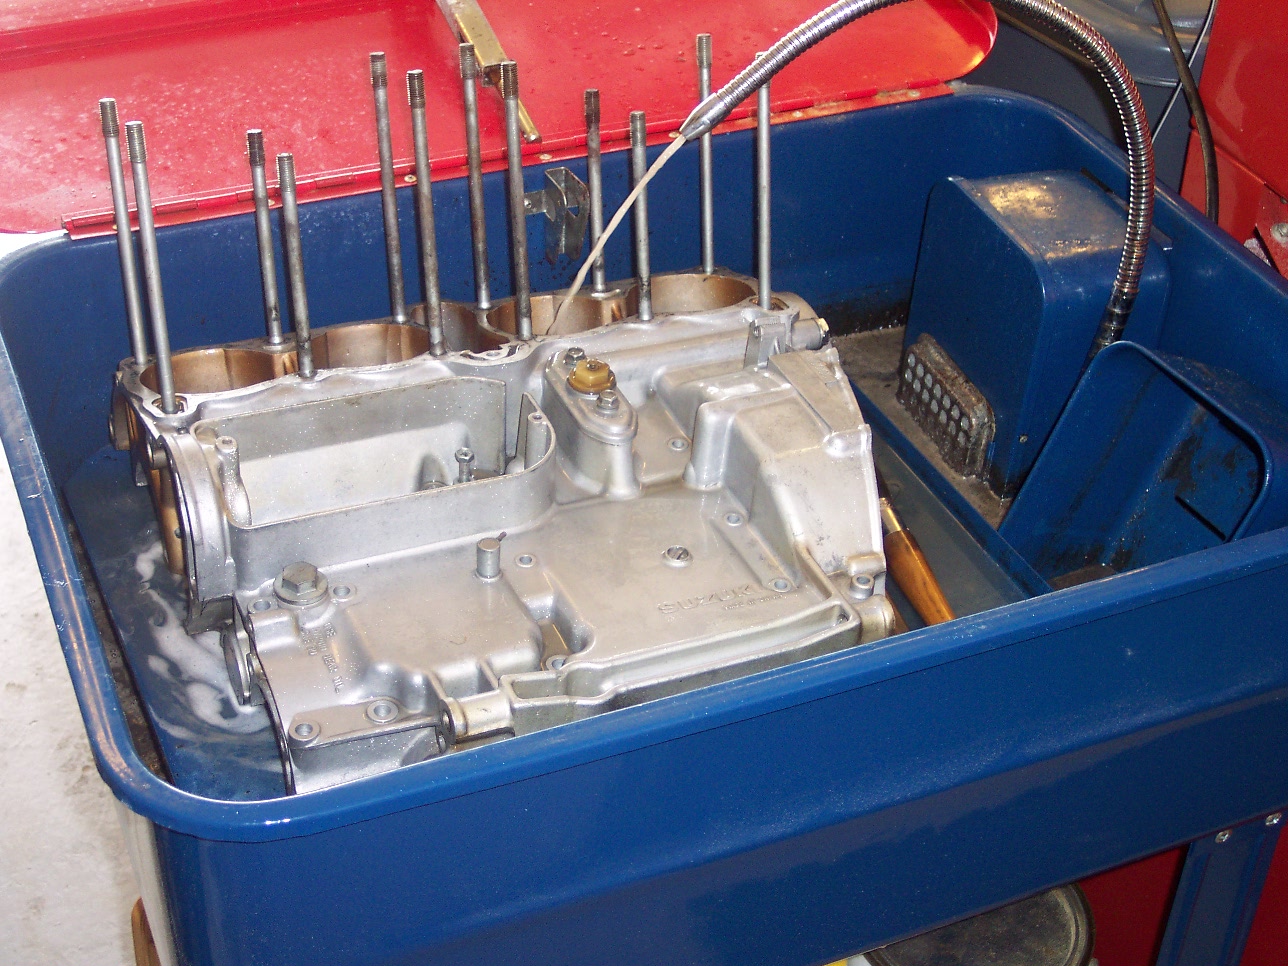
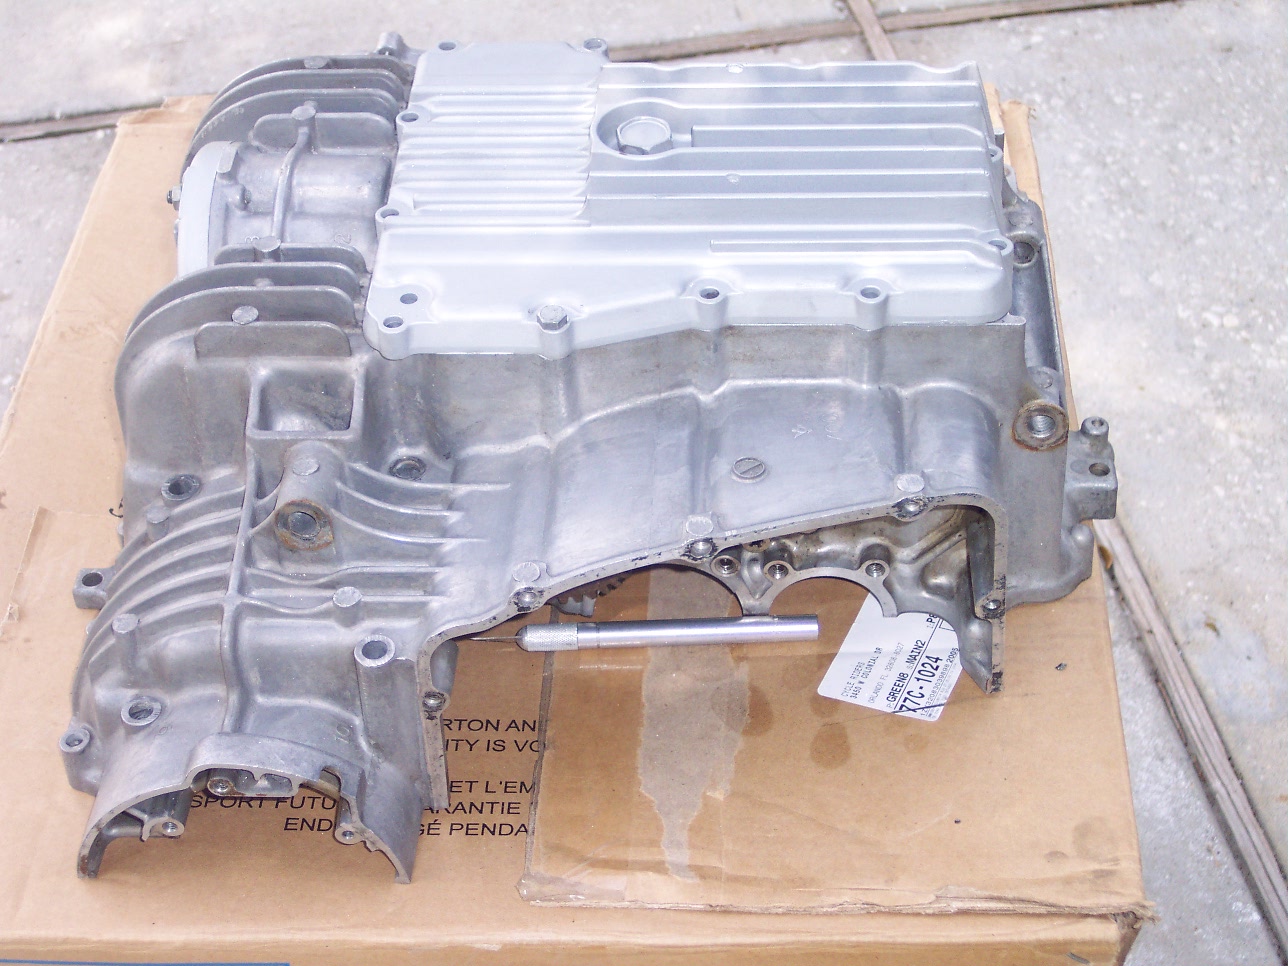
The bottom half gets its turn in the parts washer also...The oil pan with the drain plug were blasted and painted separately, but reinstalled to protect the oil filter pick-up screen. The upper half is looking pretty good by now in wash tub.
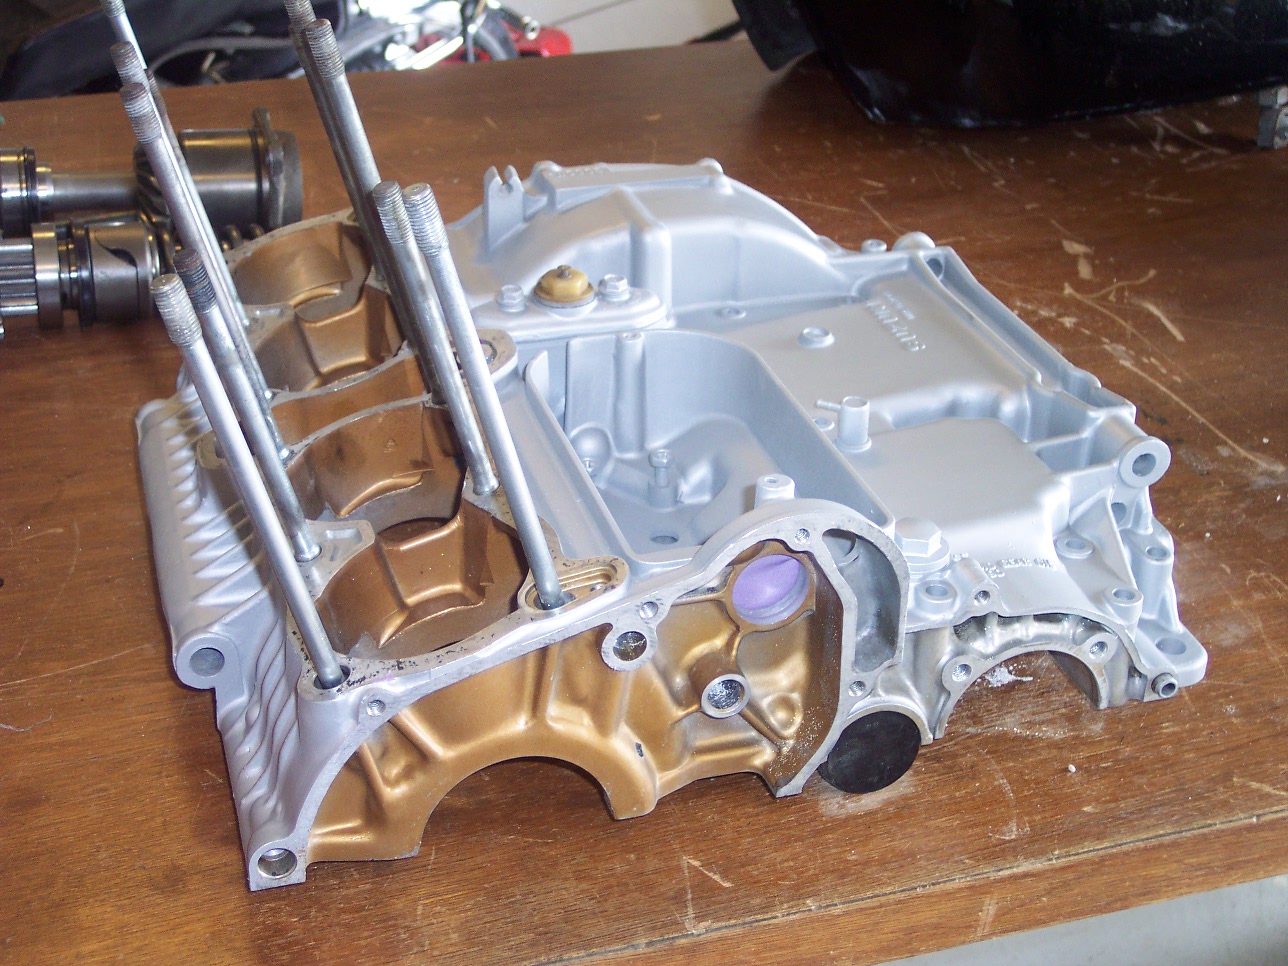
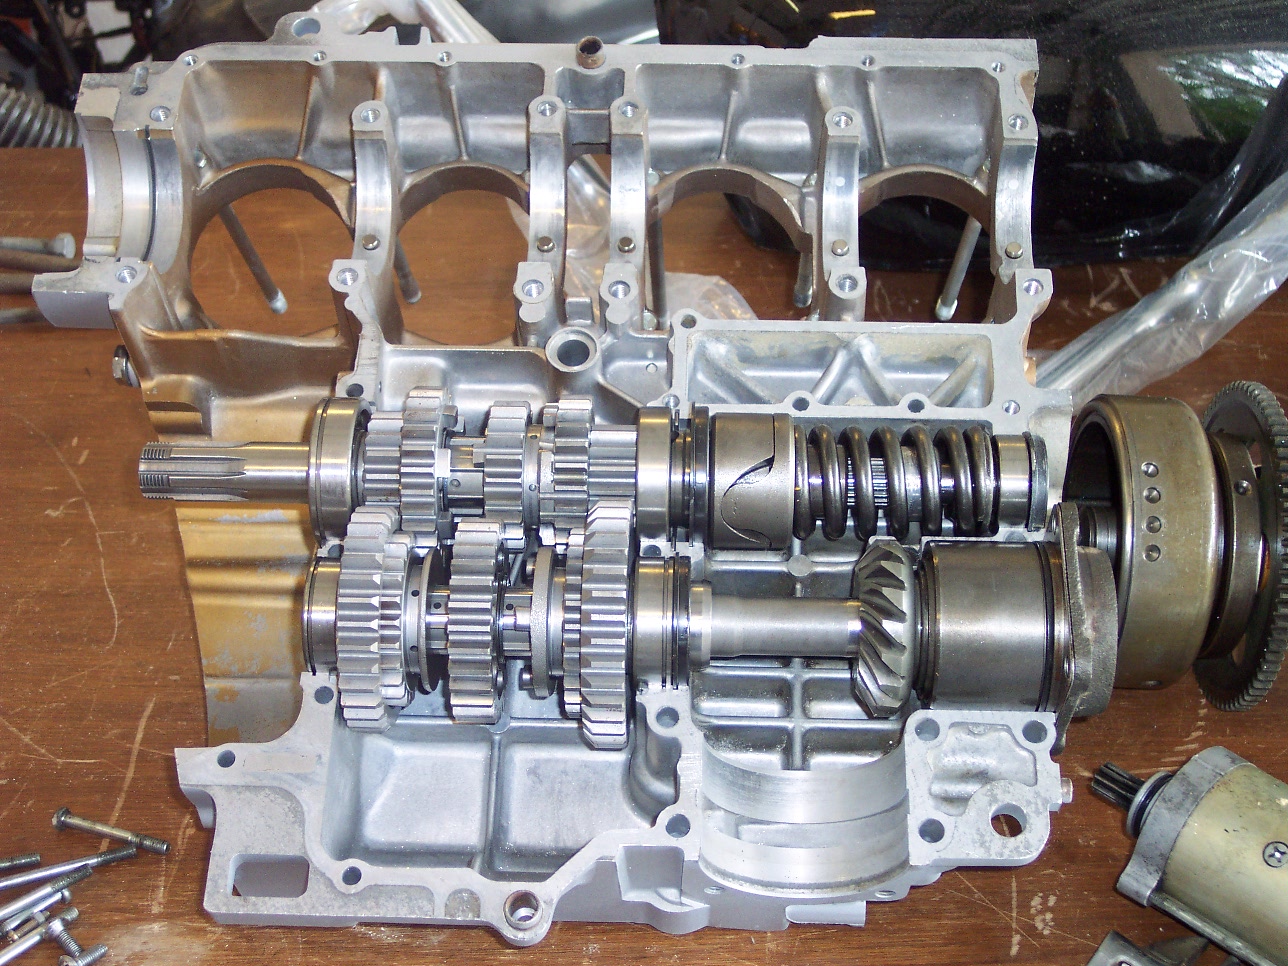
OK, so I taped up the cases and painted them without taking any pictures, but what you see in the next two pictures below is the upper half, painted with Alumi-Blast. Looks great! The picture below-right shows is upside-down, with the new transmission gears installed. These are completely new gears, cut by a local machine shop, and all new bearings, seals, shift forks, snap rings, and a new output planetary gear assembly. Looks sharp huh?
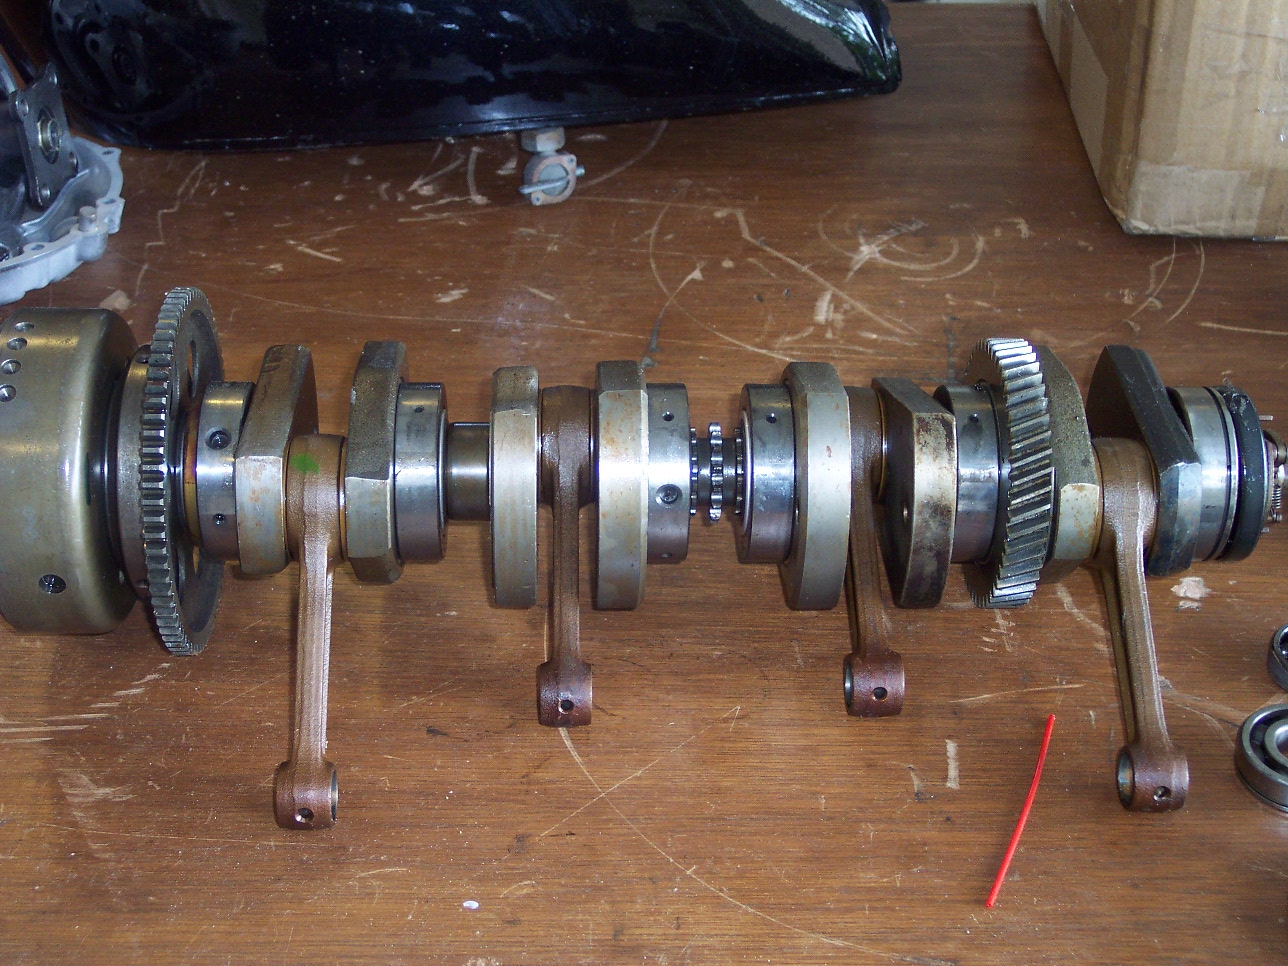
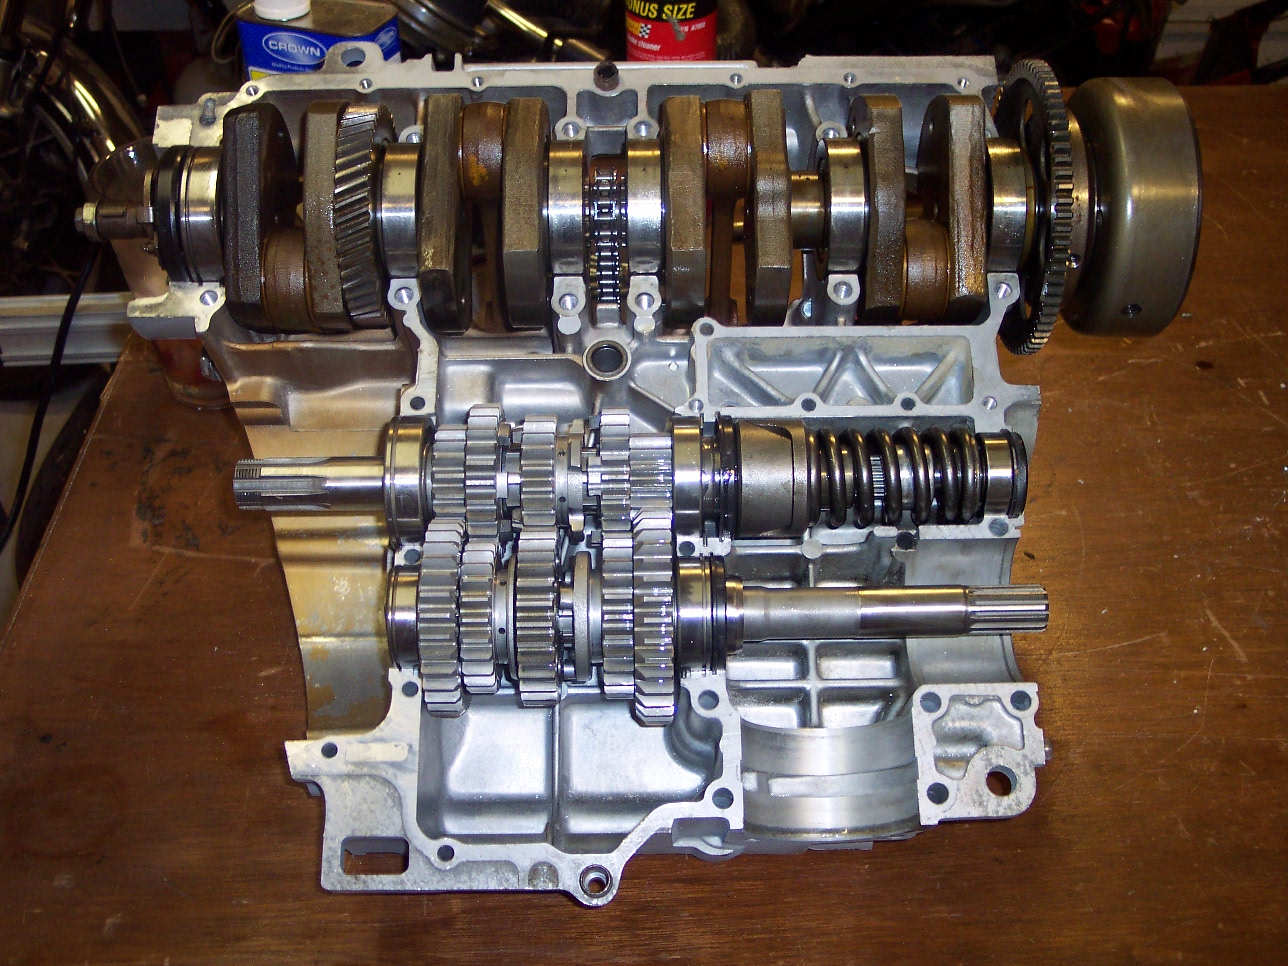
Now below, you can see the roller crankshaft, called a roller because instead of journals and journal bearings, this crankshaft has full roller bearings! No journal caps to stress and break! Also, the connecting rods are one-piece units...nearly impossible for this engine to throw a rod! To replace any of these components means the crankshaft must be pulled apart with a special machine, press on/off the bearings and rods, and press the crankshaft back together ensuring that everything lines up properly. I was lucky, the bearings are in perfect shape, and all the rods are in great condition. This is what makes the Suzuki GS Engine famous with the drag racers...a bullet-proof engine! On the right the crank is installed...ready to install the bottom half engine case.
Before we get to that, here are a couple of shots showing the bottom half getting it's treatment with the pressure-washer. If you go back to the disassembly photos, you can see what a mess I started with!

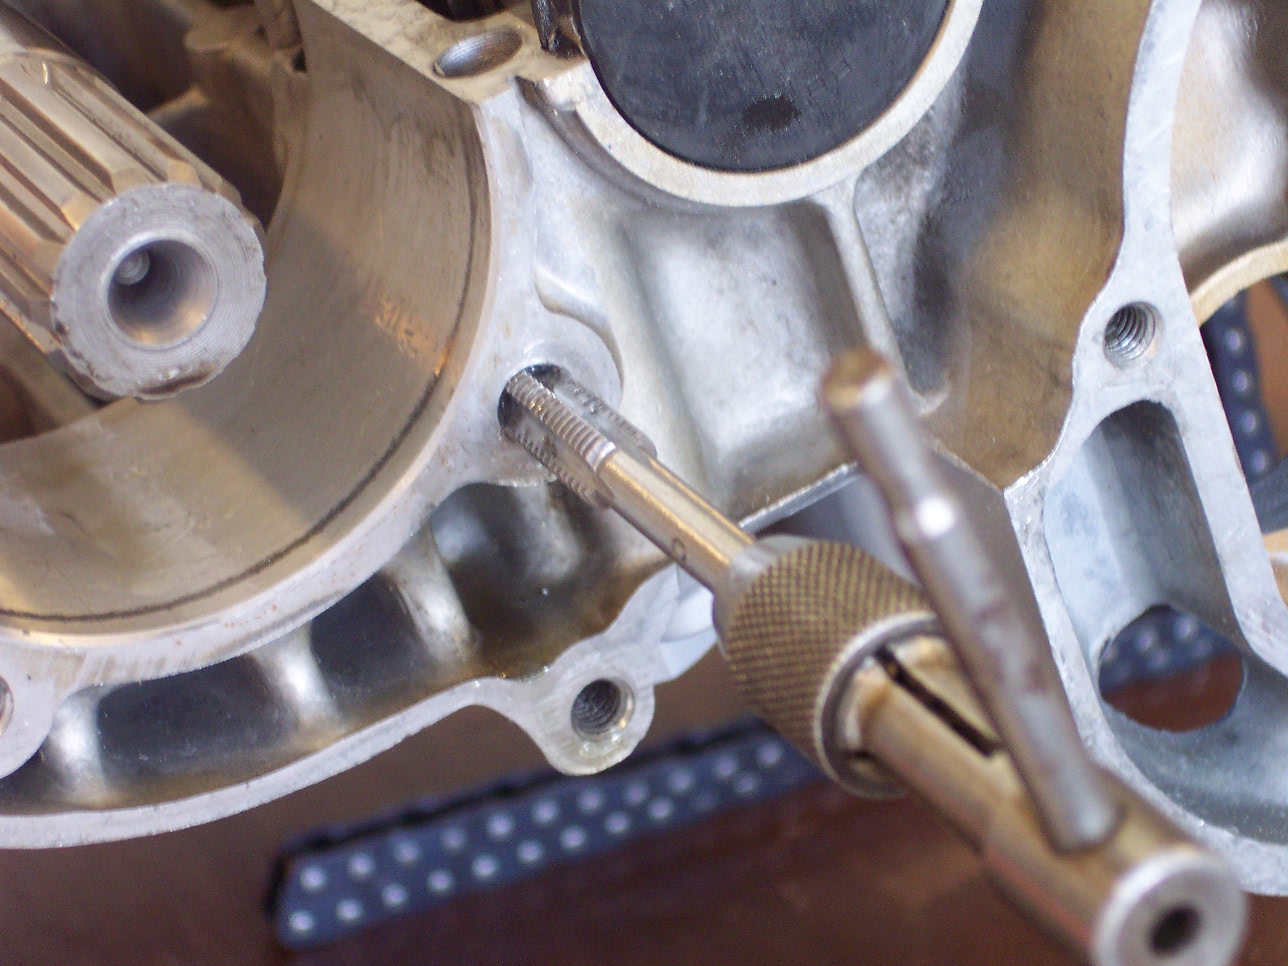
I was able to glass-bead part of the top half engine case, not much, but just the real stubborn parts. Part of the process of cleaning up after the blasting cabinet is chasing all the screw holes with a metric tap to remove all the grit from the blasting. The tiny grains of glass will seize a bolt or screw in the hole so that you will never be able to remove it again. So the trick here is to put a dab of regular engine grease on the tip of the tap, and run it down all the way, and the grit and dirt will be picked up by the grease and come right out. After a couple trips through the screw holes, they're clean as a whistle!
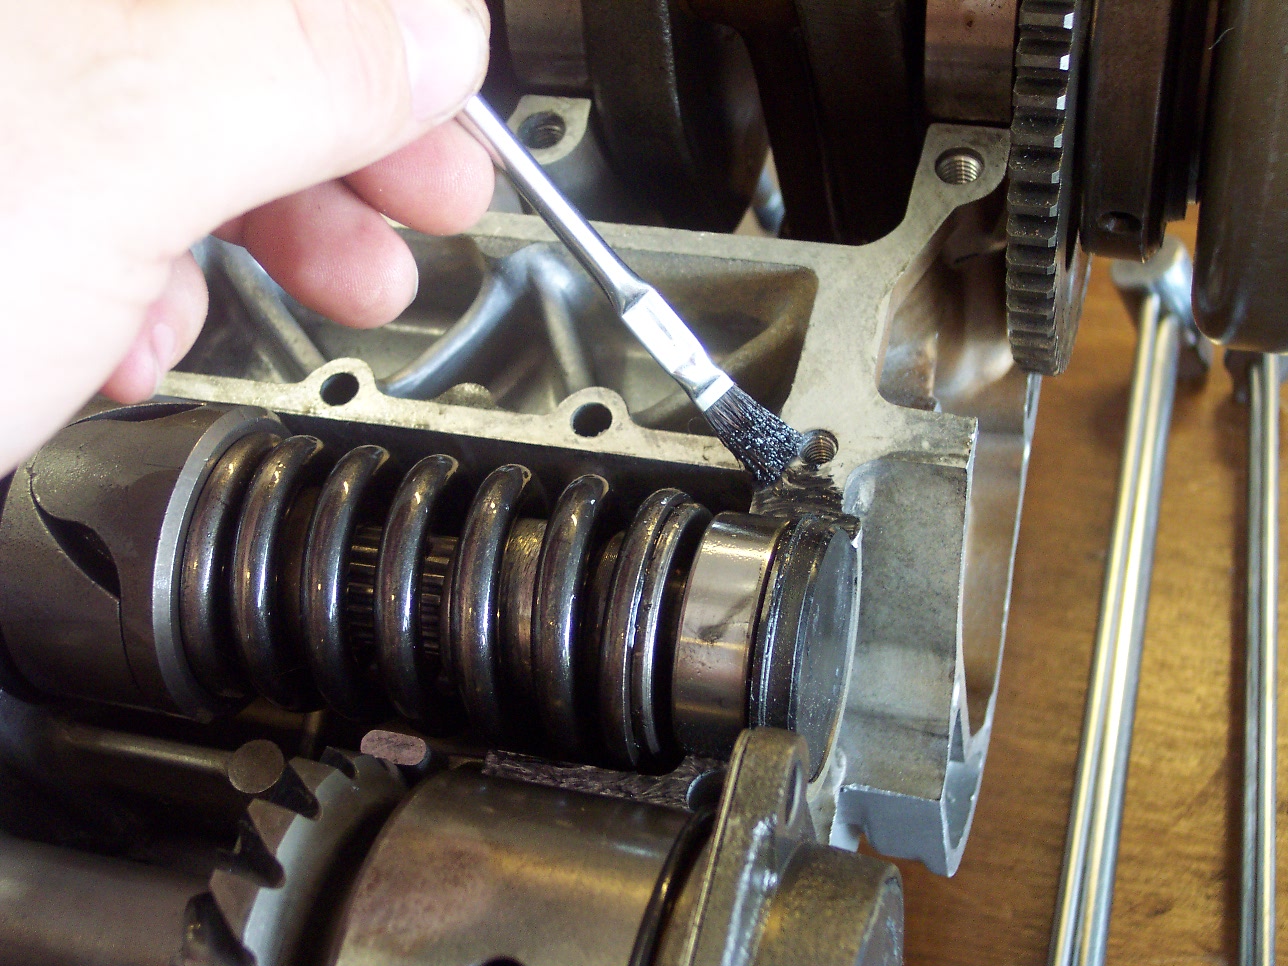
Below right I'm preparing the surface of the case halves to go together. Using an acid-brush I'm painting a very thin coat of high-temp black silicone engine sealer on all the mating surfaces. Care is taken here to put just enough to make a good seal without much squeeze-out. Don't want to get any of this stuff in the transmission!
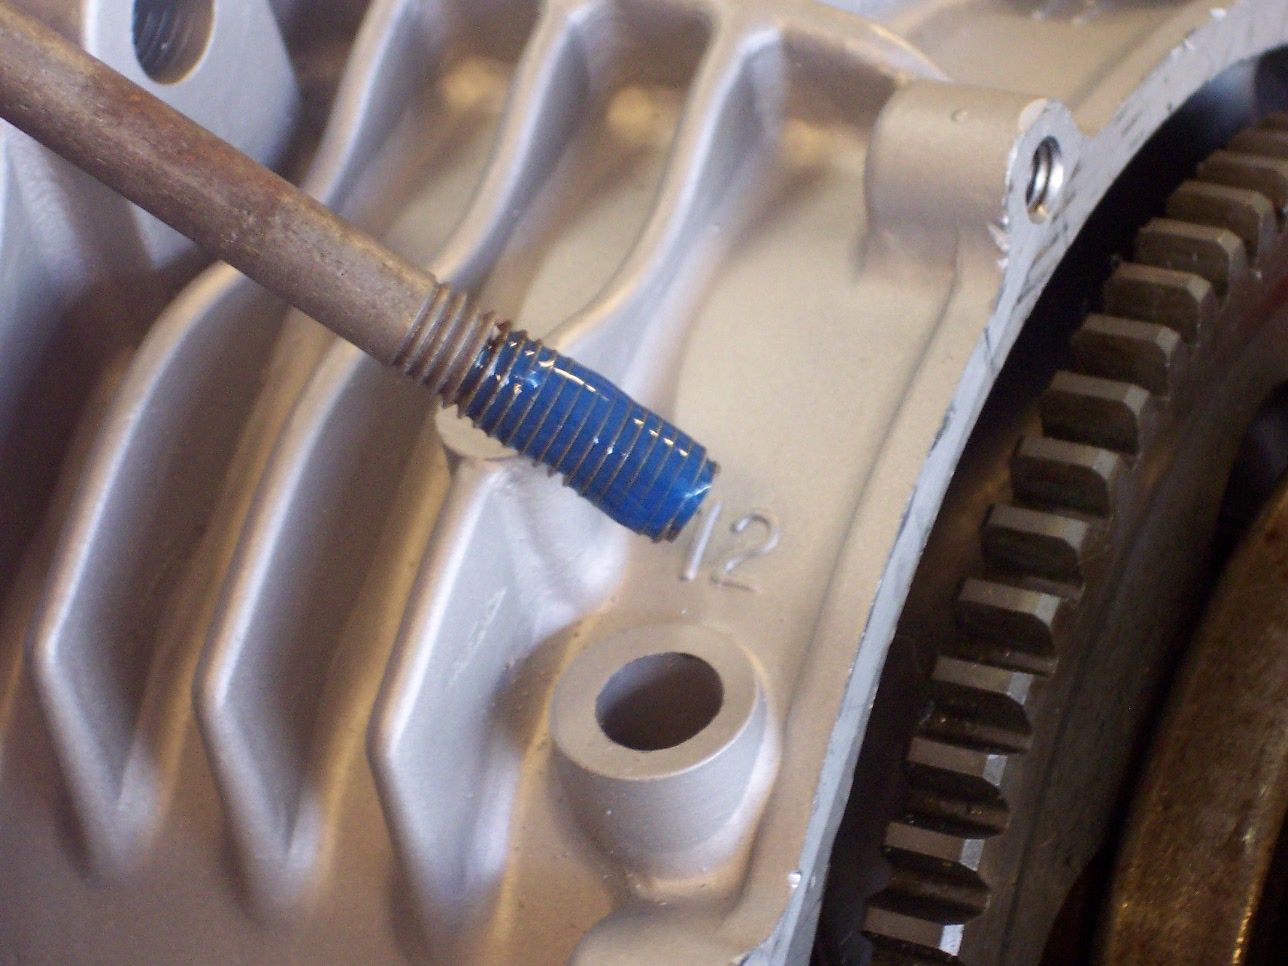
Putting the case halves back together is a major milestone....begins to look like an engine again, and the realization that it's not too far off from being a complete motorcycle again. All of the transmission and engine screws were cleaned, blasted, and dabbed with Blue Loc-Tite, then they were torqued down to the proper specs. In the lower right photo, you can see the oil-screen...I had to remove the oil pan in order to install three of the case bolts that are under it.
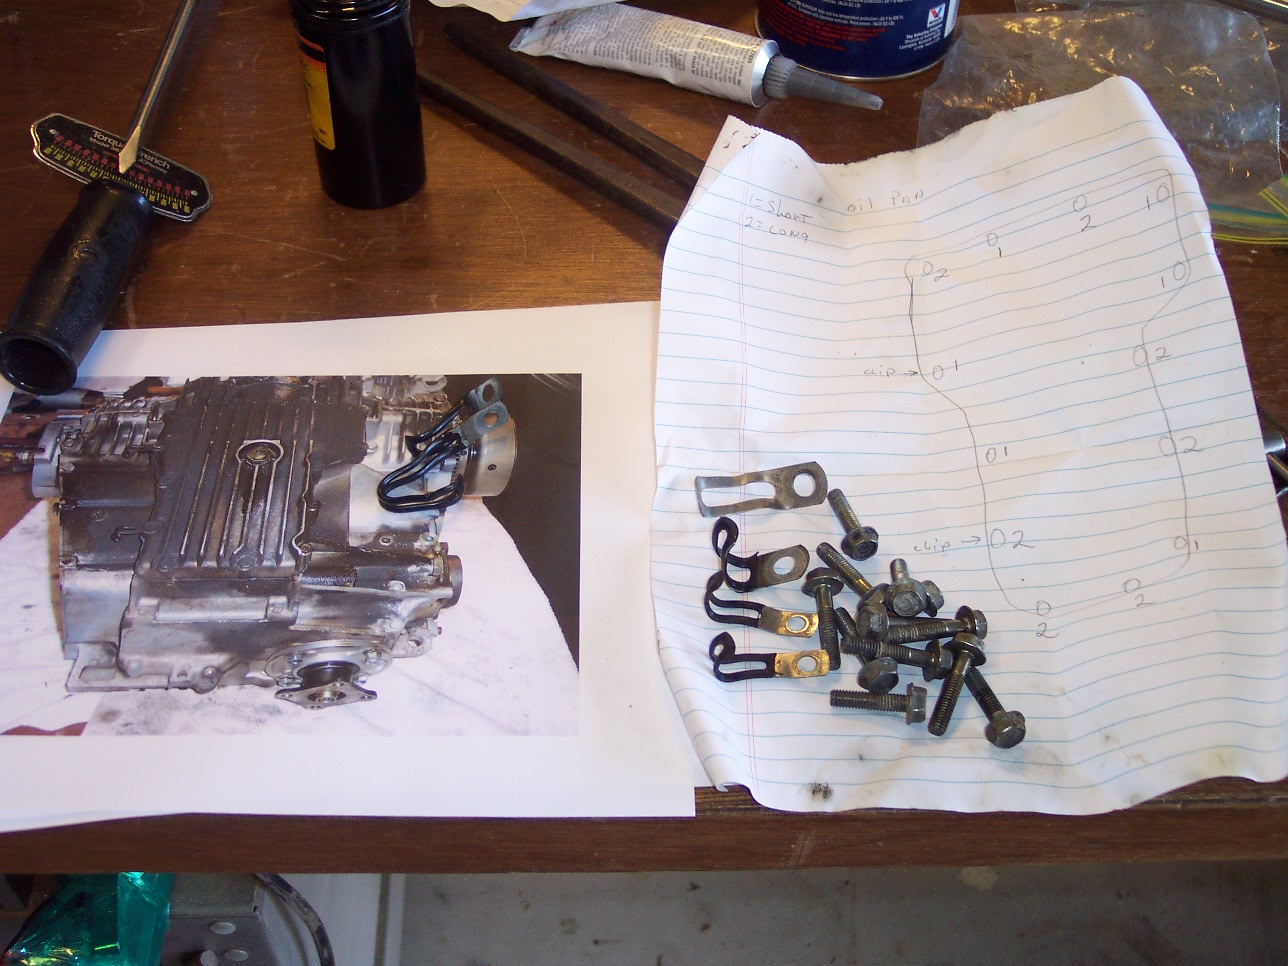
Since the bolts that hold everything together are not the same length, I took pictures (as you know) and made drawings with notes, documenting which holes receive which bolts, and also which bolts have cable retainers on them. Without these drawings, it's a real pain-in-the-ass to find the right ones. This really helped speed things along!
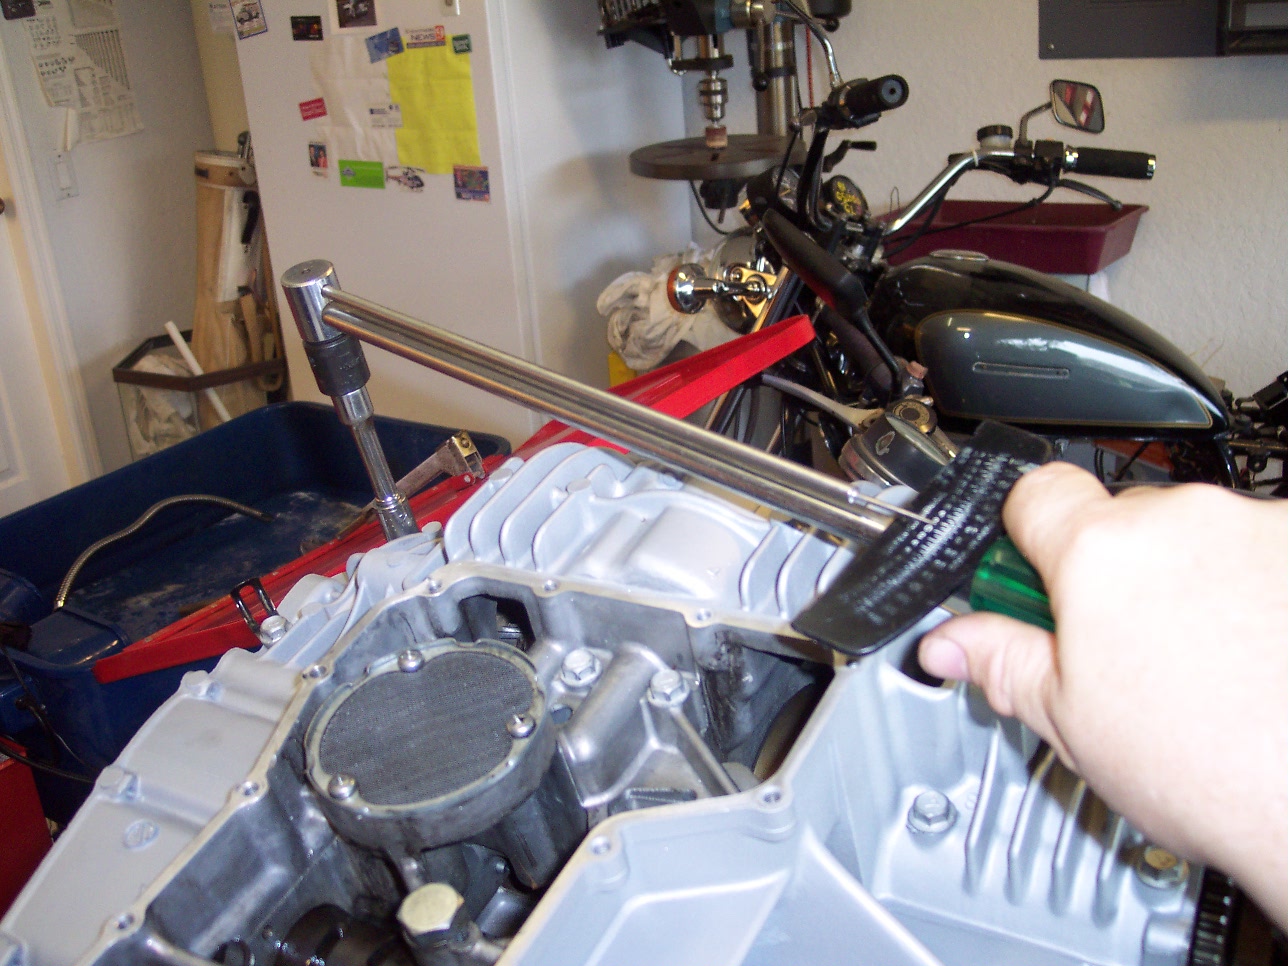
So now, after bolting the cases together, I get to turn it right-side-up, and put in the remaining bolts from the top!
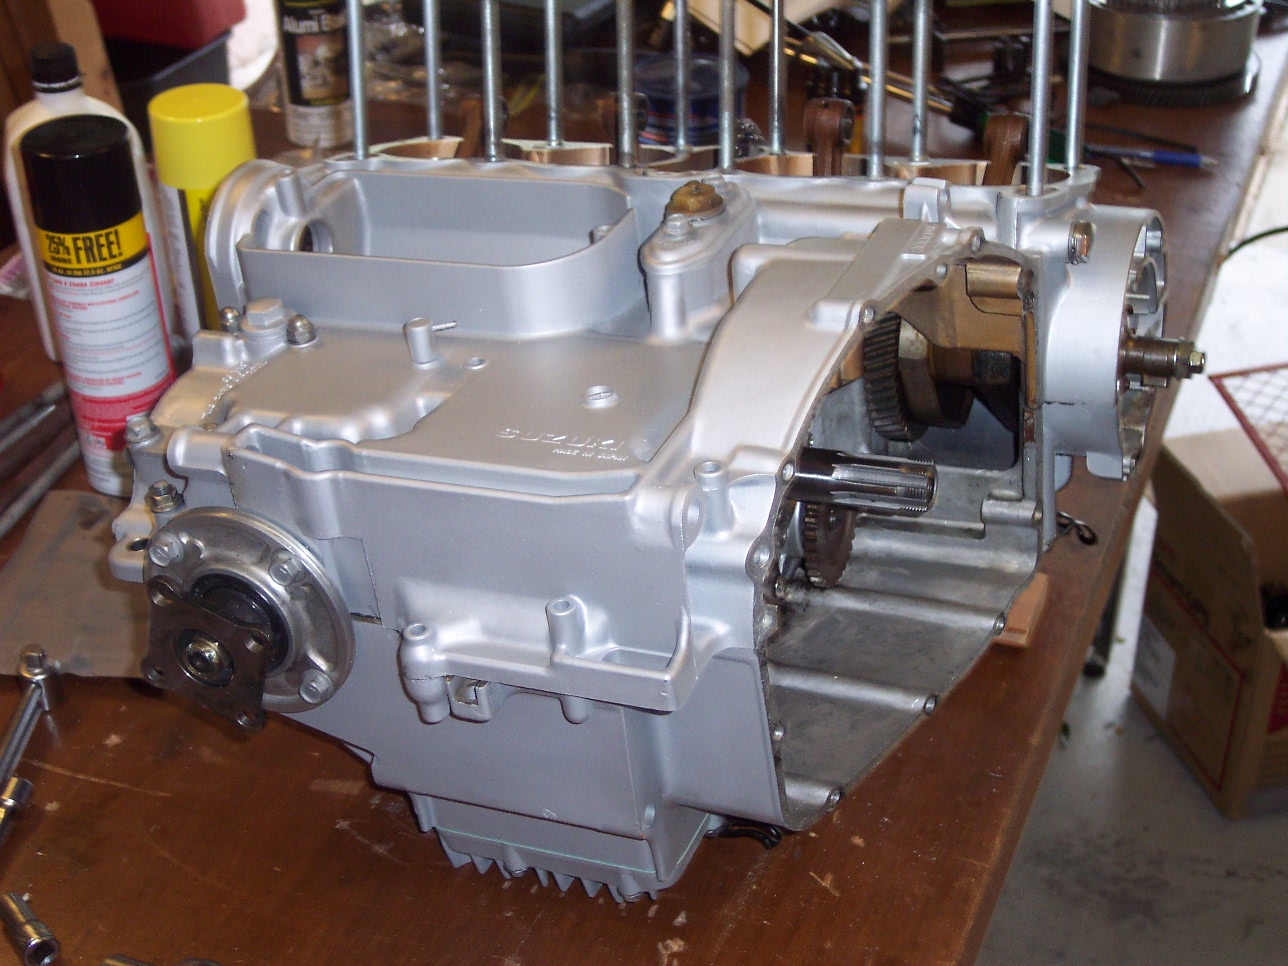
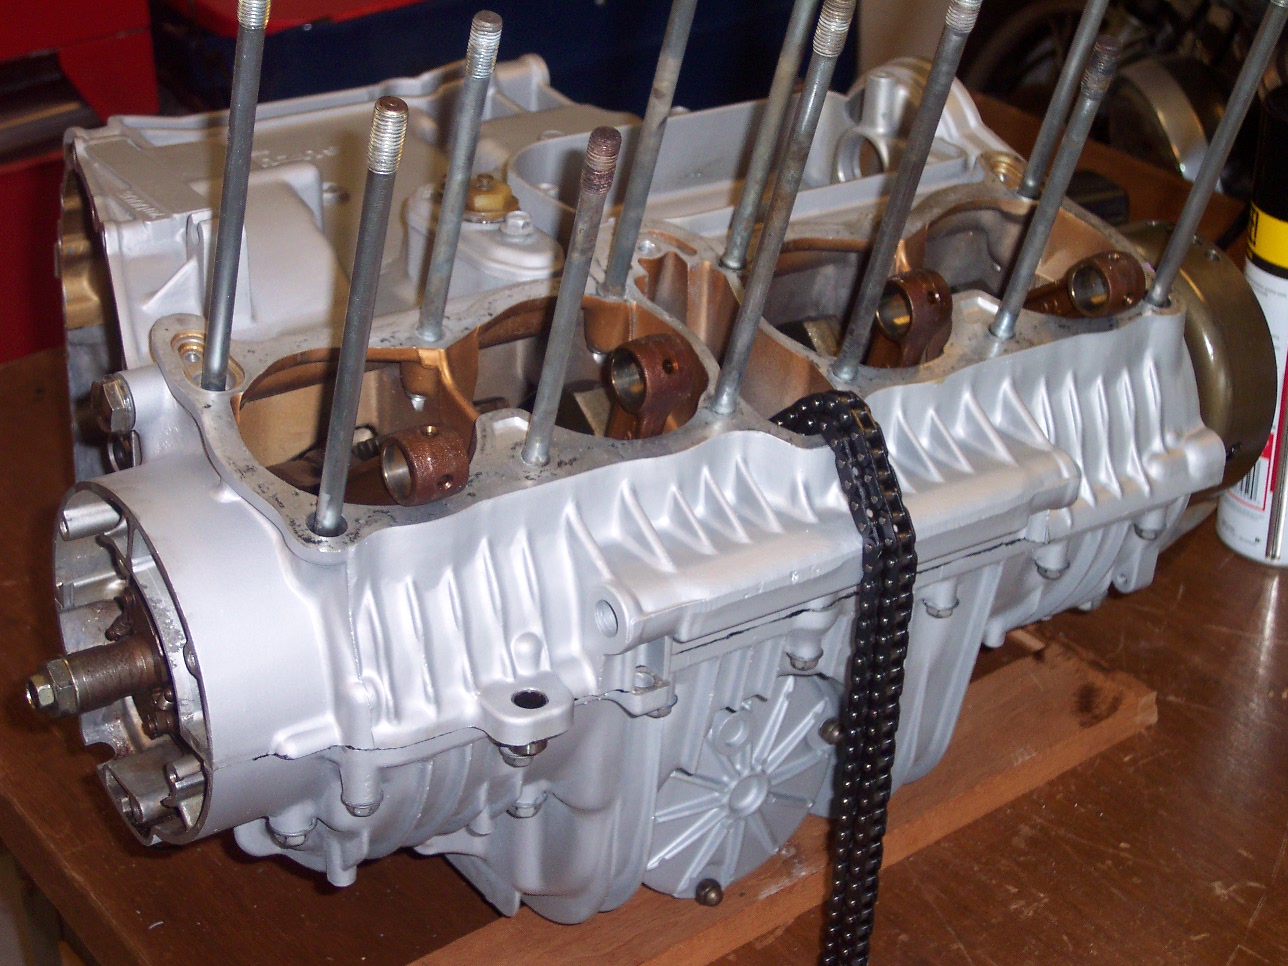
Here's a front view....looks more like an engine again, doesn't it? The cam chain is hanging out the center...it's a one-piece item that can only be replaced by splitting the cases as I've done here, and removing the crankshaft so the old one can be slipped off, and the new one installed. Going to the trouble to split these cases means replacing anything that might wear out, or be worn out. I certainly don't want to tear the engine down this far again, for a long, long time.
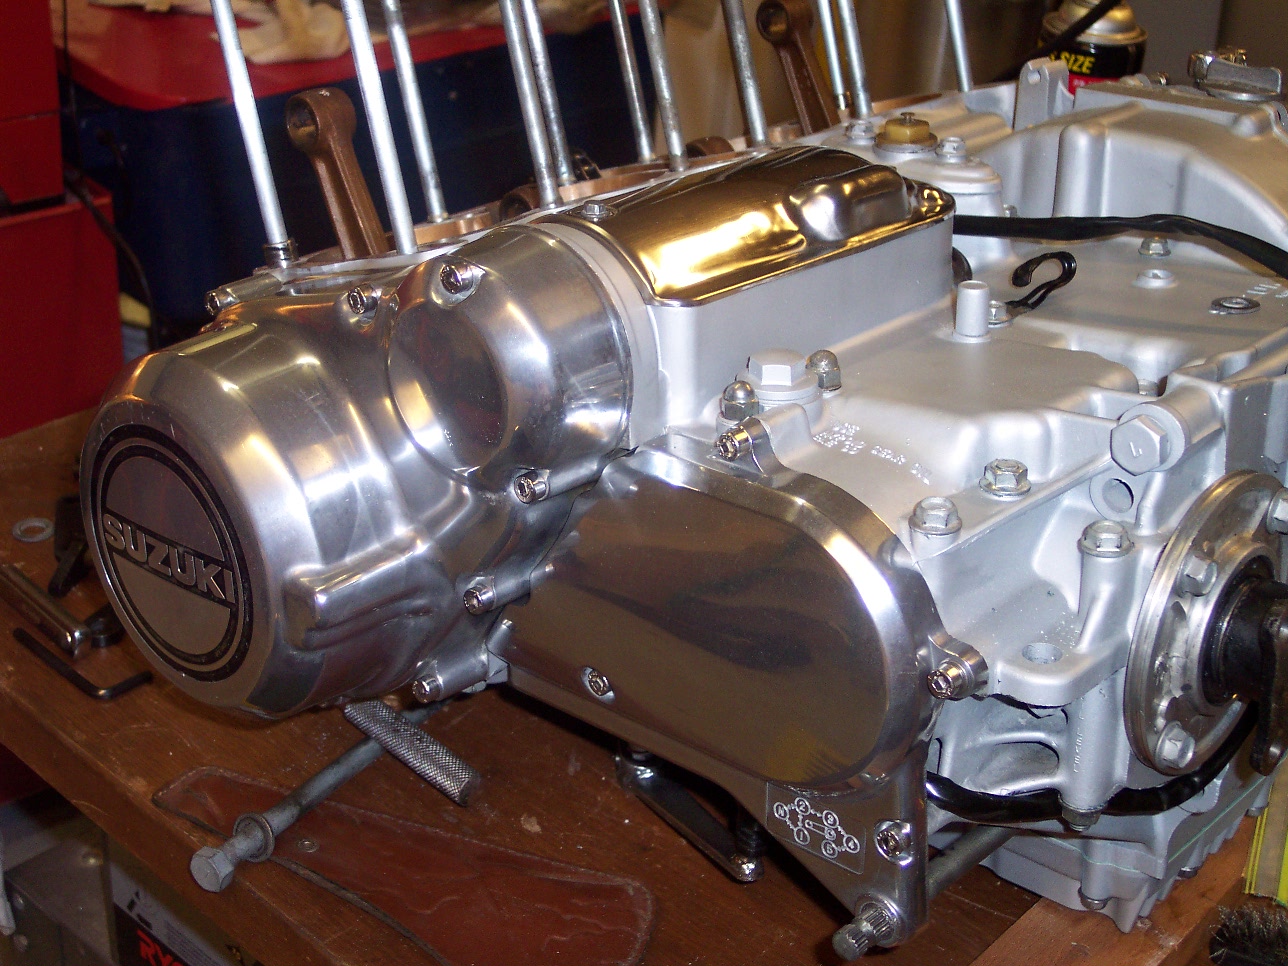
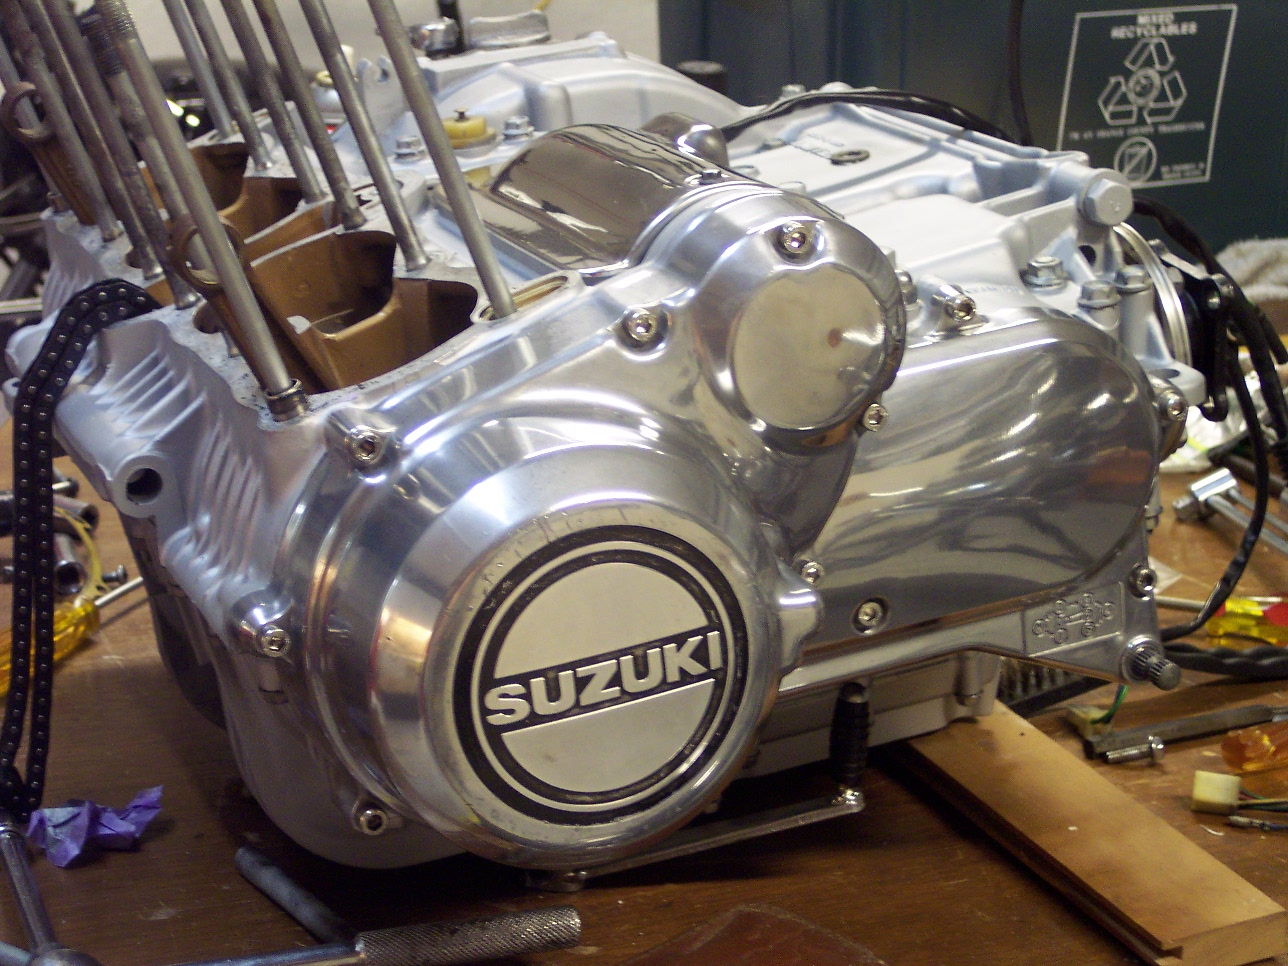
At this point, the clutch is reinstalled, and the side covers go on (temporarily) so it can be lifted and placed back in the frame. That's another thread, but the last three pics below show the left engine case covers on after a thorough polishing and buffing. The pictures really don't do justice to just how good they really look...the standard phillips-head zinc-plated screws have been replaced with polished stainless-steel hex-head bolts. They really do add that final touch!
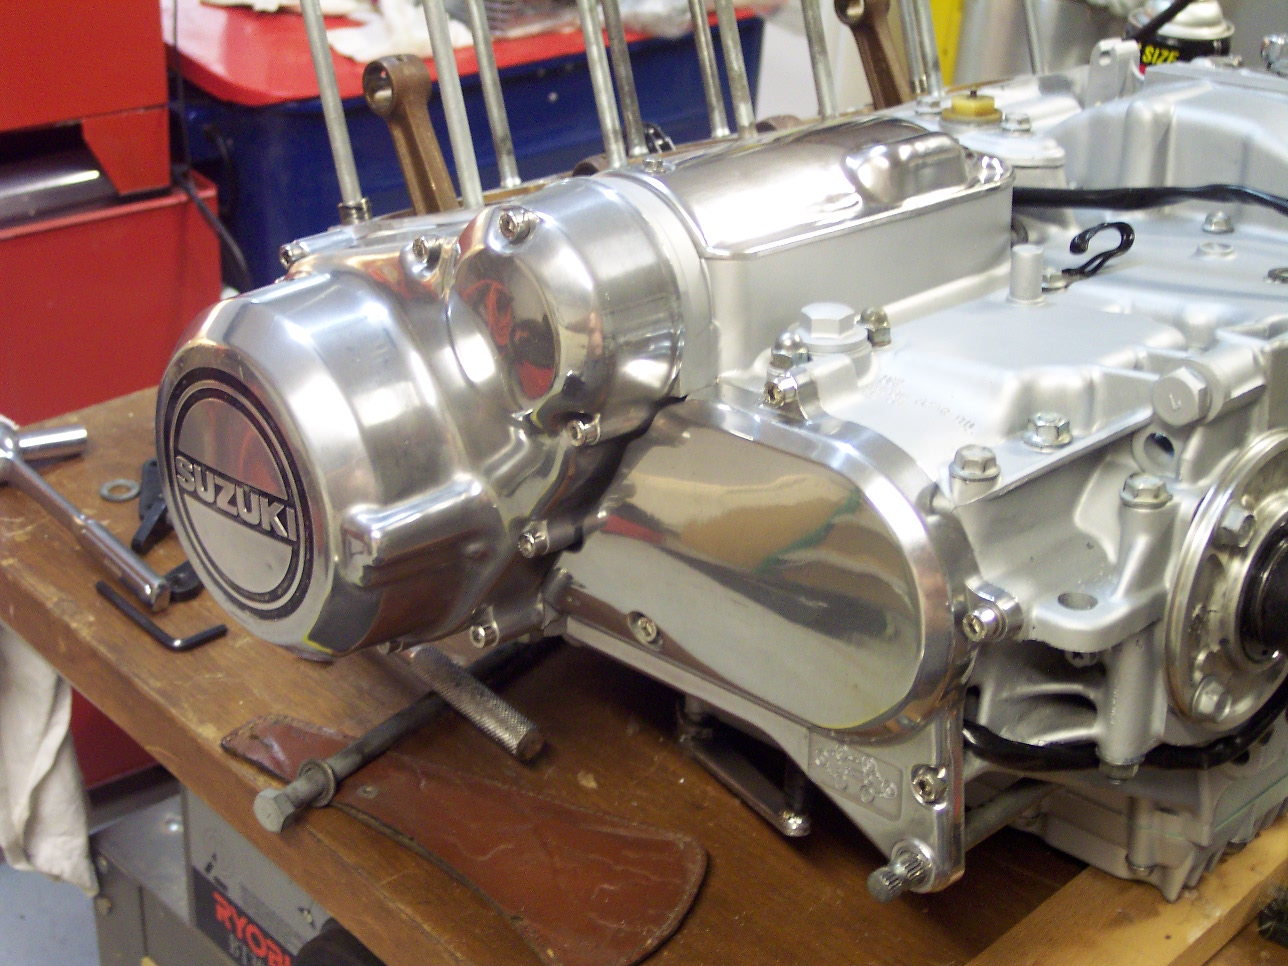
 Ready
to put back into the frame.
Ready
to put back into the frame.