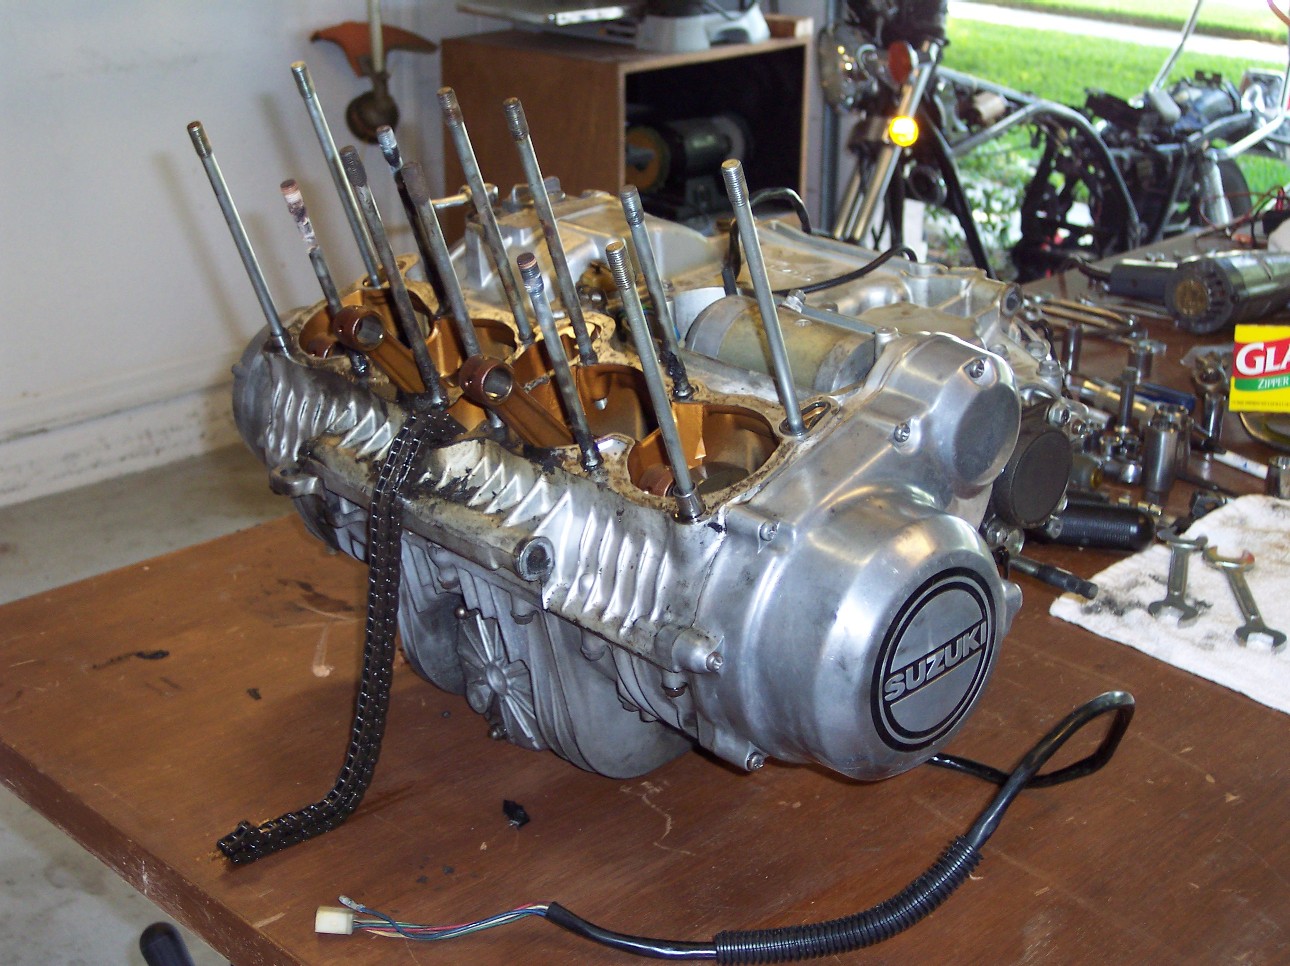
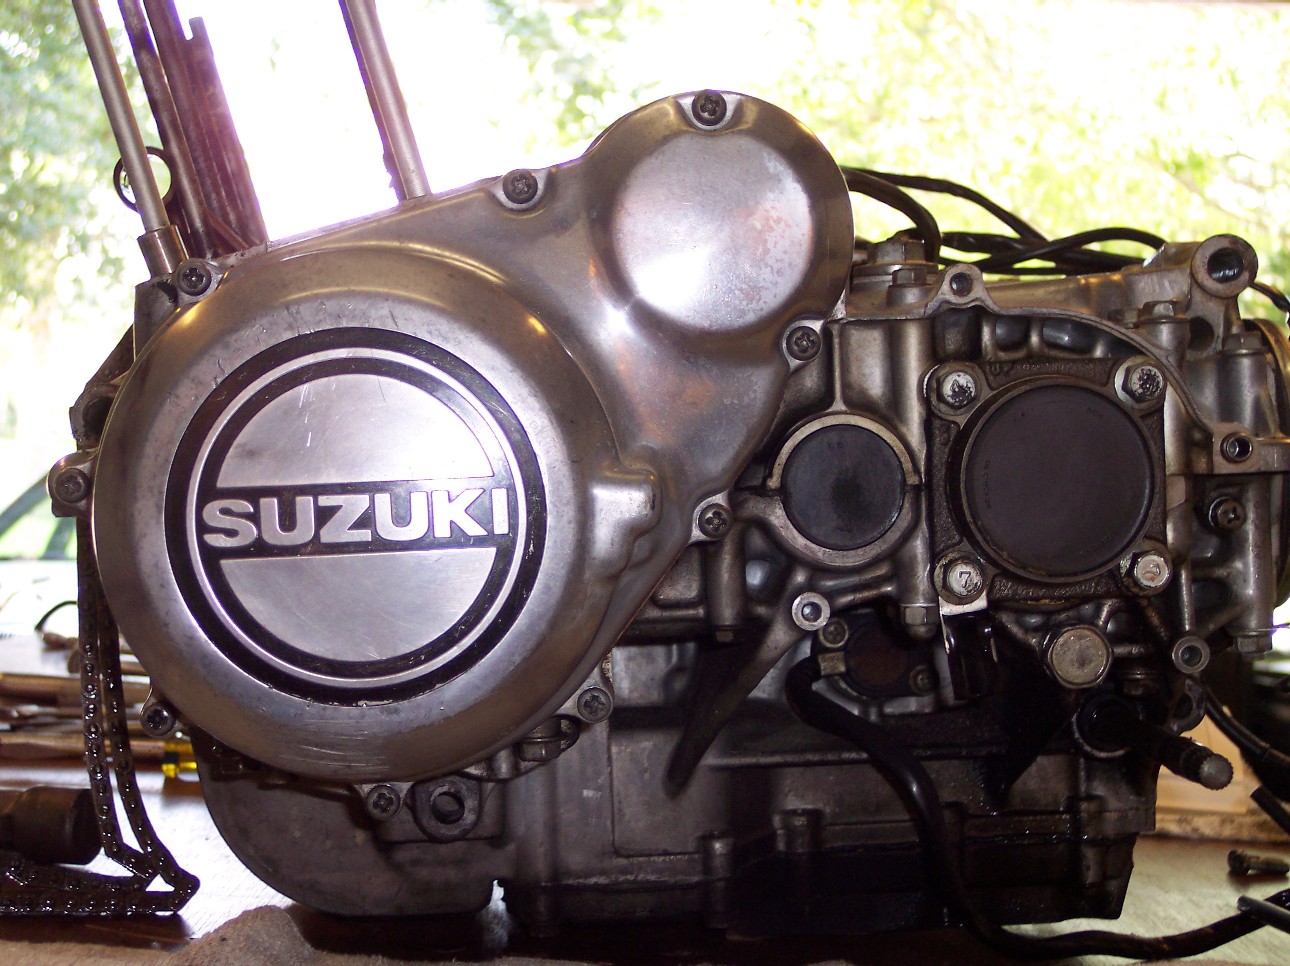
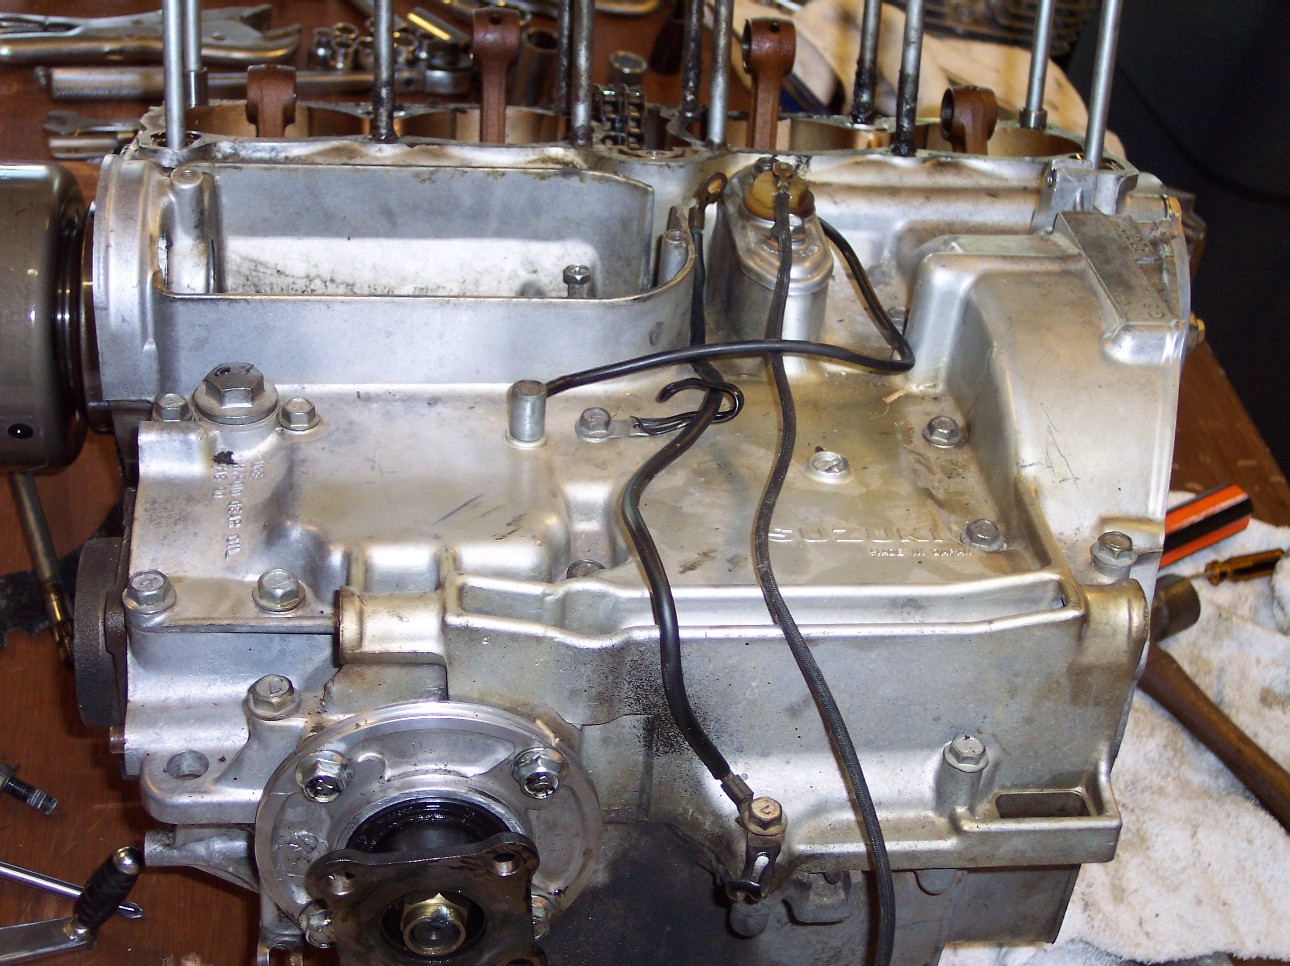
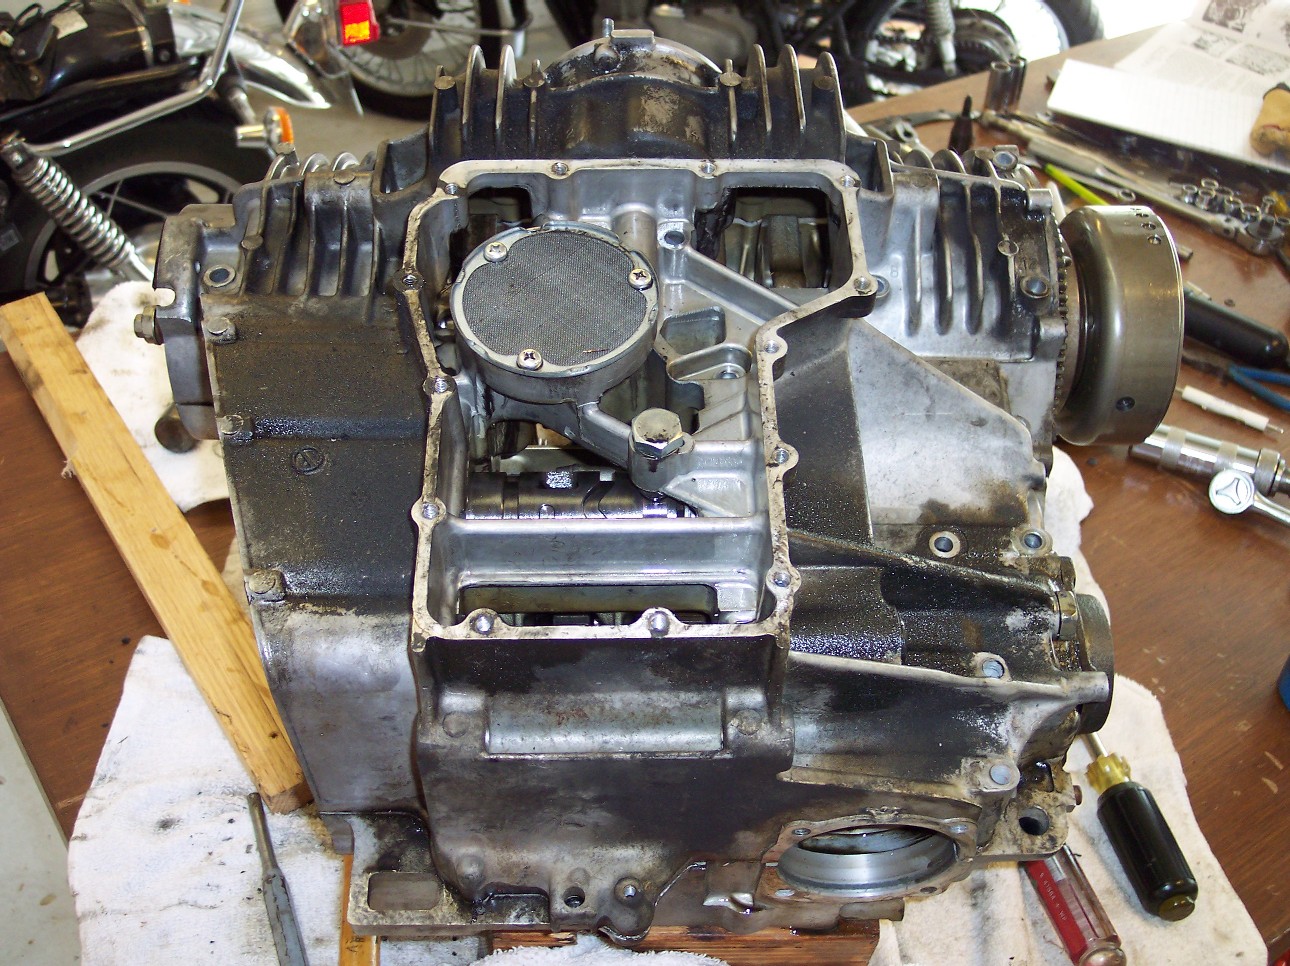
Here's the engine pulled from the frame and up on the bench (the frame is in the background).
The cam chain is hanging out the front, the pistons have been removed. The
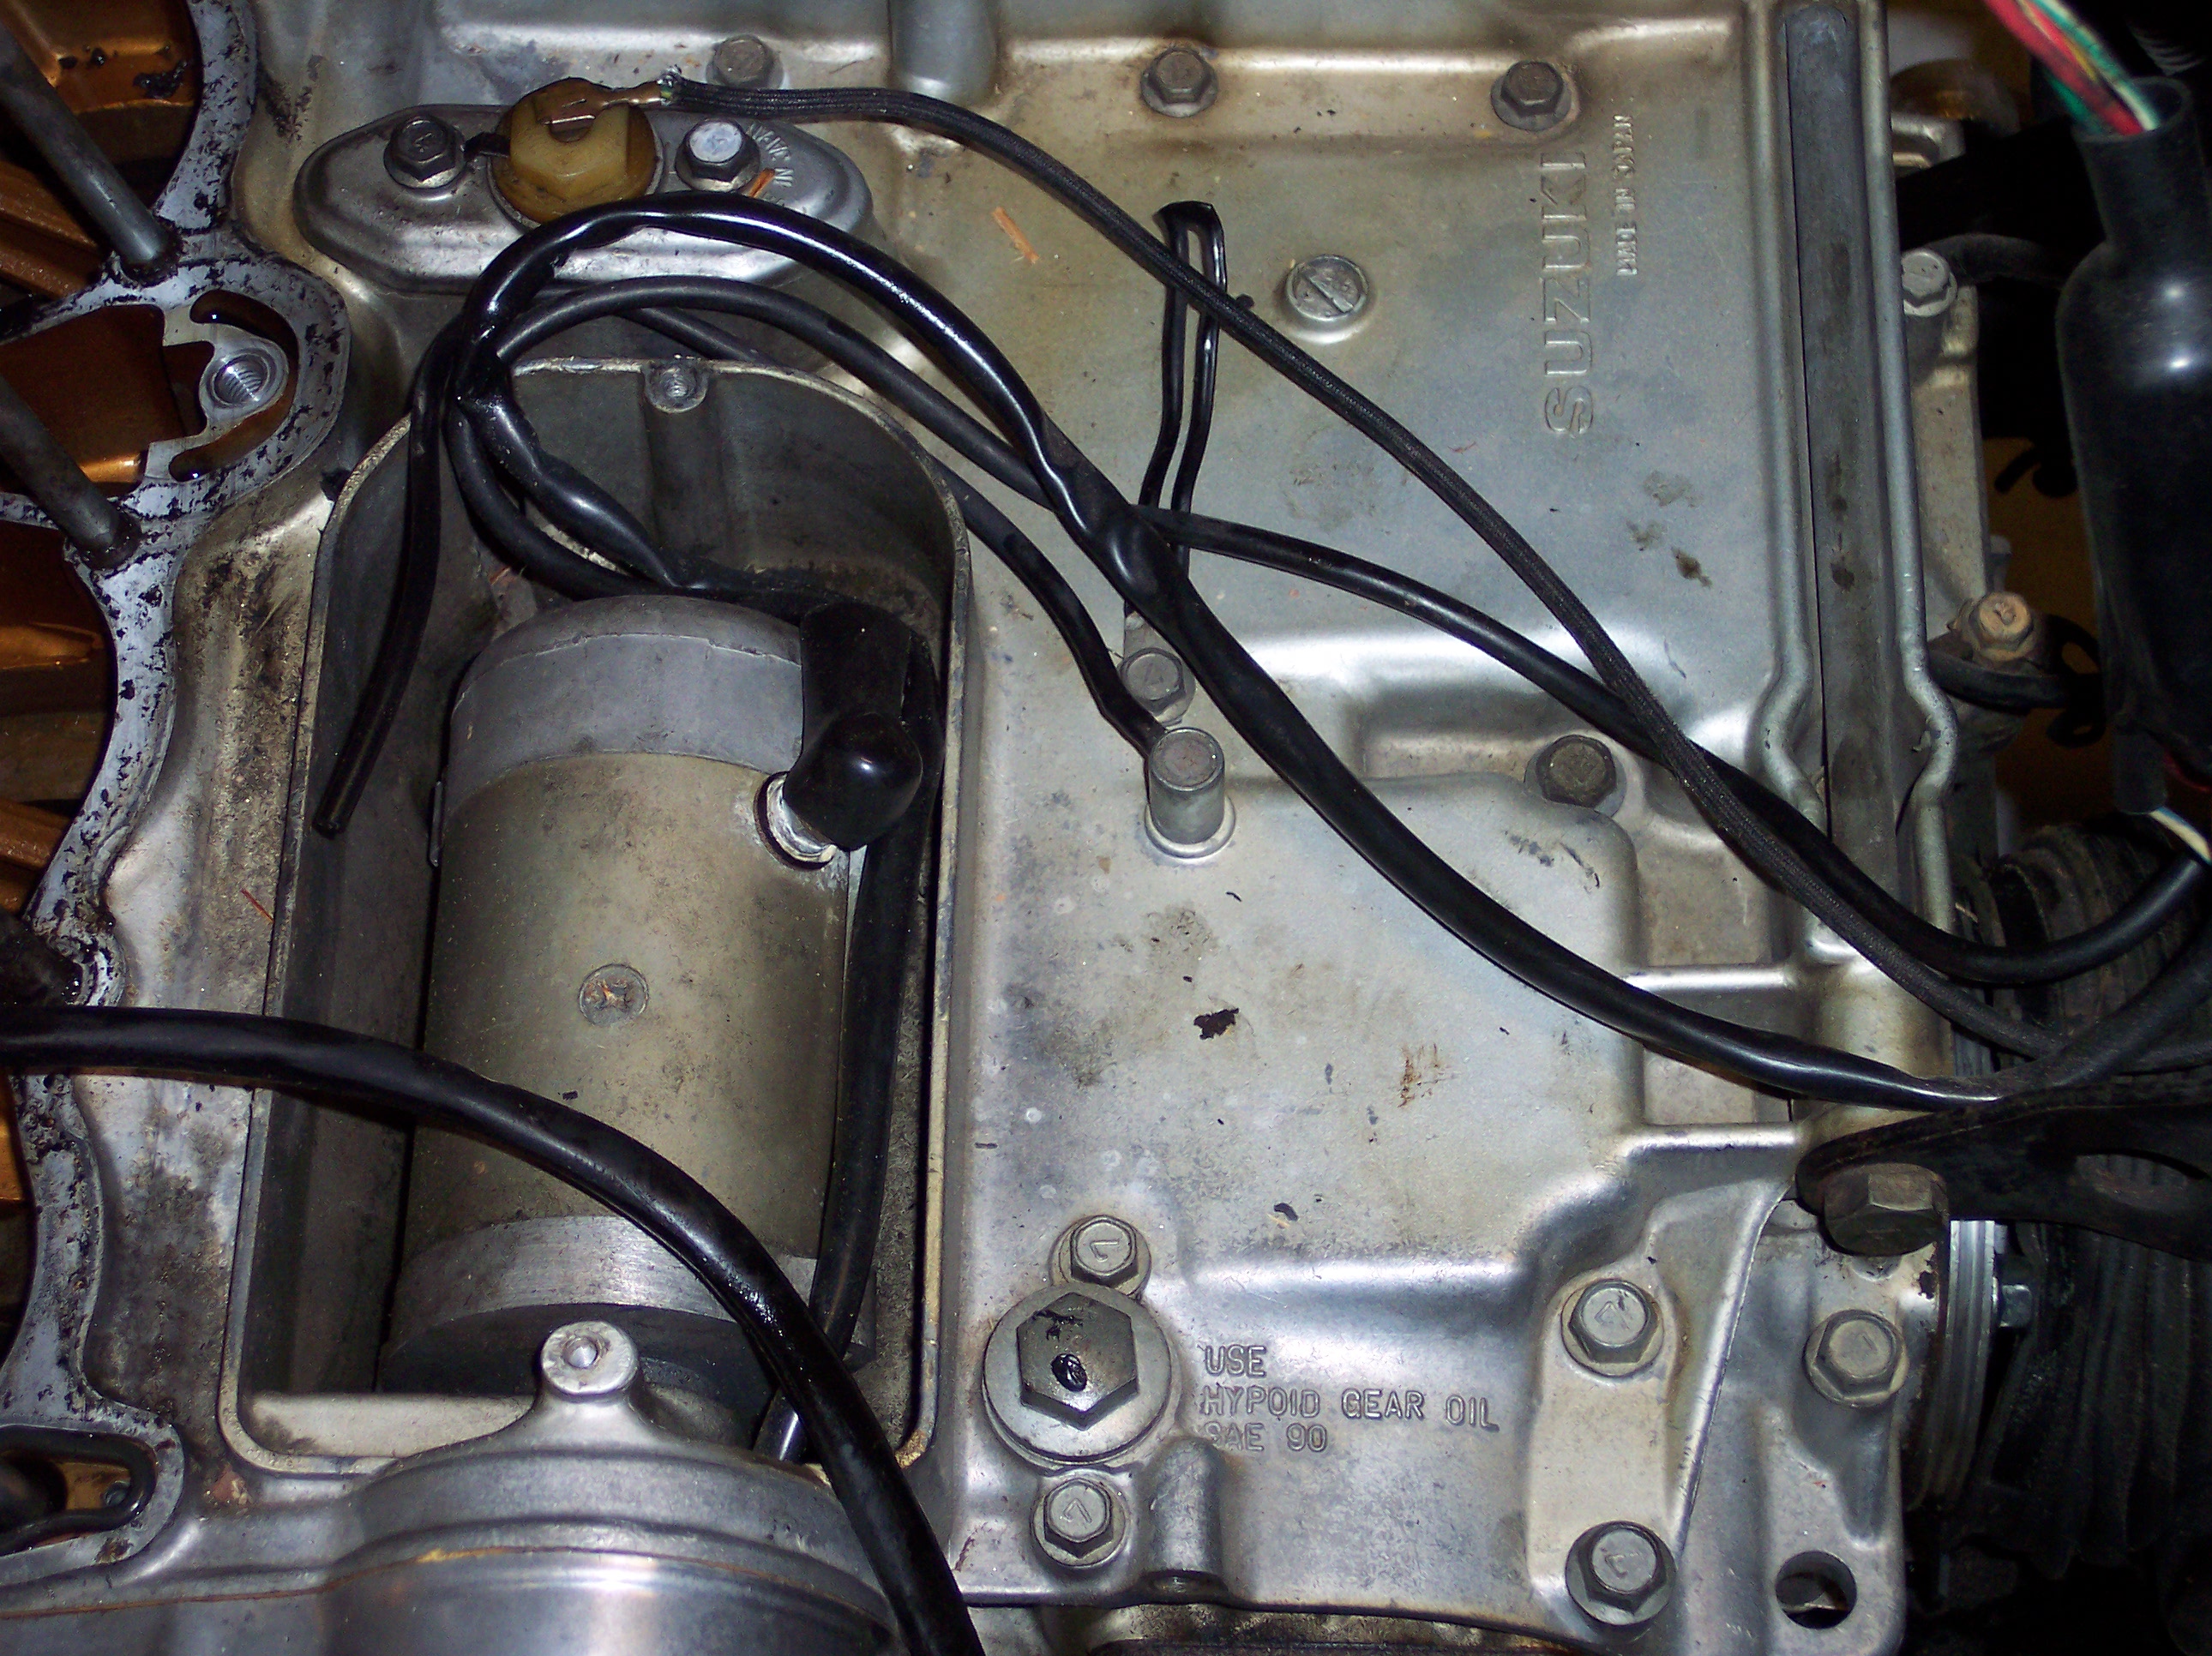
starter motor is shown in the picture on the left...it's next to come off,
along with the starter clutch assembly shown being removed in the pictures to
follow.
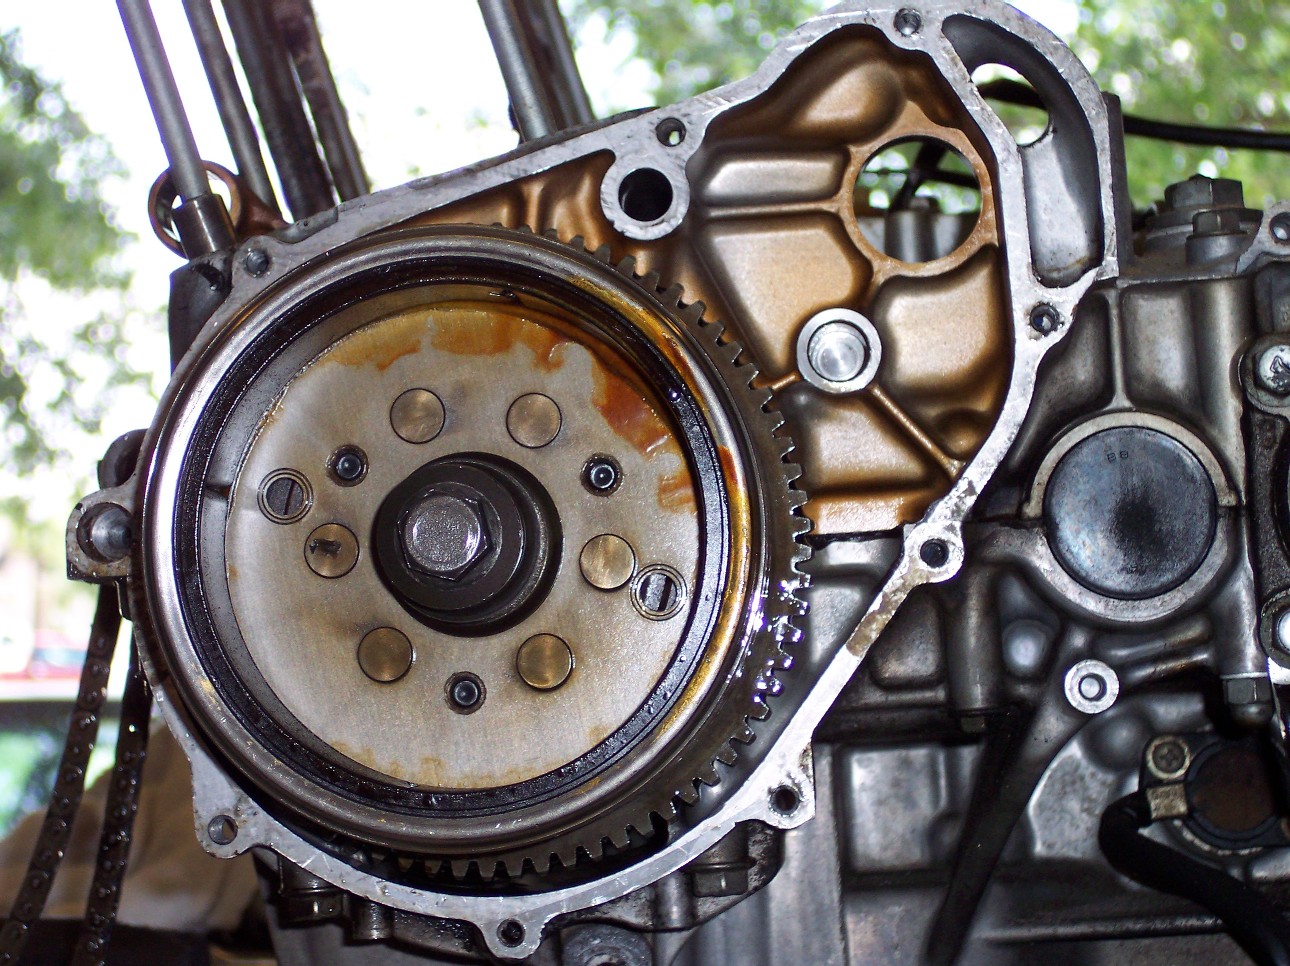
The left engine side cover houses the starter motor clutch assembly and gear, and also the engine alternator. Since the screws that hold on these covers are of varying lengths, I took pictures of the layout, noting the length of each screw in it's position on paper, and enclosed the paper in a baggie with the screws. The screws will all either be replaced, or get glass-beaded and cleaned.
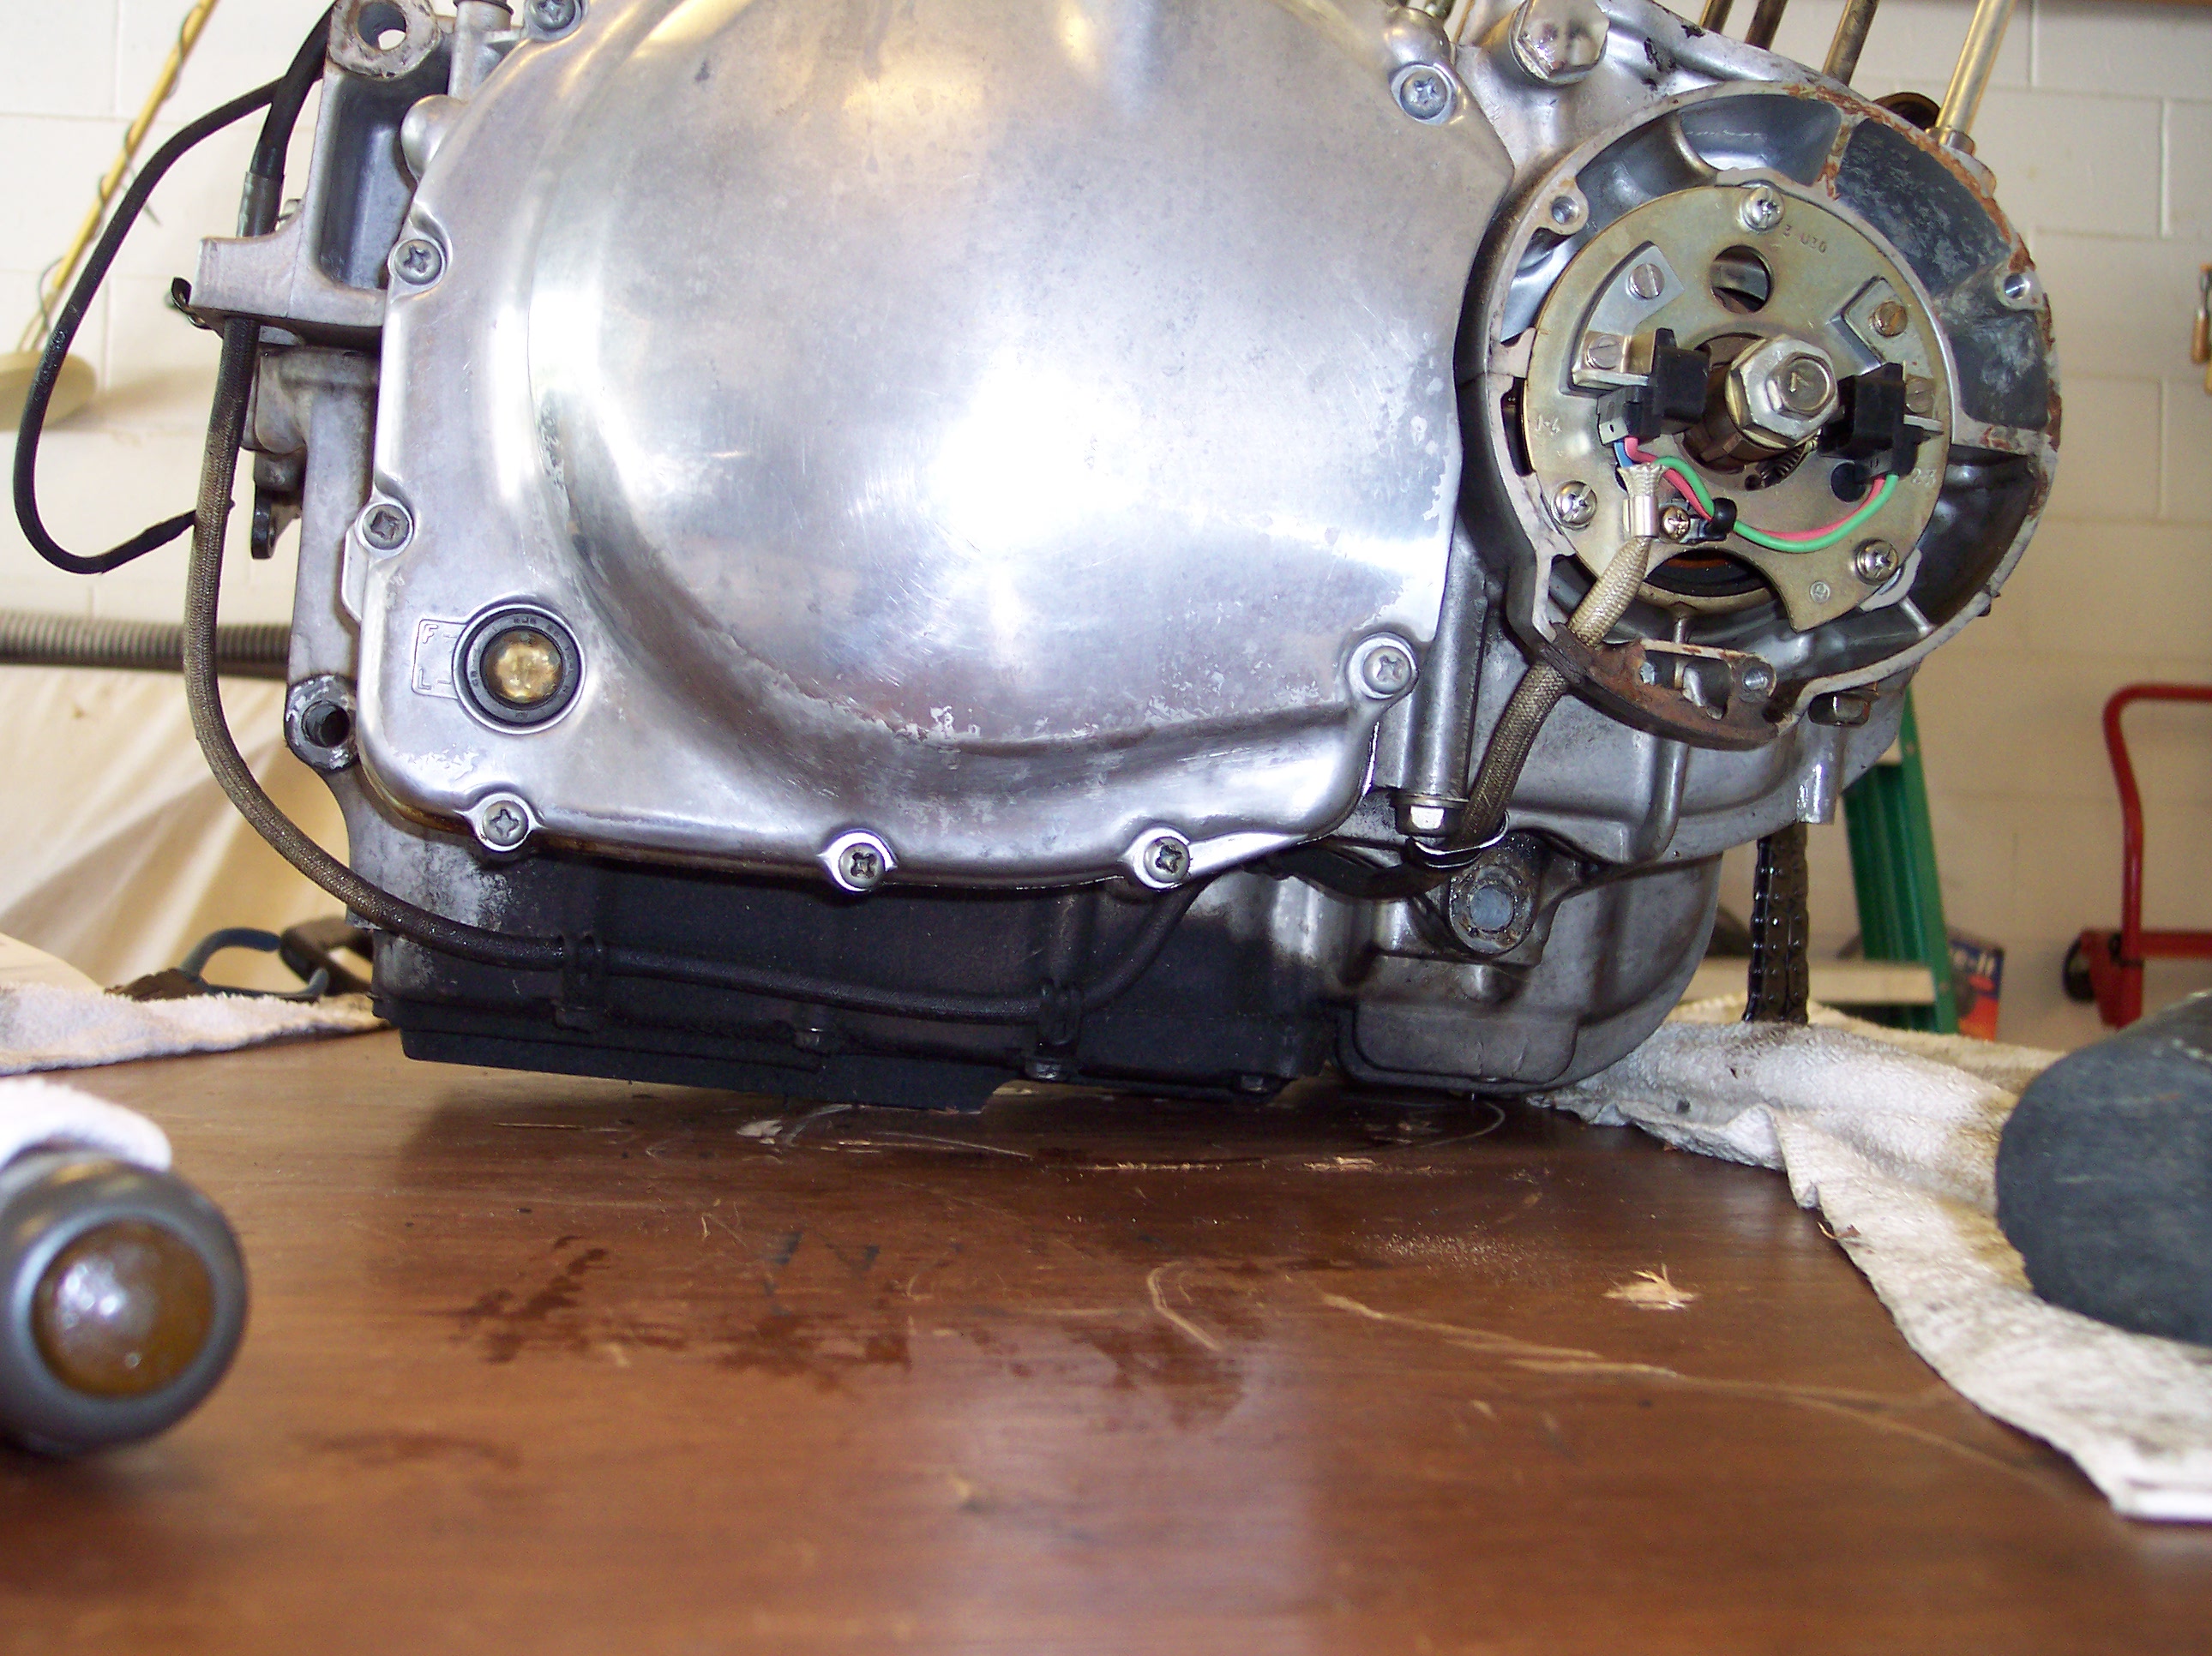
The right side cover, shown below, contains the breaker plate, and since electronic ignition is used here, instead of breaker points, it has magnetic pickups. The picture on the right also documents the proper routing of the signal wires under the engine case.
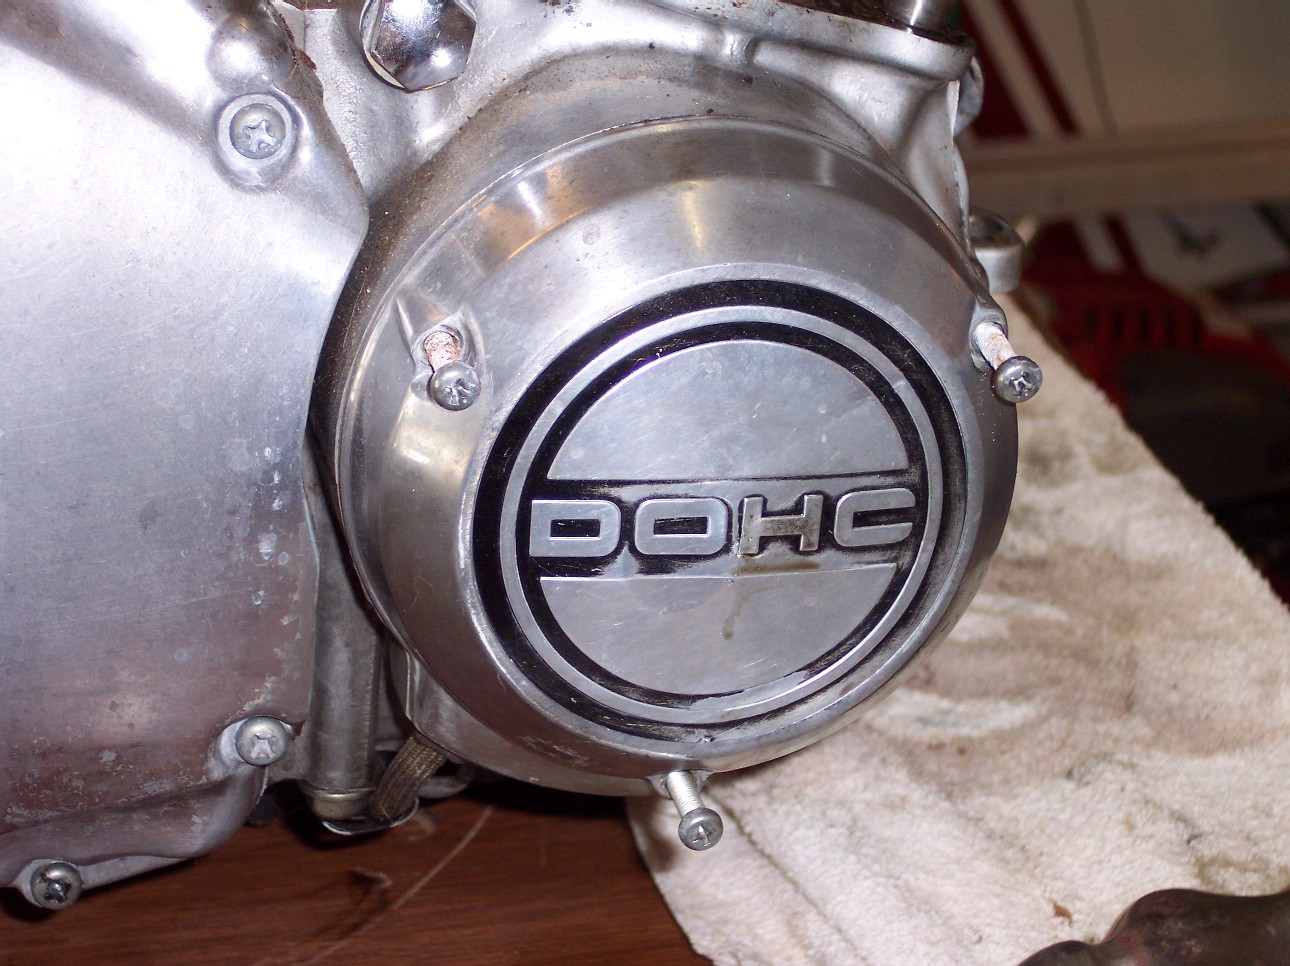
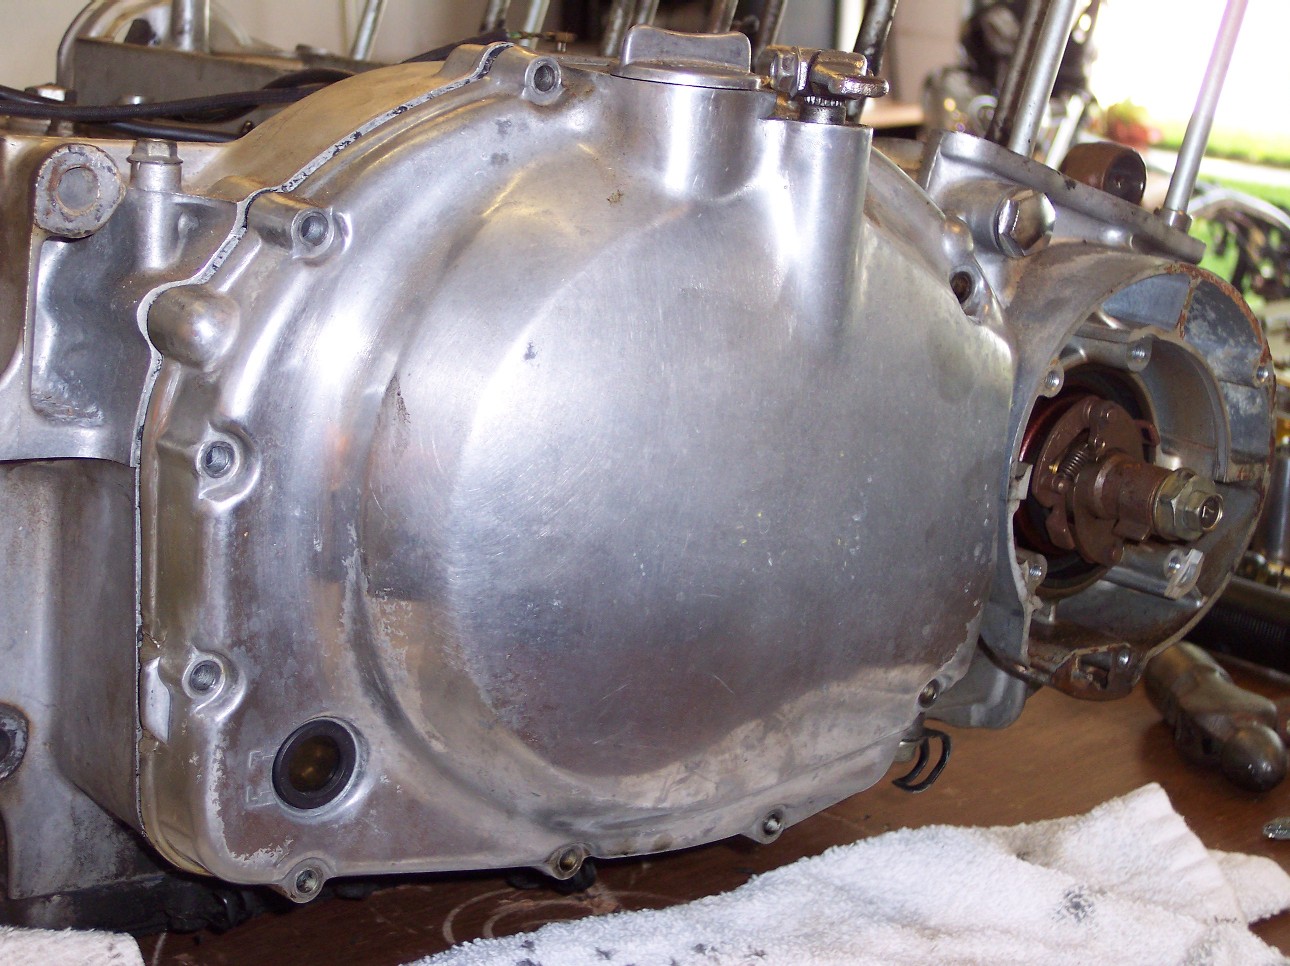
The large engine cover in the picture on the right covers the clutch assembly, and the little round window in the lower left of the cover is the oil level indicator.
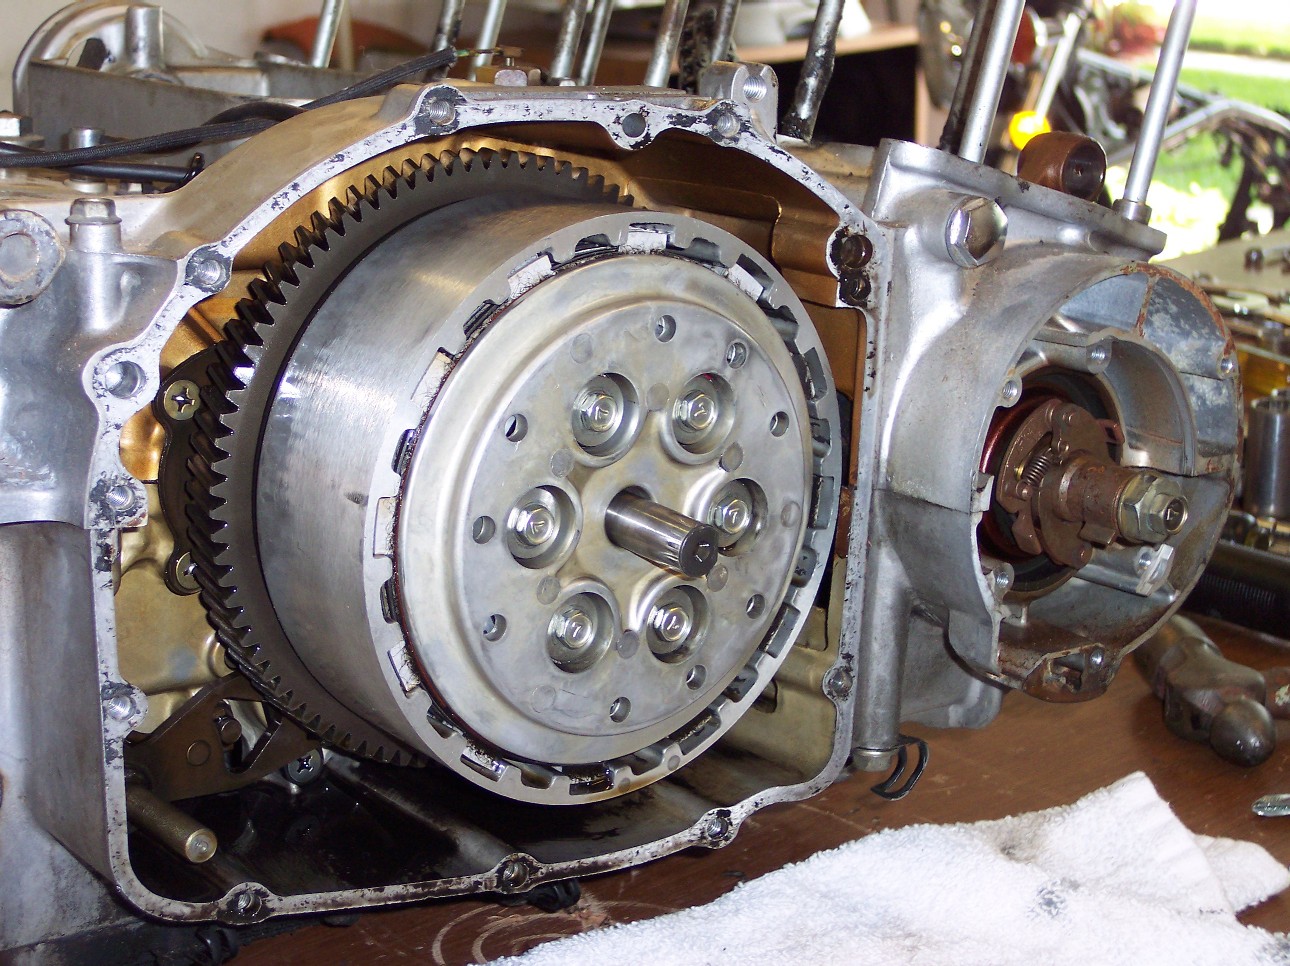
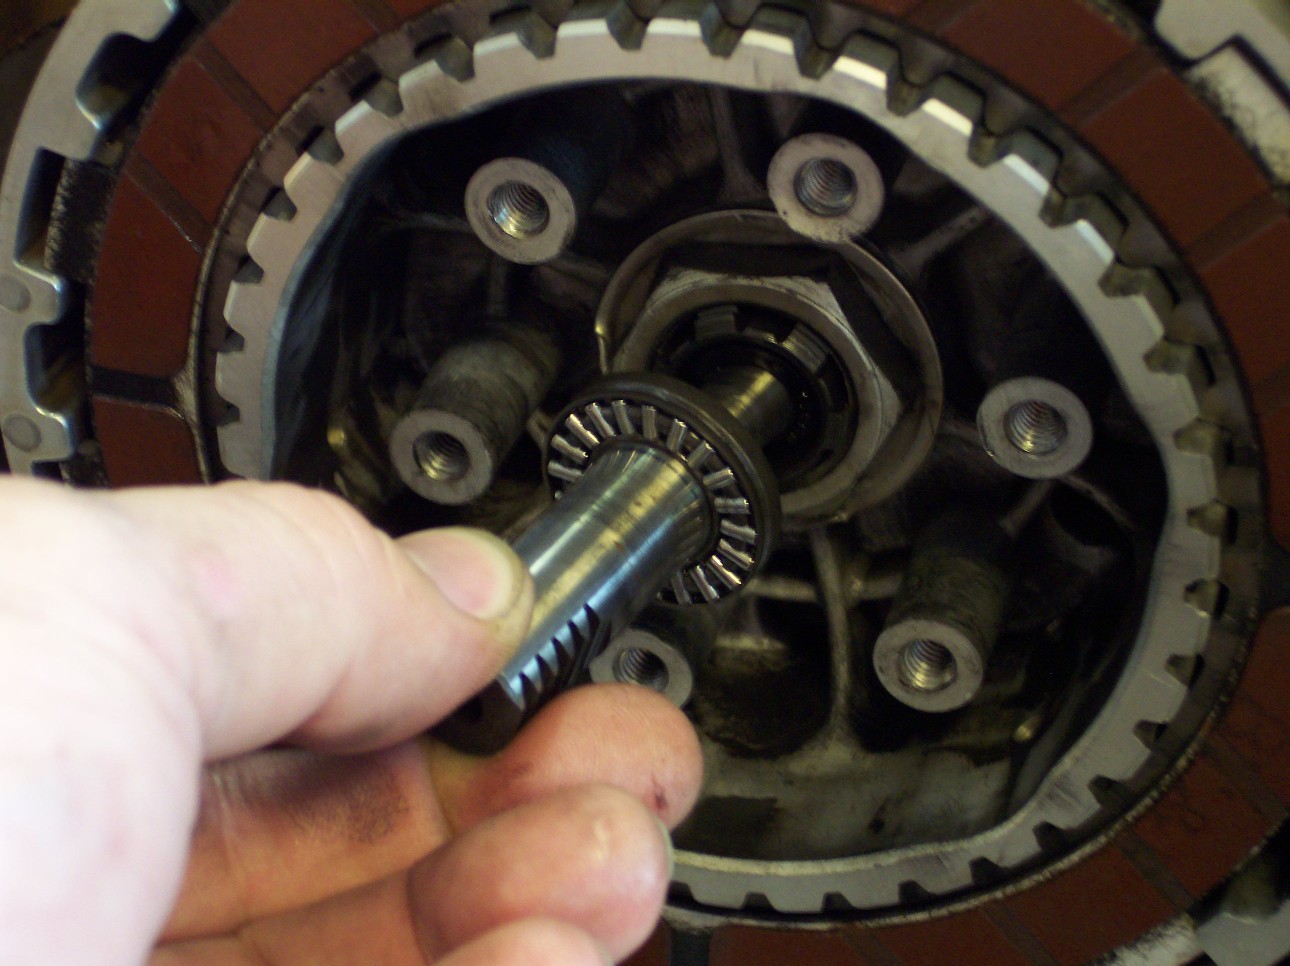
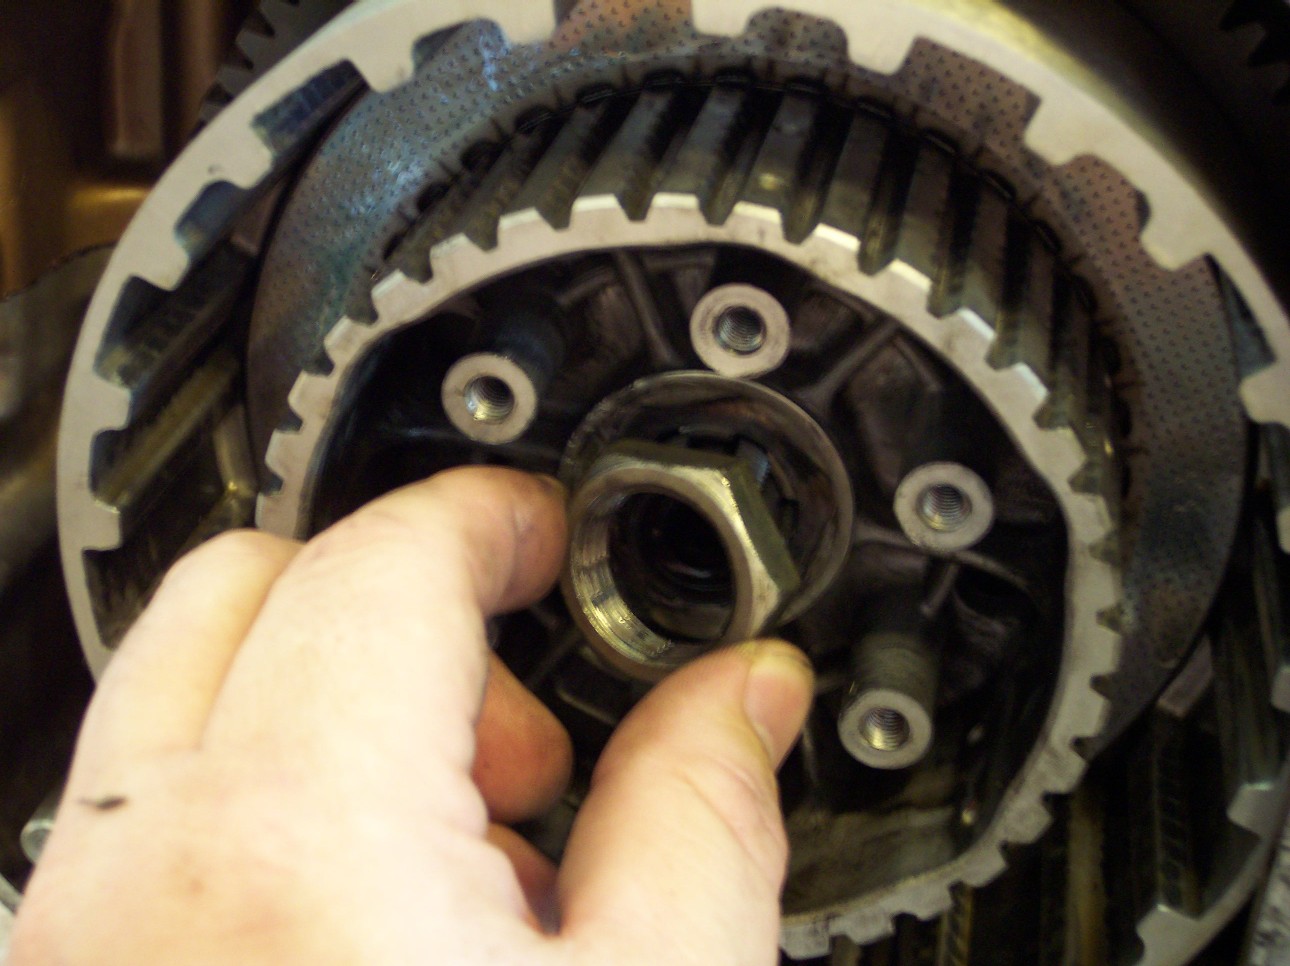
Removing the right side case exposes the clutch/hub assembly. There are six clutch springs compressing several clutch disks, you can see the bolt holding each one around the central pin. The pin you see in the center, is depressed by the lever in the top of the cover, seen in the left photo near the oil fill. The following series of pictures documents the removal of the clutch basket, disks, etc. The last picture is the set of clutch disks.
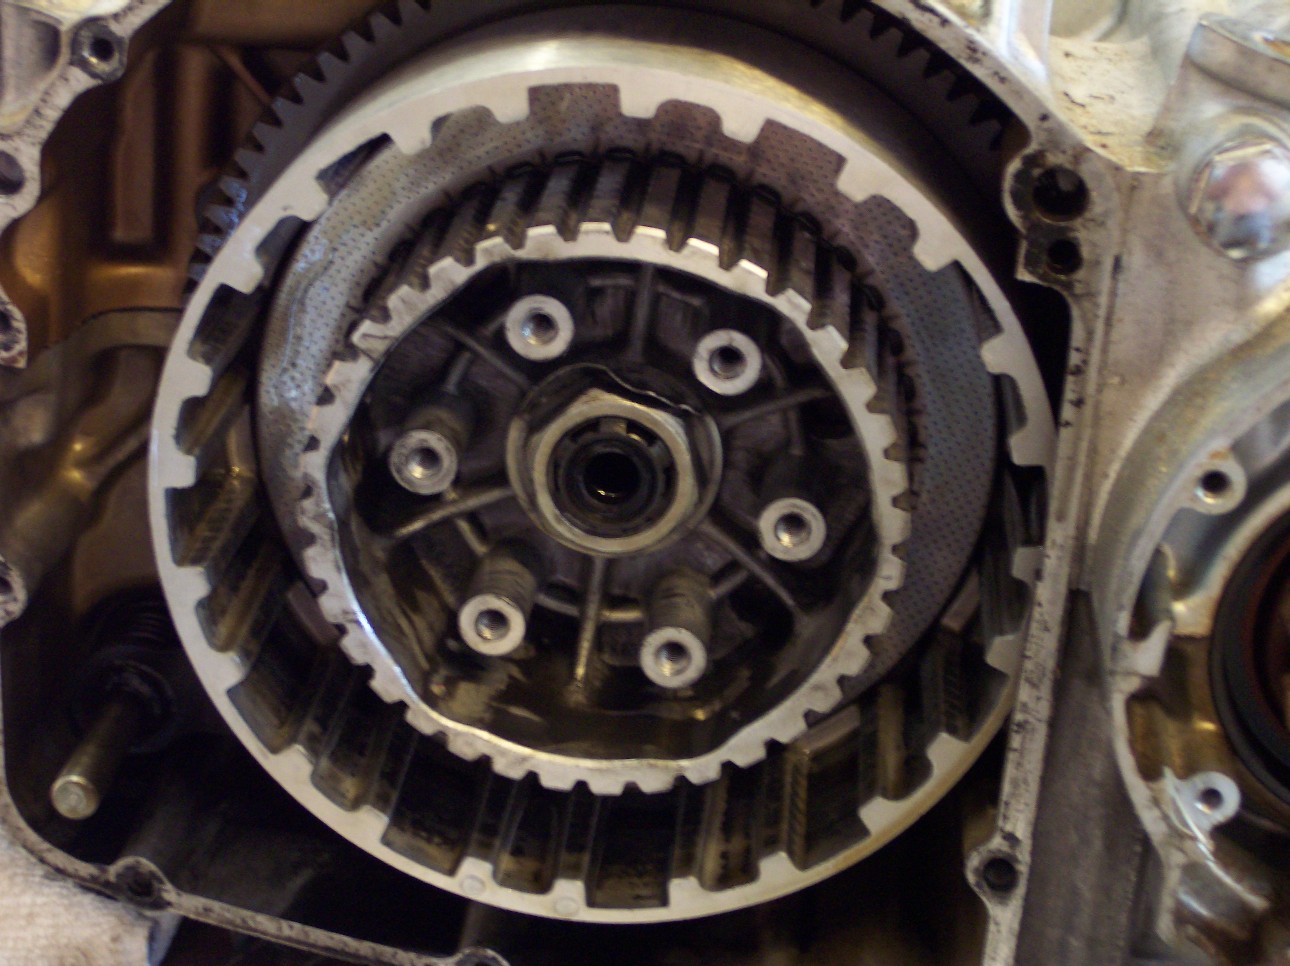
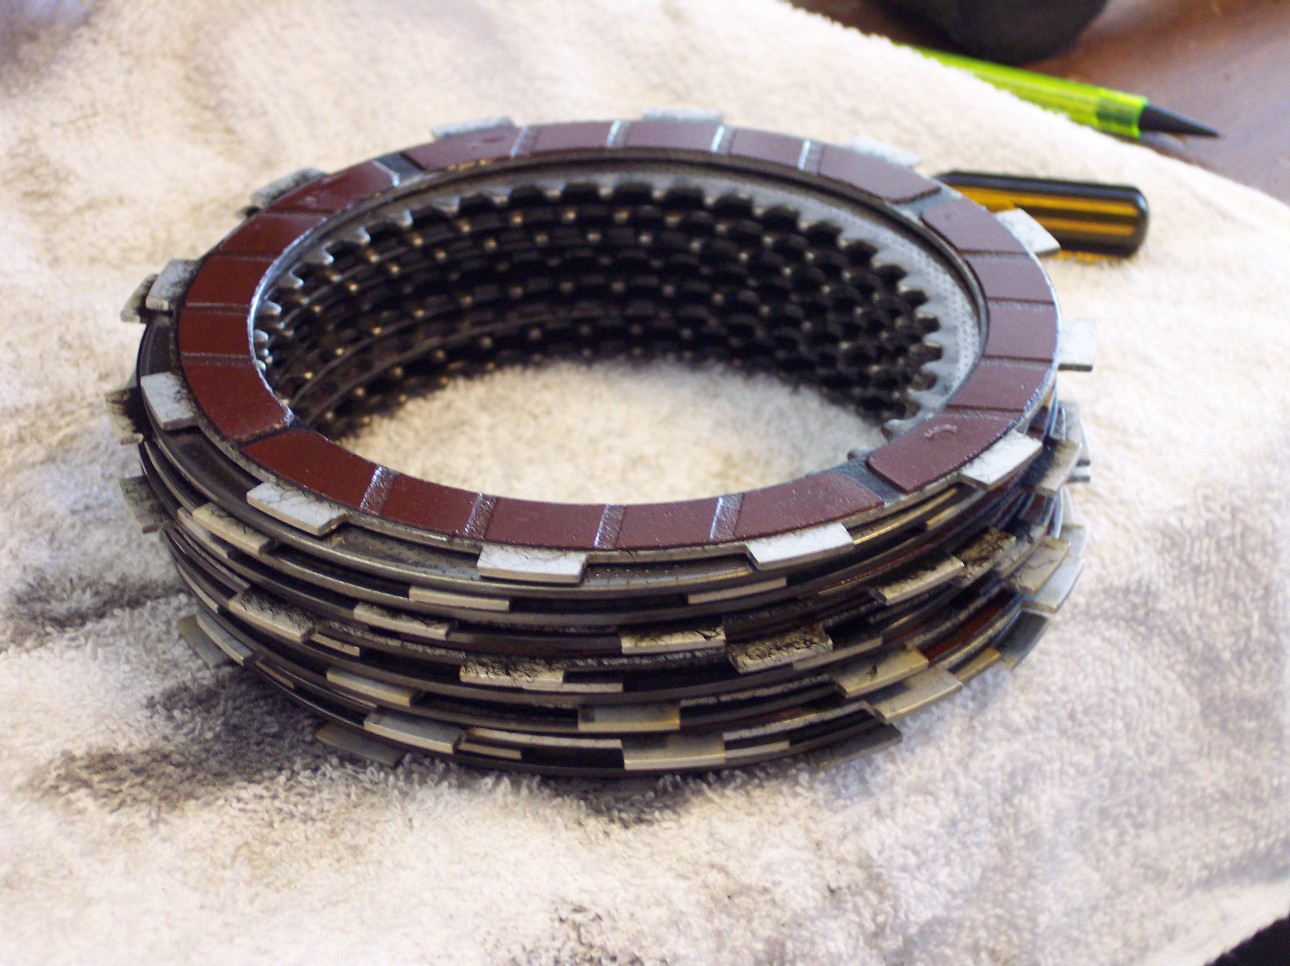
This is the stack of clutch plates..both the fiber and the metal. They don't show excessive wear, so they're going to go back in when I reassemble the engine.
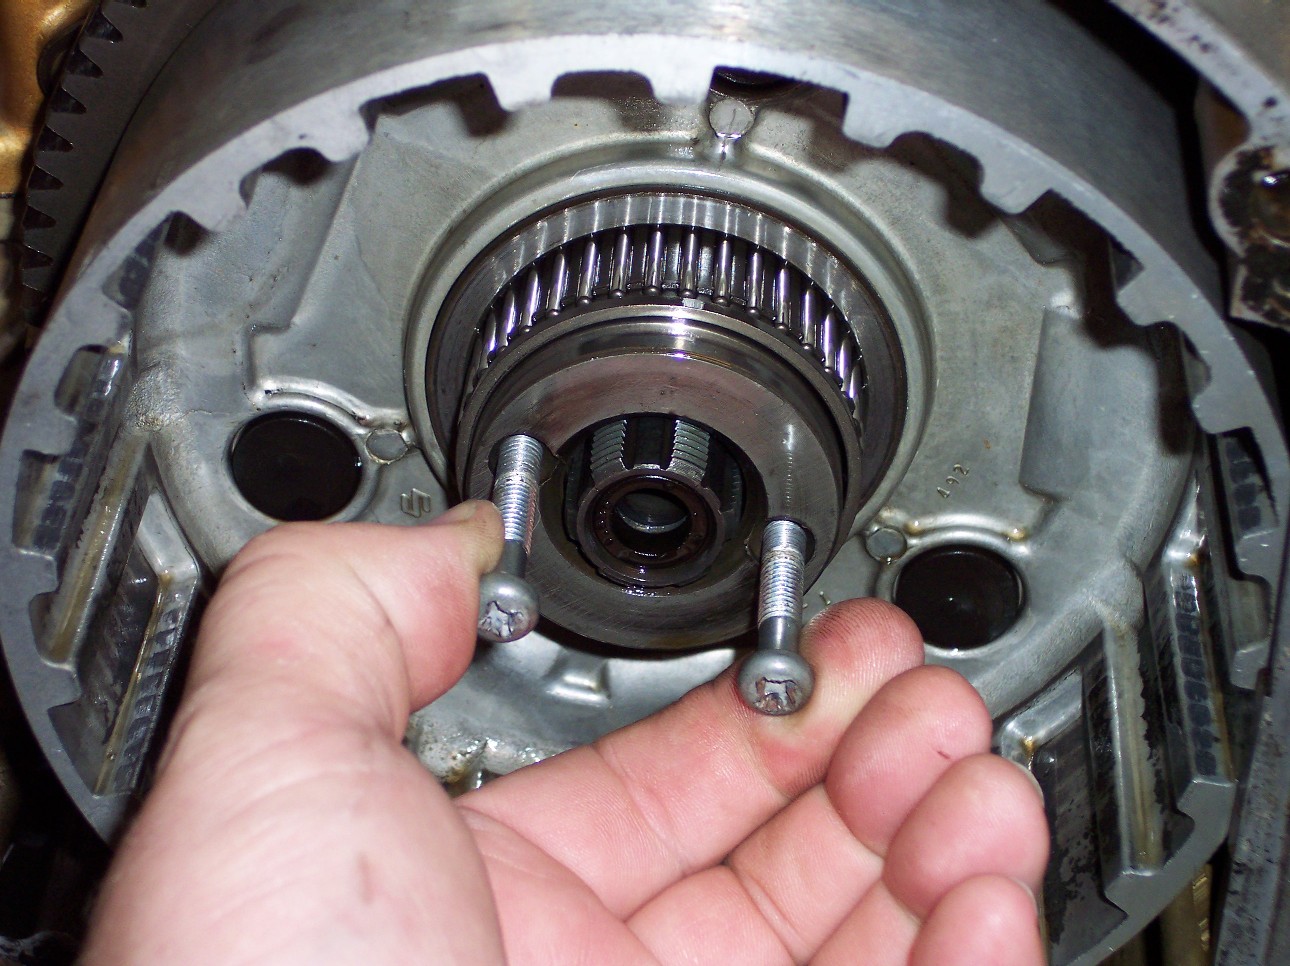
Taking pictures of the screws, as they are removed, documents which ones are used when reassembling the motor. Of course, these will get cleaned up before going back on a clean motor. You can see in the picture below, the output flange that the shaft drive bolts to.
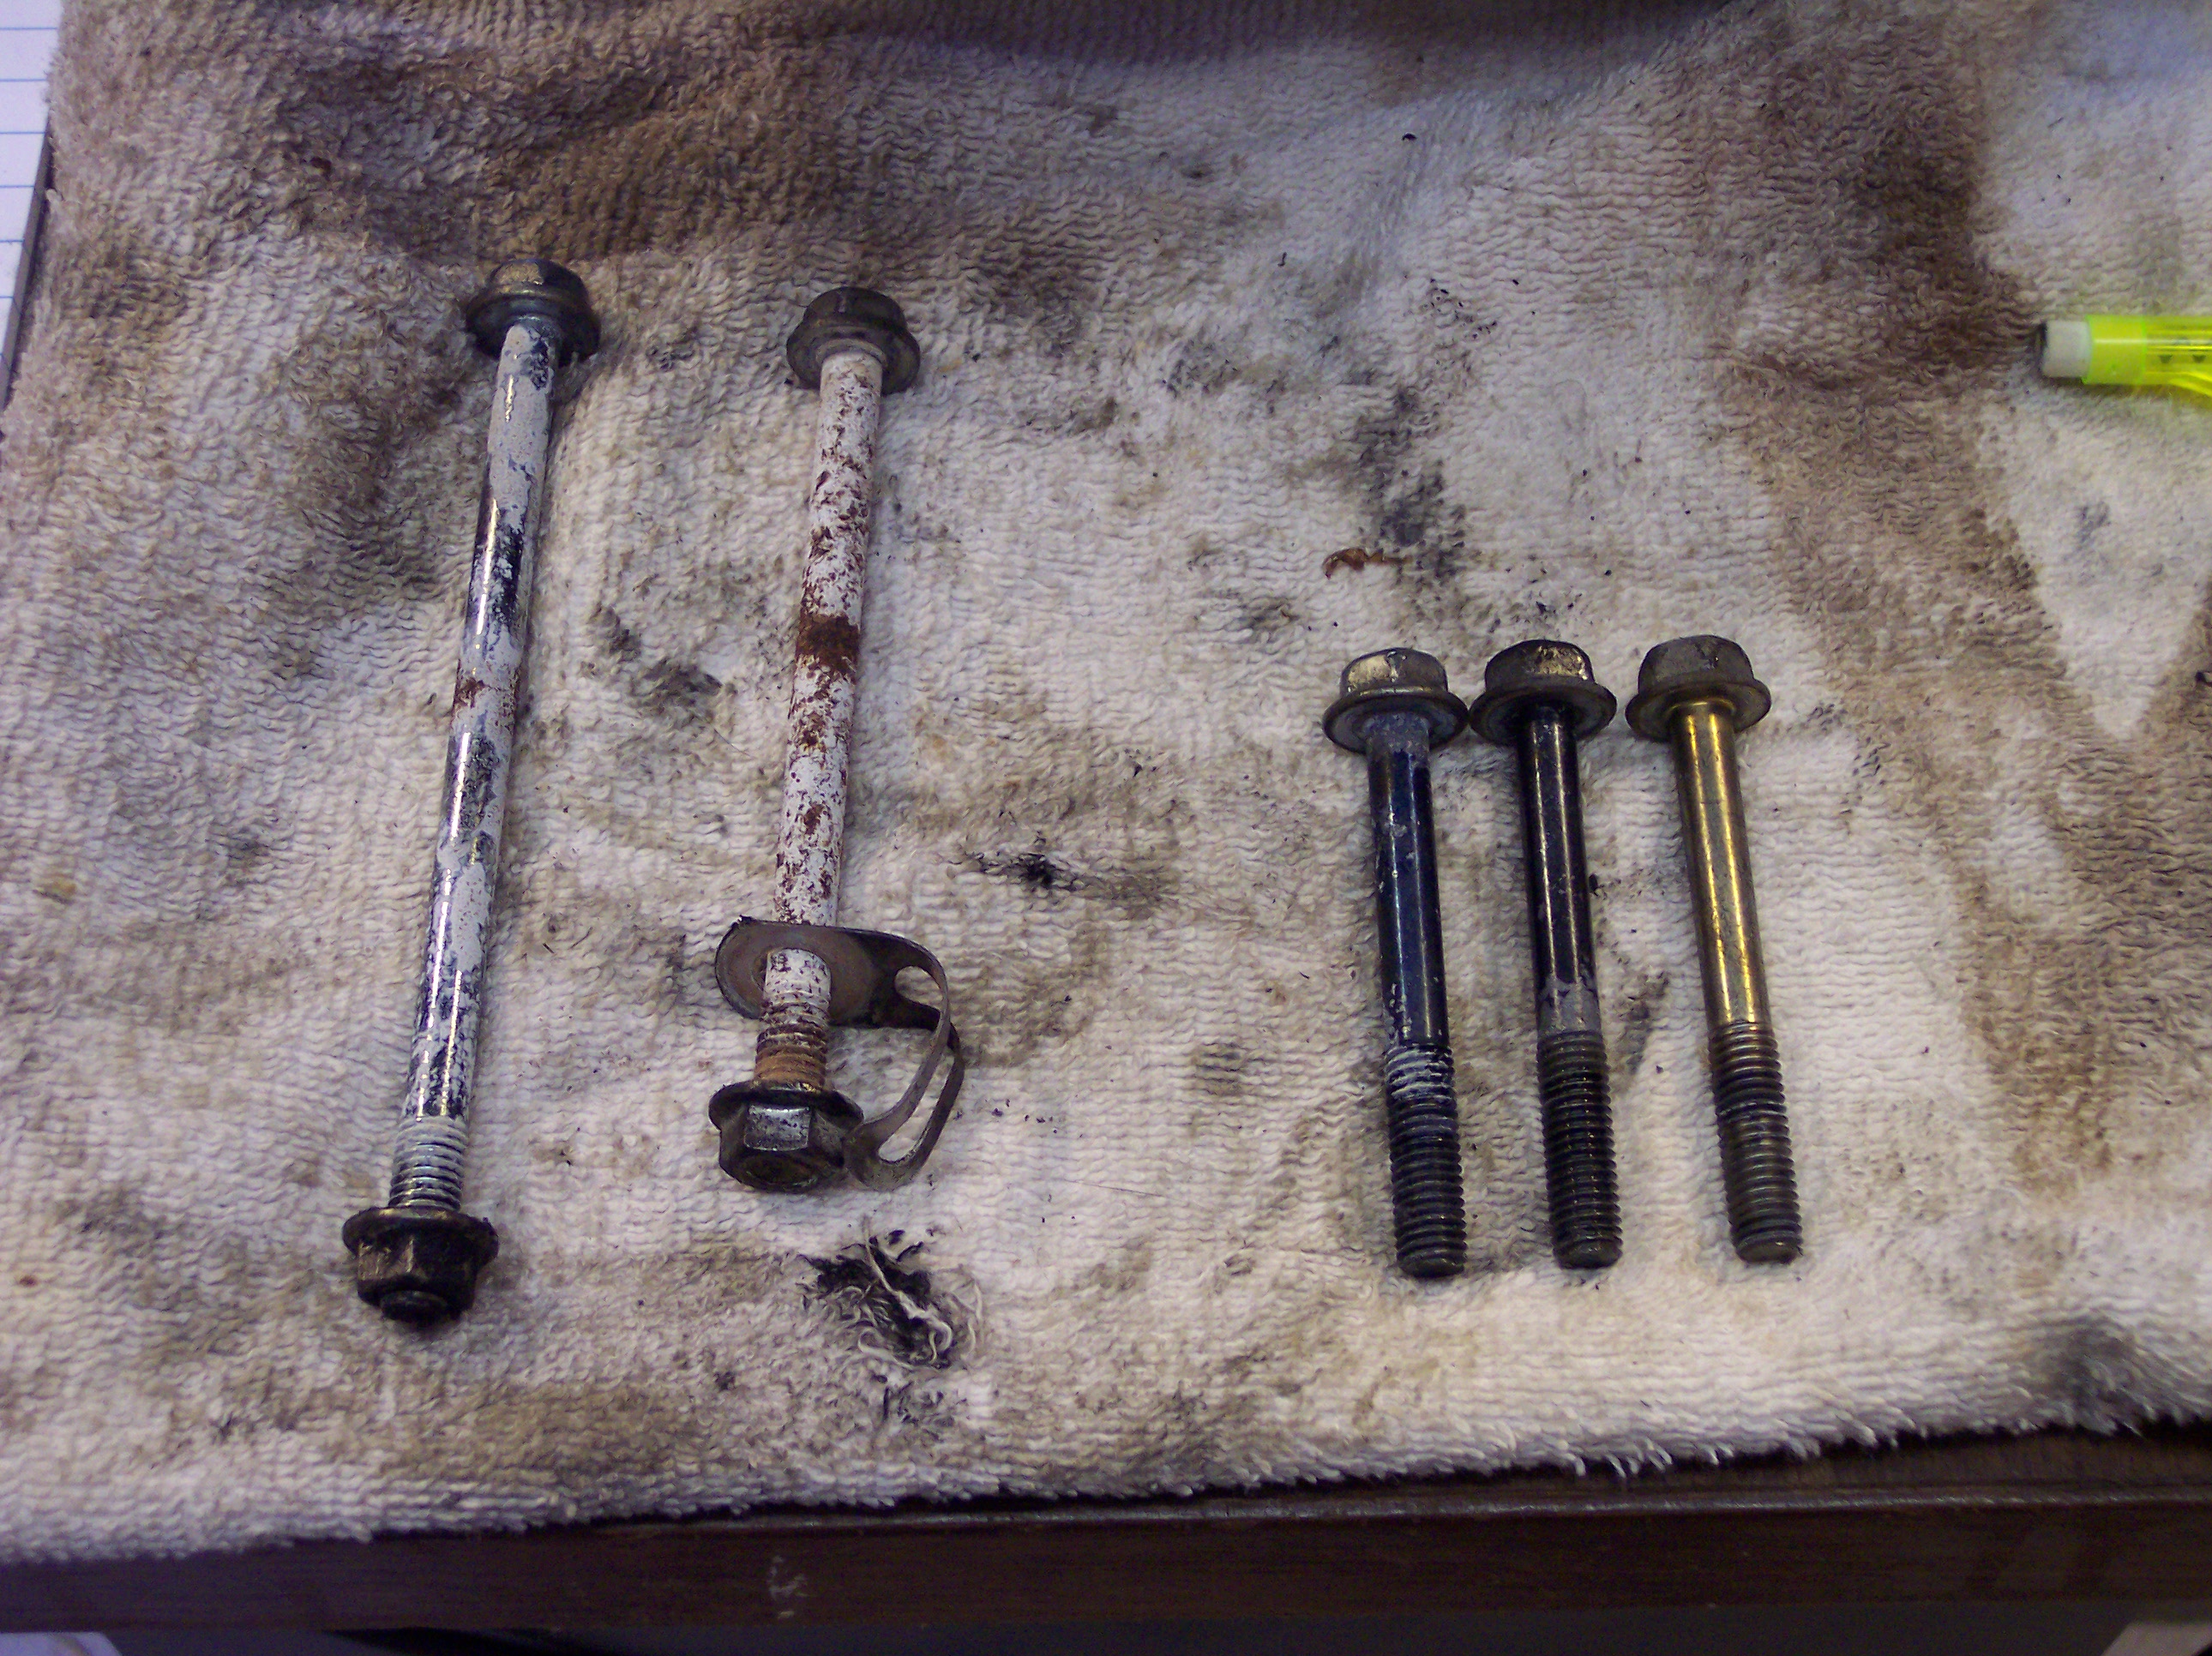
You can see the condition of some of the bolts as I remove them. They will all be blasted and cleaned up before being reused.
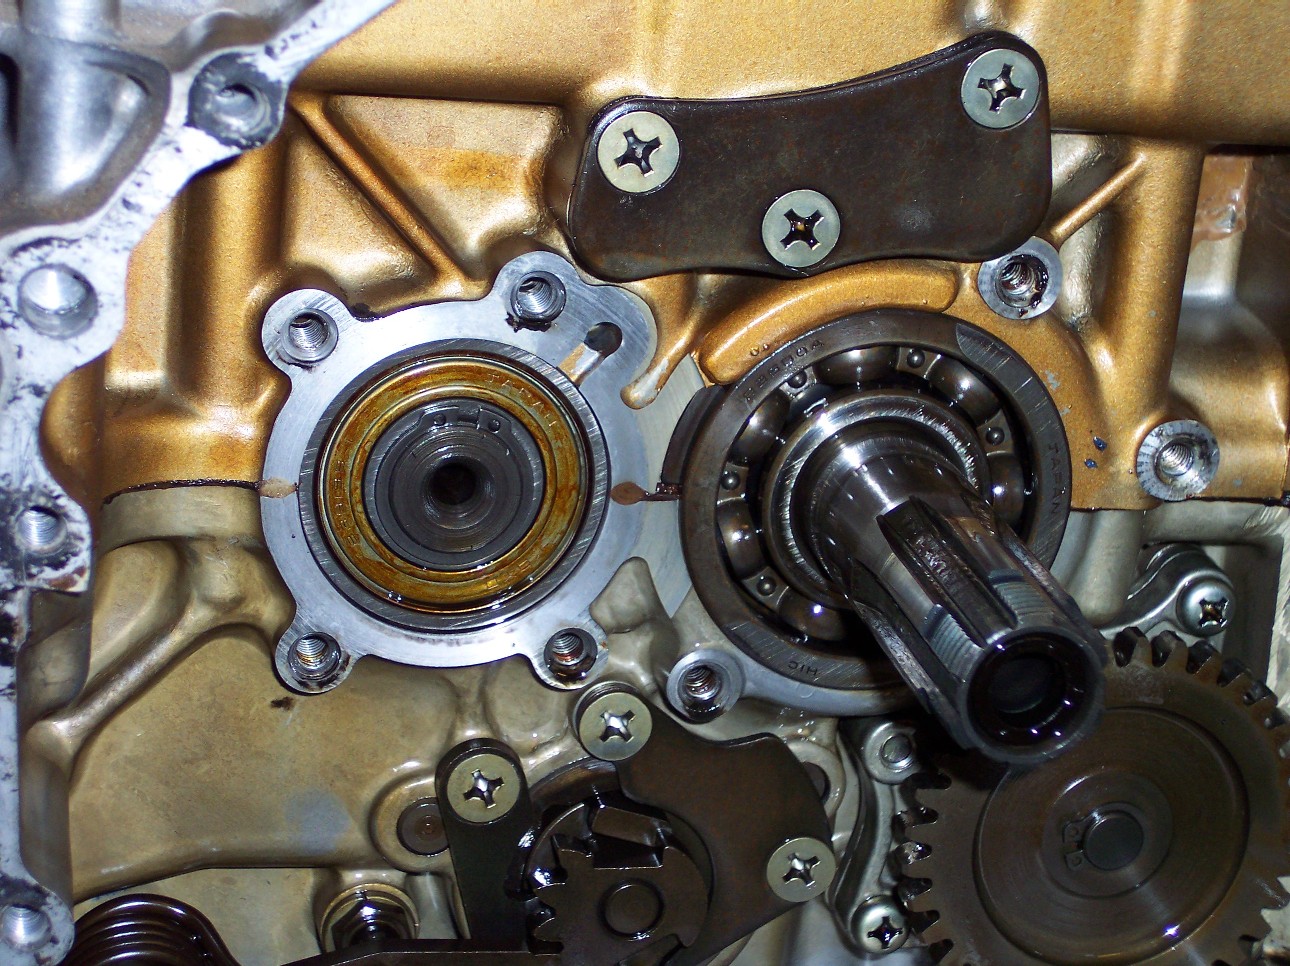
The engine is then turned upside-down so the oil pan can be removed, and the bolts that are located under it. All the bolts now get loosened and removed in preparation for the cases being split. All the grease and road grime you see on the bottom will be degreased, cleaned, glass-beaded in the blasting cabinet, and painted with Alumi-blast cast-aluminum engine paint before assembly. The oil pan is removed in this step, and the screen you see is part of the oil pickup from the oil pump.
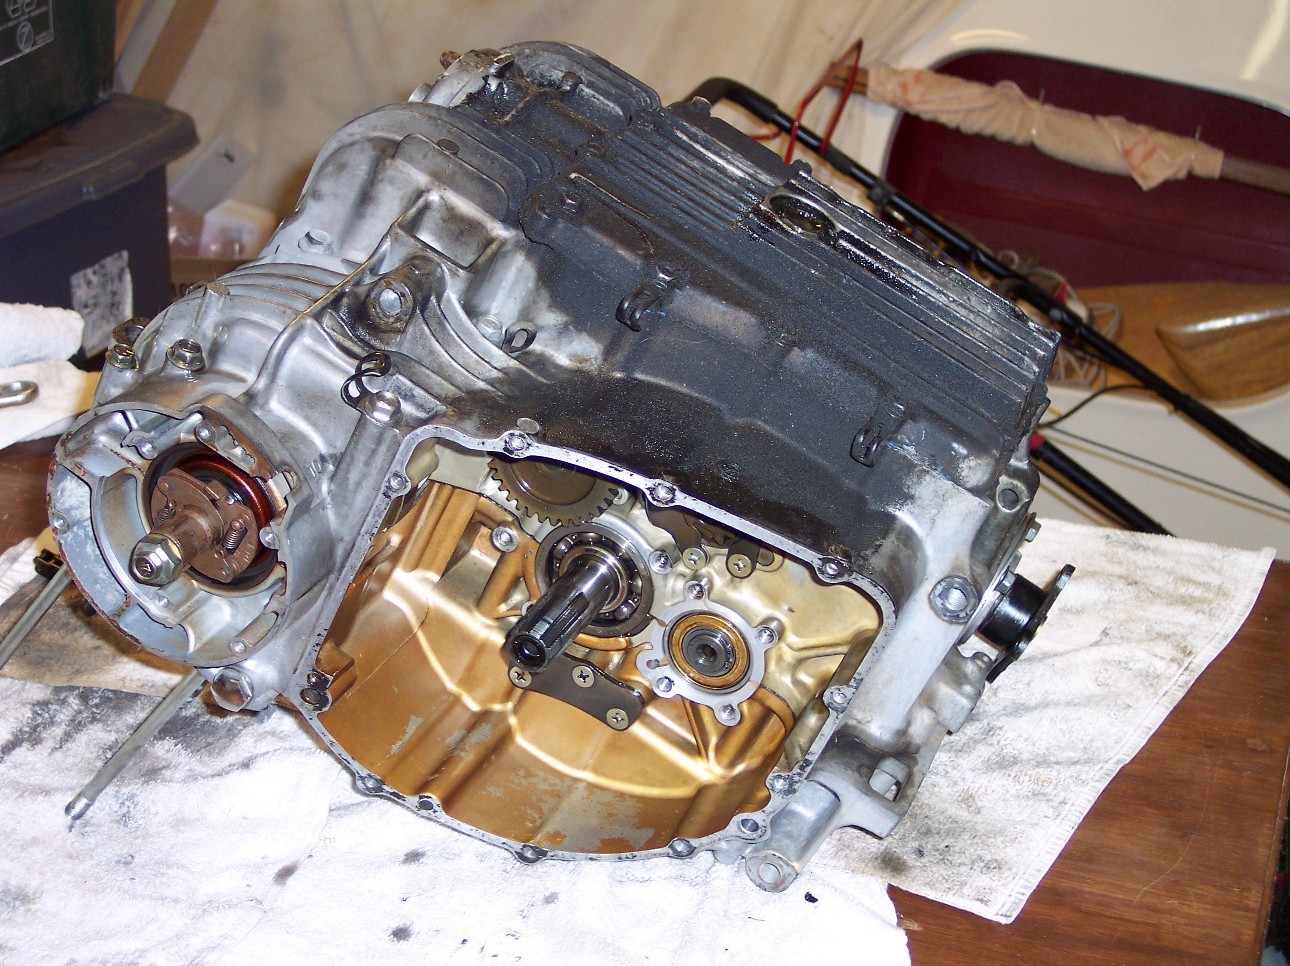
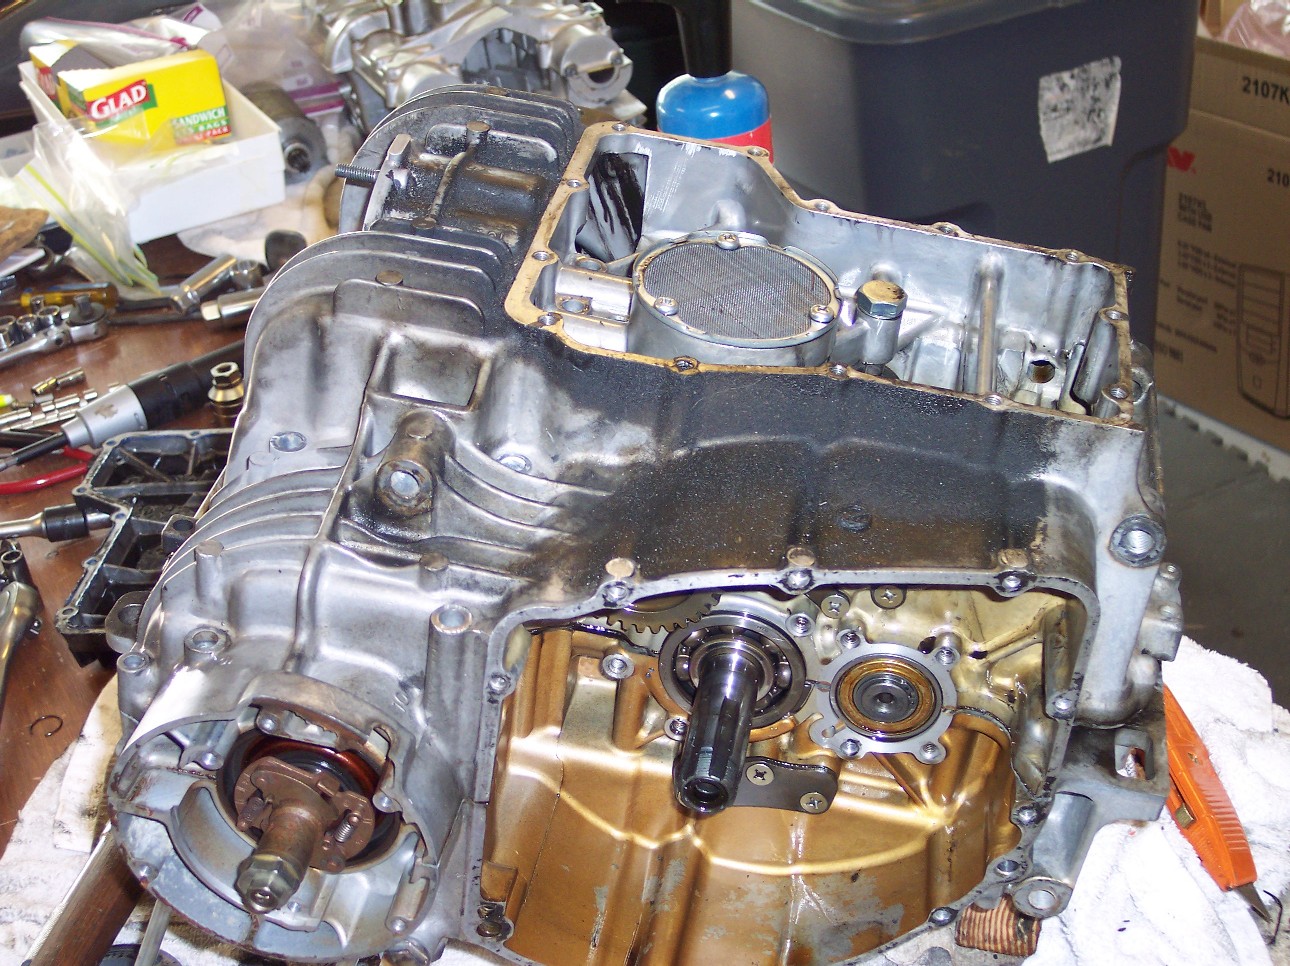
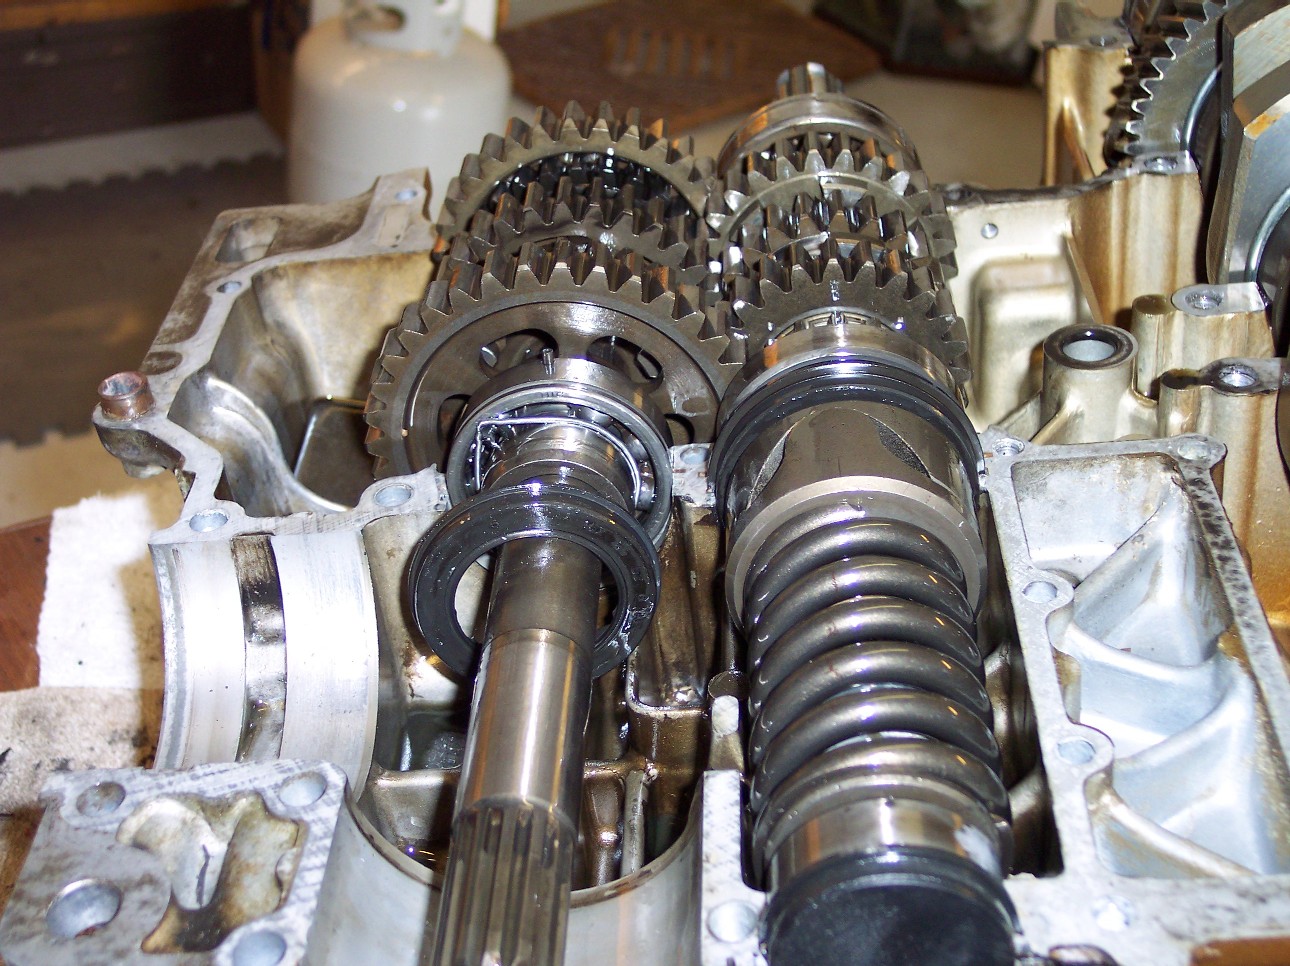
With all the bolts removed, gentle tapping with a rubber mallet is all that needs to be done in order to remove the case half. These cases are a matched pair, and there is NO gasket between them to seal them. Only a slight film of silicon sealer is used, and darn little of that, so none of it can get squeezed inside and mug up the works! On the right, you can see the transmission...the transmission gear sets. The large gear on the crankshaft toward the upper left of the picture is what drives the clutch, and the clutch in turn drives the gear shaft directly below (the middle shaft) to turn. The gears on the middle shaft mesh with the gears on the driven shaft (closer to the bottom of the picture), and finally transmit the power to the drive shaft through the planetary gear on the lower right, and then to the rear wheel. The final output gear has been removed for the picture.
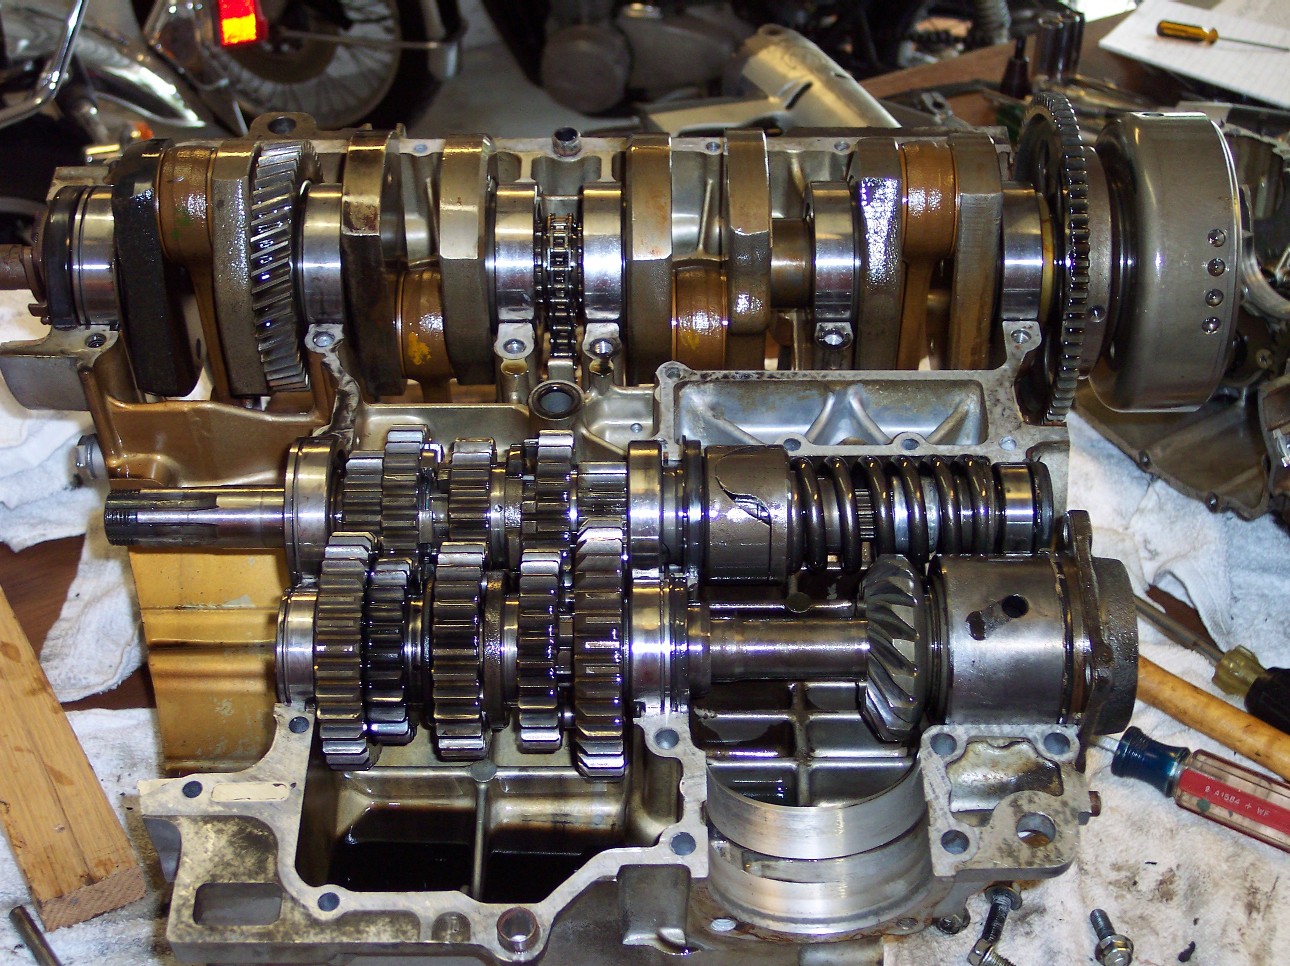
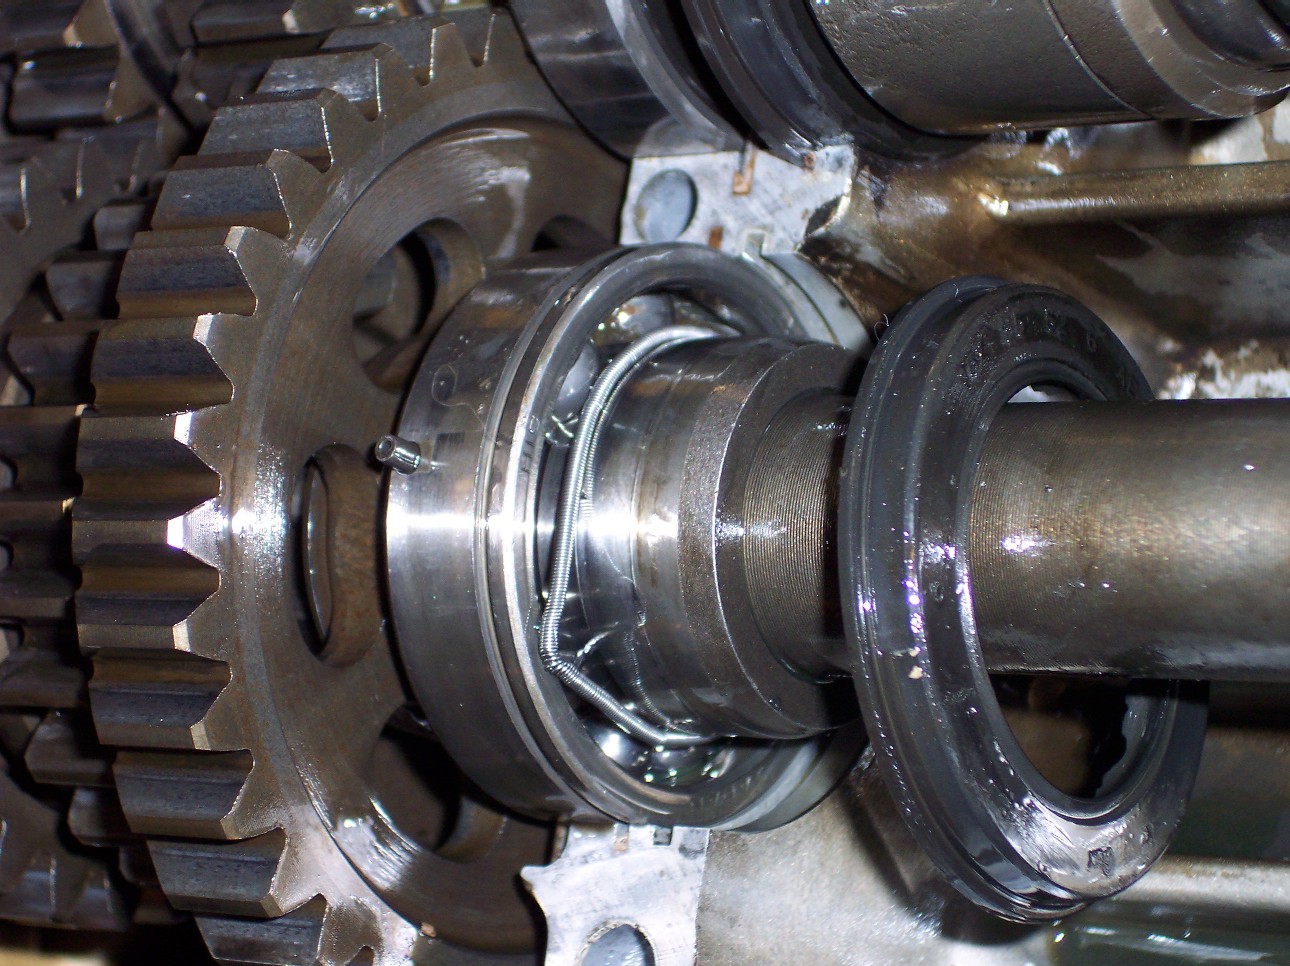
Alas, the pictures below tell the story. Indeed the bearing on the driven shaft has failed, and caused bits of the bearing cage to fall into the oil pan. After a thorough examination of the gear sets, it was also discovered that a snap ring broke, and fell down allowing excessive play in second gear, which caused excessive wear, requiring it to be replaced, along with the shift forks, other bearings, and all the oil seals. The whole transmission gear set was shipped off to have all new gears cut, while the necessary bearings, seals, and other hardware were placed on order. In the meantime, everything else is being prepped, painted, and readied for when the transmission returns. Next.