|
|
||
01/06/07 |
    |
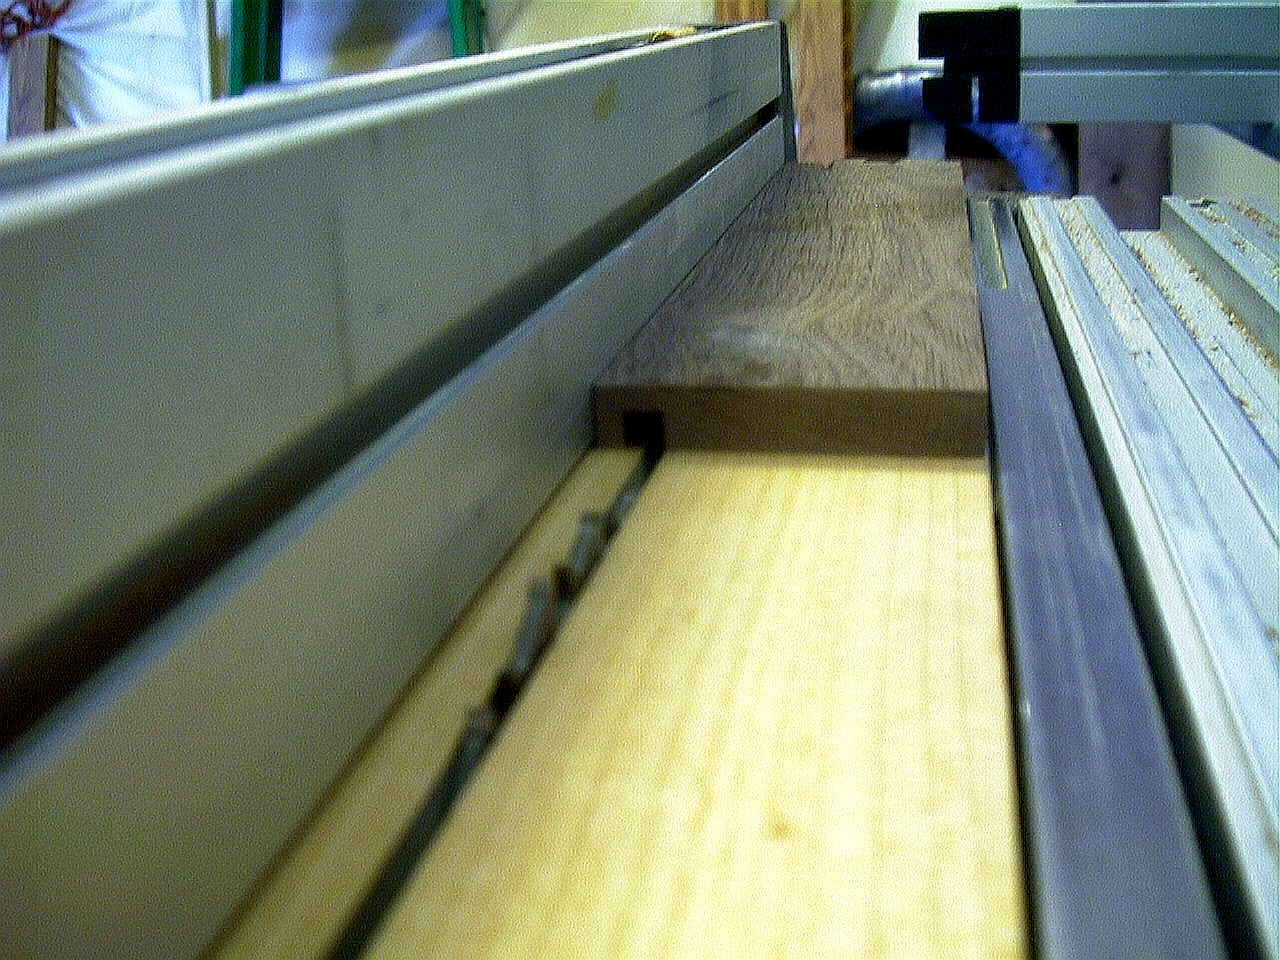
The first thing to do, after cutting the front, sides, and back to the right length, is to cut a 1/4" dado near the bottom inside of each piece to receive the plywood panel that will be the bottom of each drawer. A couple passes on the table saw takes care of this in quick order.
A dovetail jig shown at left, is used with a
router and a dovetail bit, guided by the plastic guides, to cut the
dovetails into both the front (top piece) and the side (toward the bottom of
the picture) of the drawer components. It only takes a few seconds to
make the actual cut, as shown here, but it took several hours to actually
setup the measurements, positions, and precise placement of the materials,
in order to
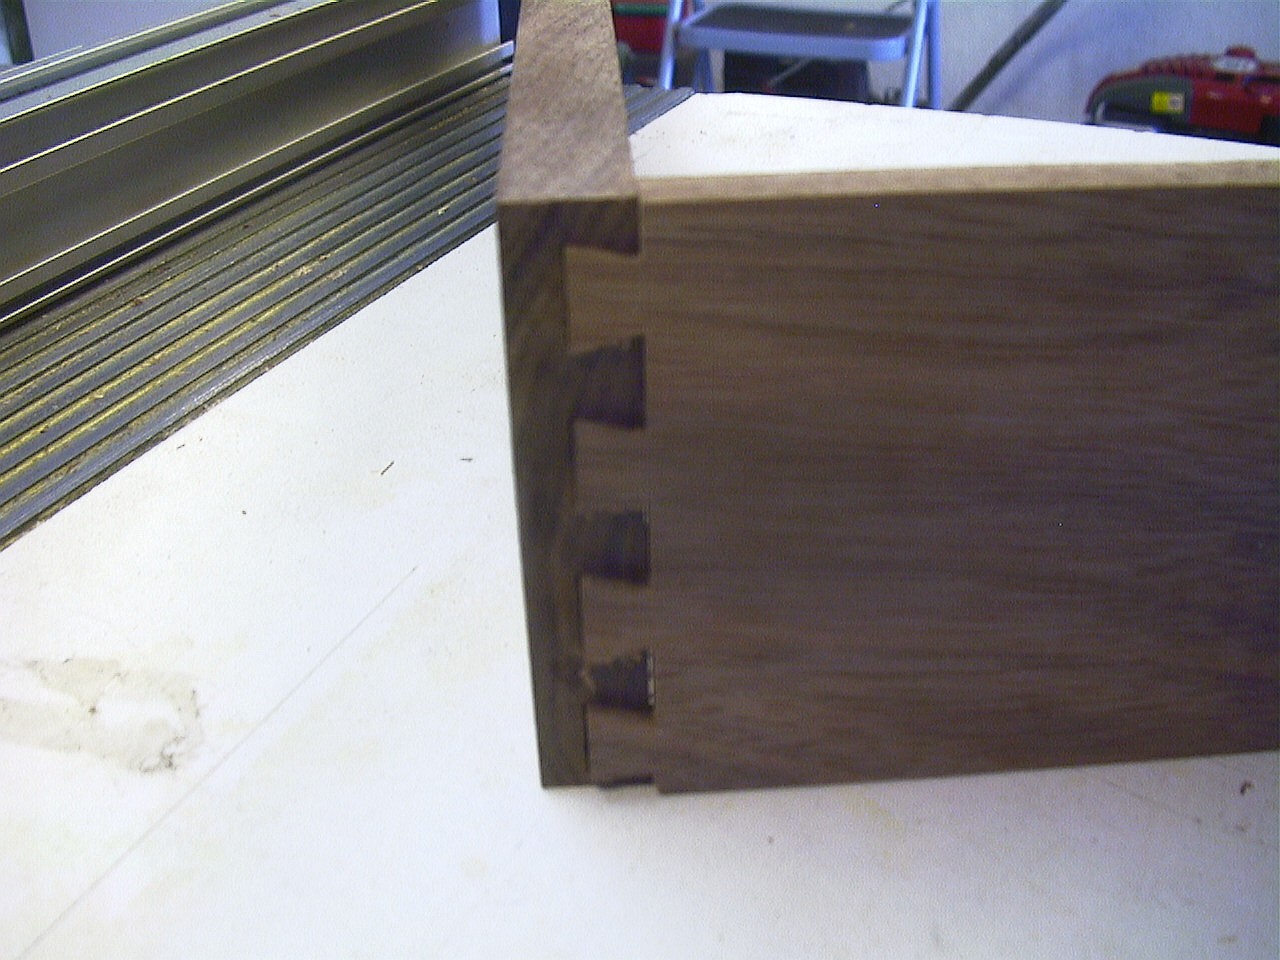
The picture to the right shows the bottom
drawer with the dovetail joint completed. It makes an extremely strong
joint, thanks to the increased surface area joining the two woods together.
The dovetail is mechanically very strong, and I've even been tempted to skip
the glue, since most of it oozes out of the joint anyway! But a glued
dovetail, I think, is the closest thing to a permanent joint I can think of!
And it's certainly pretty to look at.
The picture above is just the dry-fit
evaluation. Once both joints are cut, and the drawer is ready for
assembly, gluing up the joints is accomplished by spreading the glue
throughout the joint with a small disposable brush. This will ensure
that the joint won't be "starved" for glue. A lot will squeeze out
from the joint, as you can see below, but there is plenty remaining
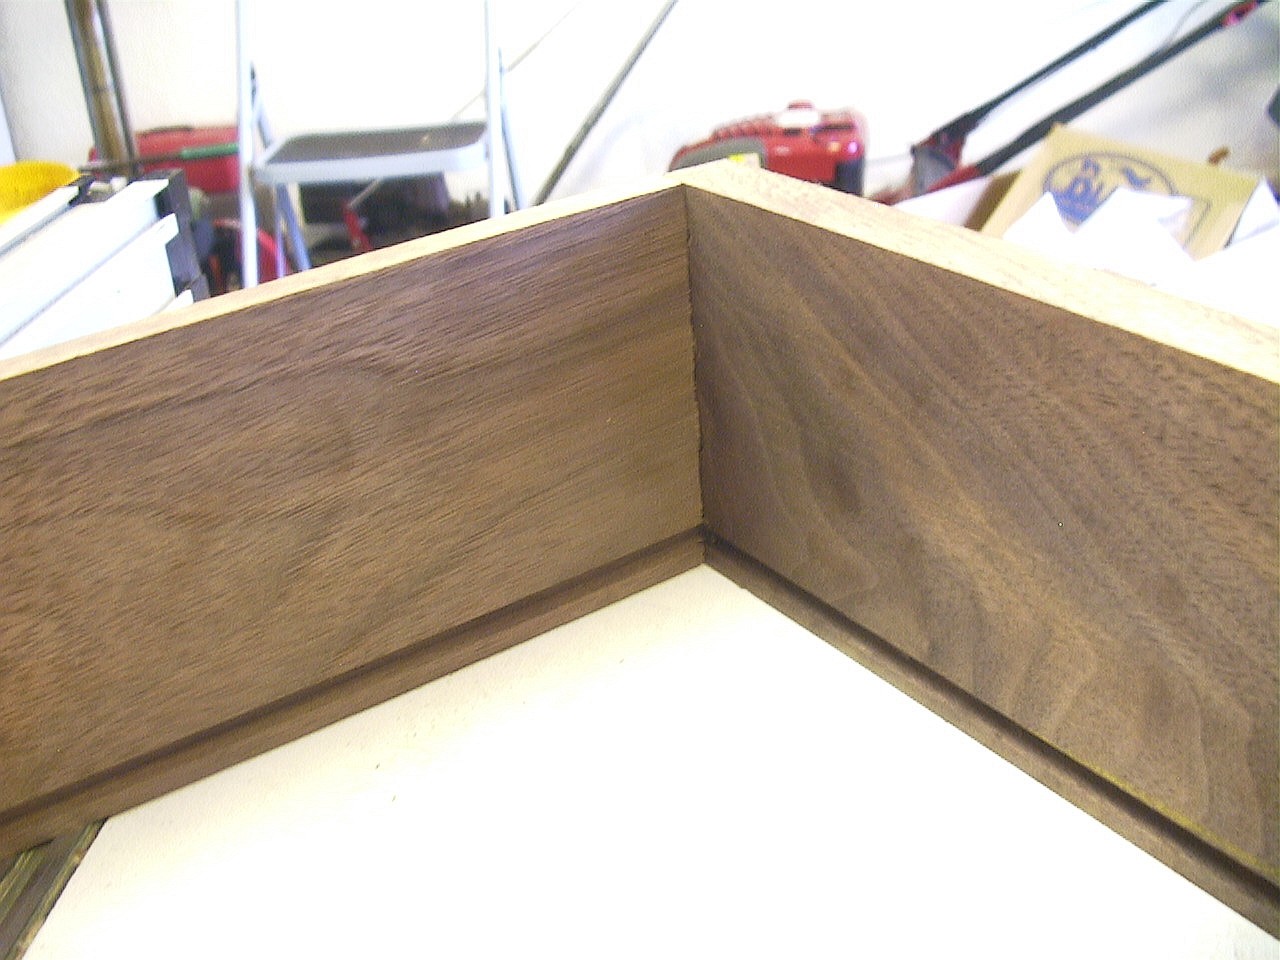
You can see the inside of the front joint...the
dovetails "lock" the corners together, and once glued and pinned, nothing
will make this joint come apart.
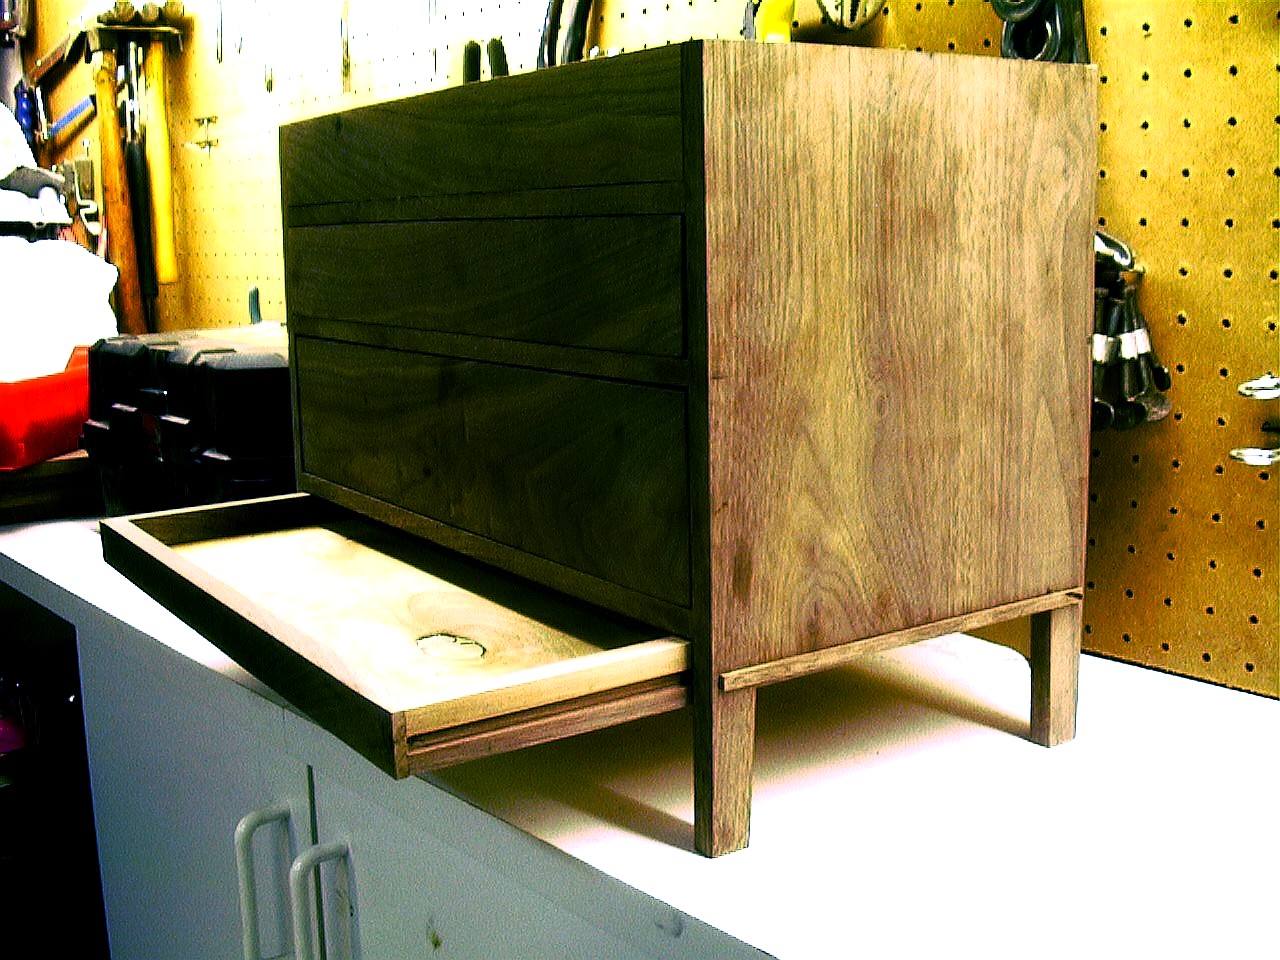
Now you can see the two drawers sit flush to the front of the jewelry box, and the small, hidden drawer below. It runs on two runners on each side, as you can see to the right. Molding will be made, and attached to the front of the extended drawer, and when closed, it won't even be visible! It's coming together quite nicely, I think. |
|
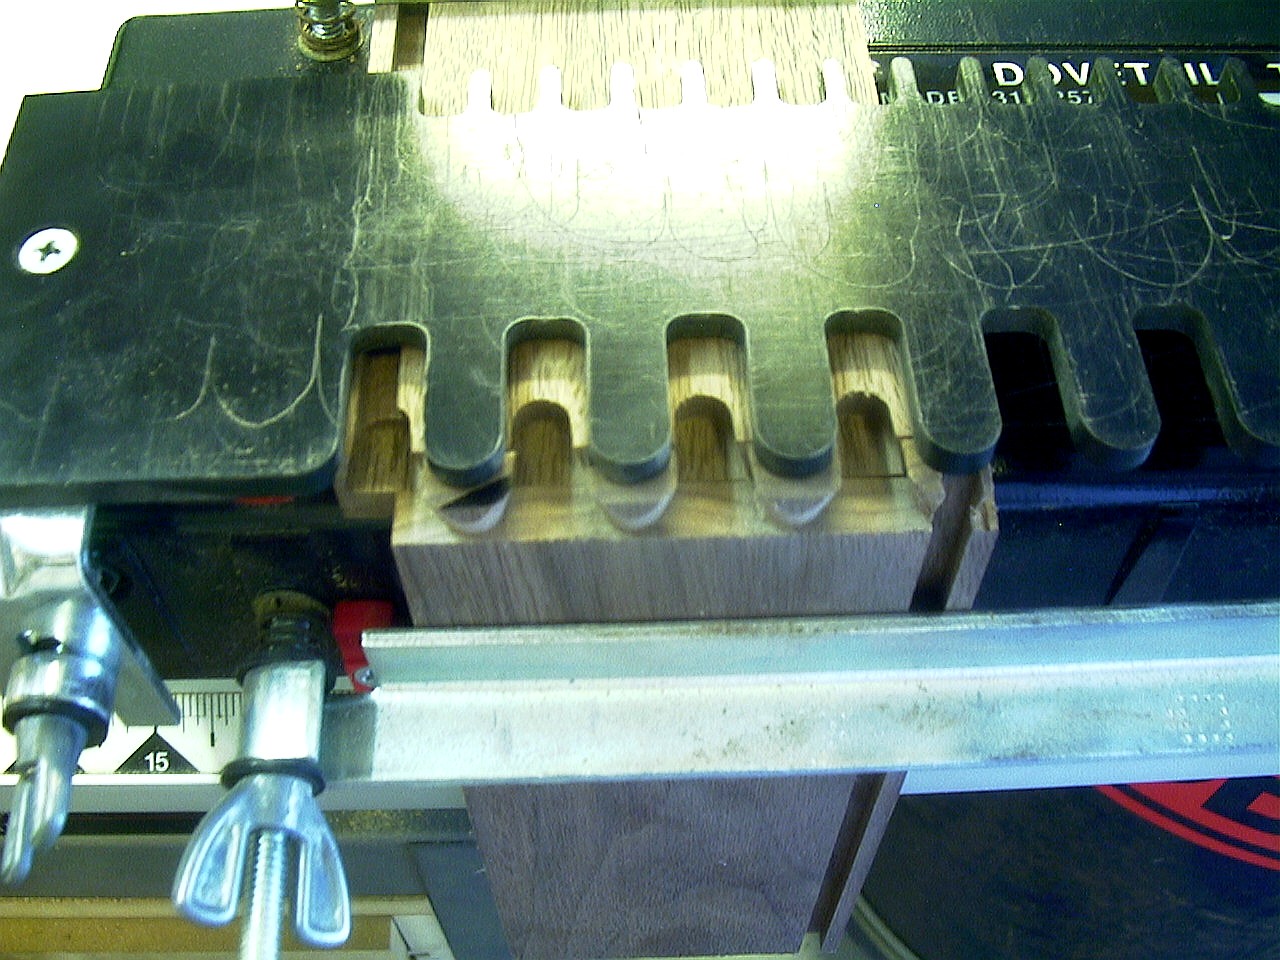
 get
a near-perfect joint.
get
a near-perfect joint.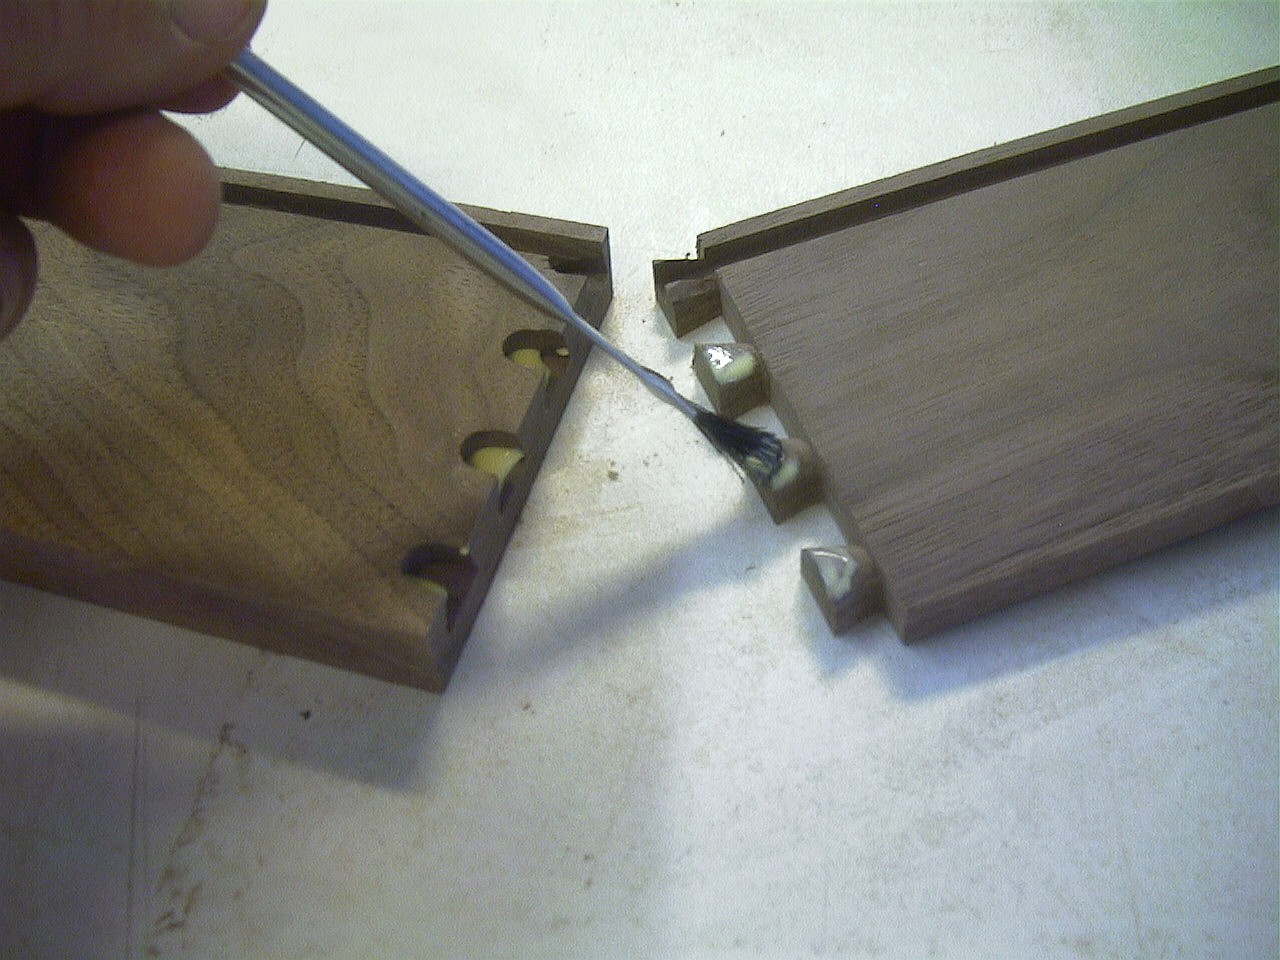
 to make sure this joint won't come apart!
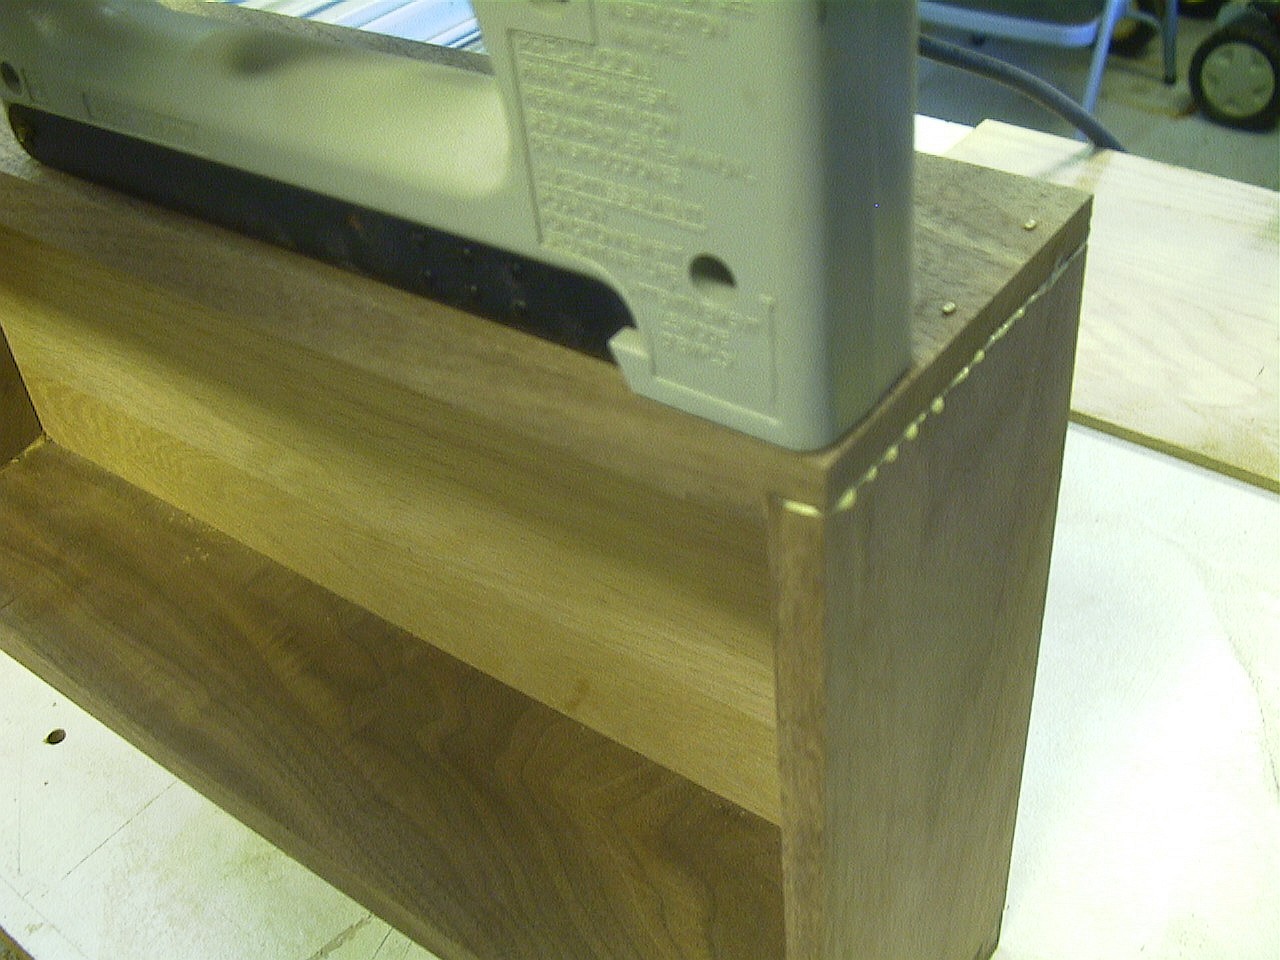
 The
backs of the drawers are simply rabbets cut into the back pieces that the
side pieces fit into. The nails are really only used to act as clamps
until the glue dries. The glue is responsible for keeping the joint
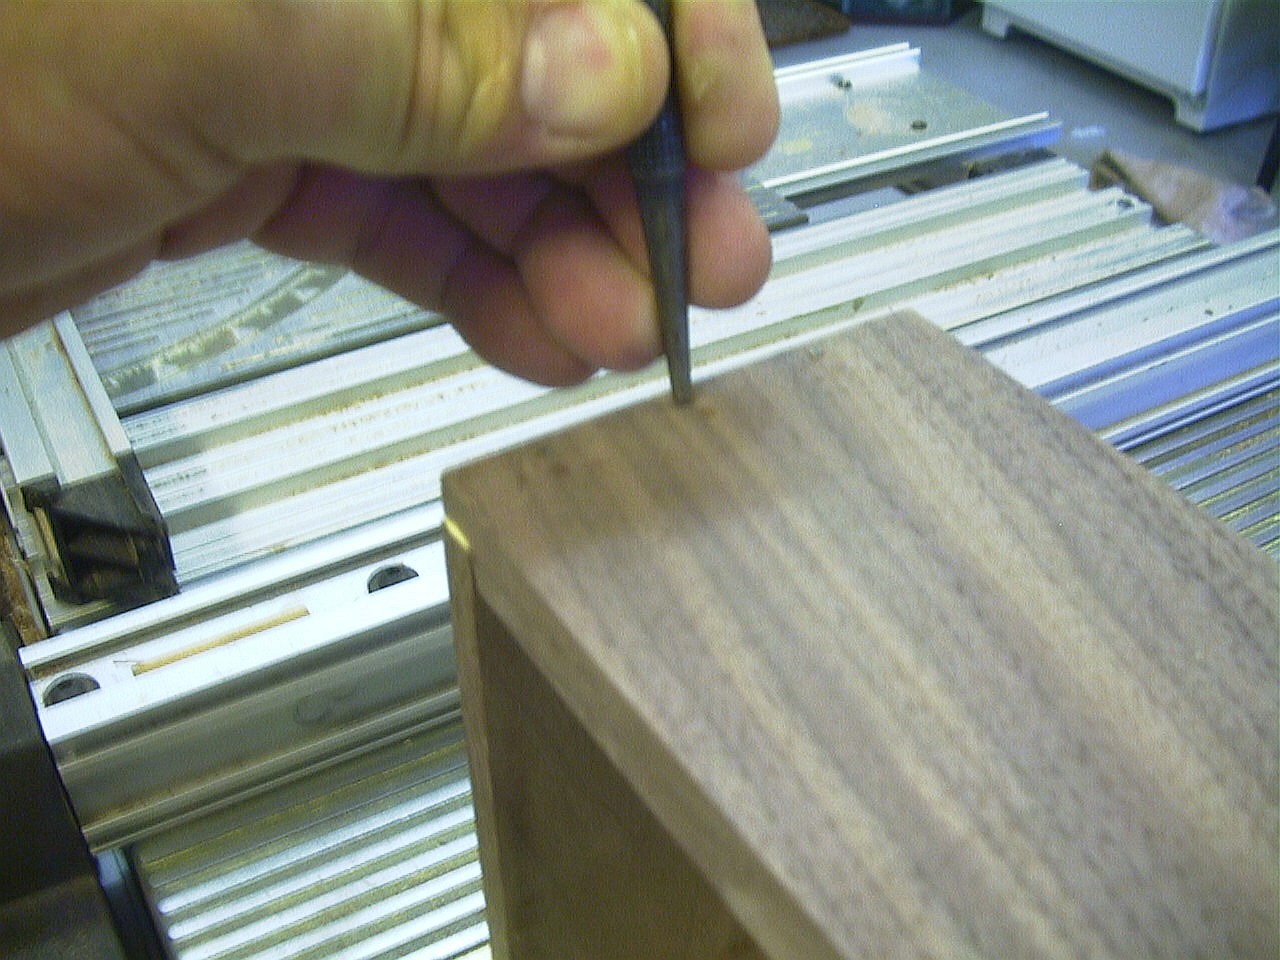
together. However, since the nails are there, I used a nail-set to set
the heads below the surface of the wood. The finishing process will
fill the tiny hole above the heads of the nails, and once completed the
nails won't be visible.
The
backs of the drawers are simply rabbets cut into the back pieces that the
side pieces fit into. The nails are really only used to act as clamps
until the glue dries. The glue is responsible for keeping the joint
together. However, since the nails are there, I used a nail-set to set
the heads below the surface of the wood. The finishing process will
fill the tiny hole above the heads of the nails, and once completed the
nails won't be visible.