|
|
||
01/06/07 |
    |
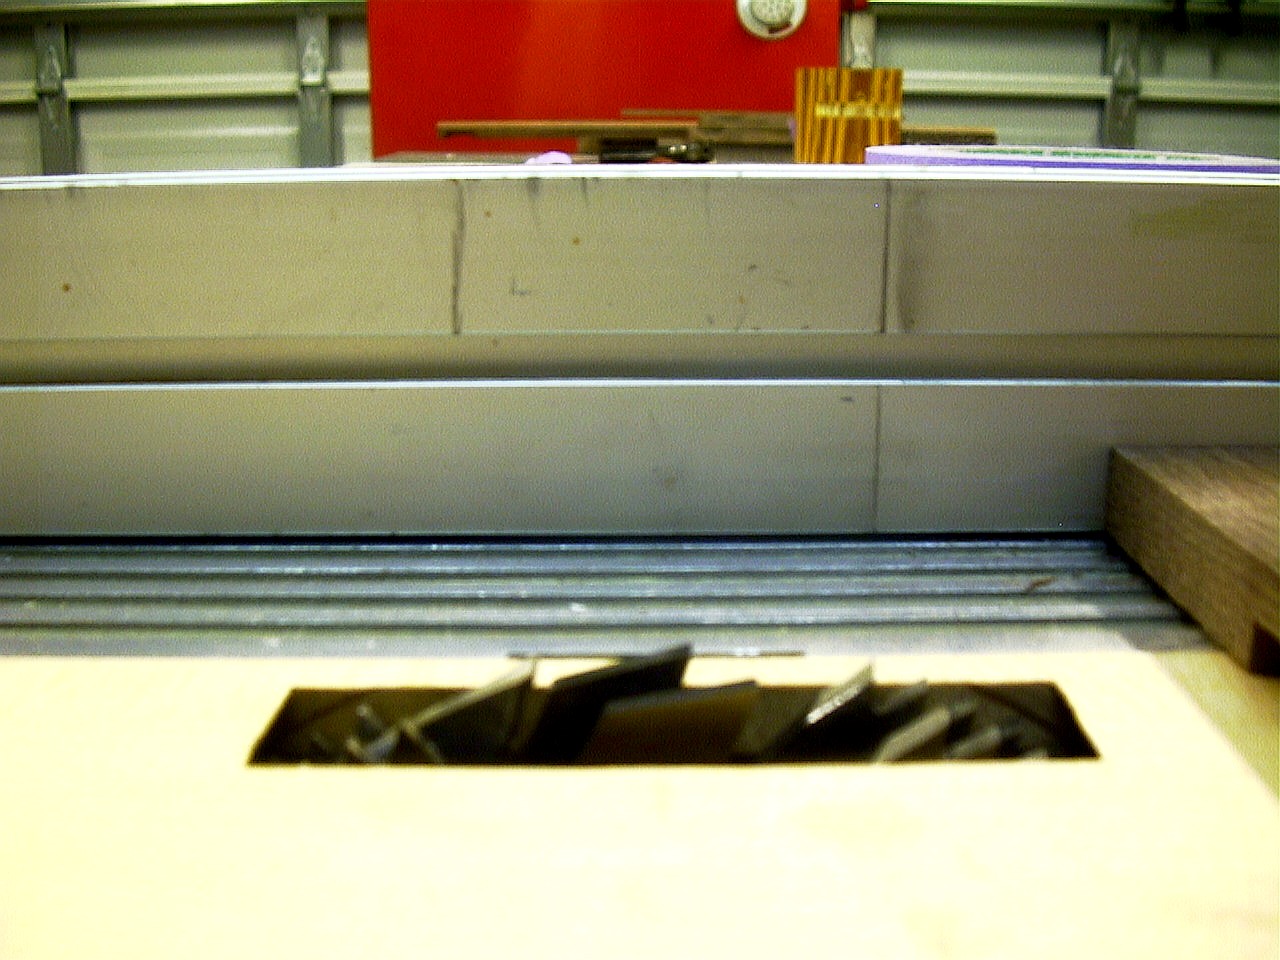 The
first thing to do to make the dados to hold the three shelves, is to mark on
the tablesaw fence where the blade begins and ends with pencil marks.
You can see here the two vertical pencil lines indicate where the cut of the
blade begins (on the right), and ends (on the left). Since the dado
ends before reaching the front of the jewelry box, I had to make these marks
to know when to lift the piece so the dado cut stops about a 1/2" from the
front of the jewelry box. The
first thing to do to make the dados to hold the three shelves, is to mark on
the tablesaw fence where the blade begins and ends with pencil marks.
You can see here the two vertical pencil lines indicate where the cut of the
blade begins (on the right), and ends (on the left). Since the dado
ends before reaching the front of the jewelry box, I had to make these marks
to know when to lift the piece so the dado cut stops about a 1/2" from the
front of the jewelry box.
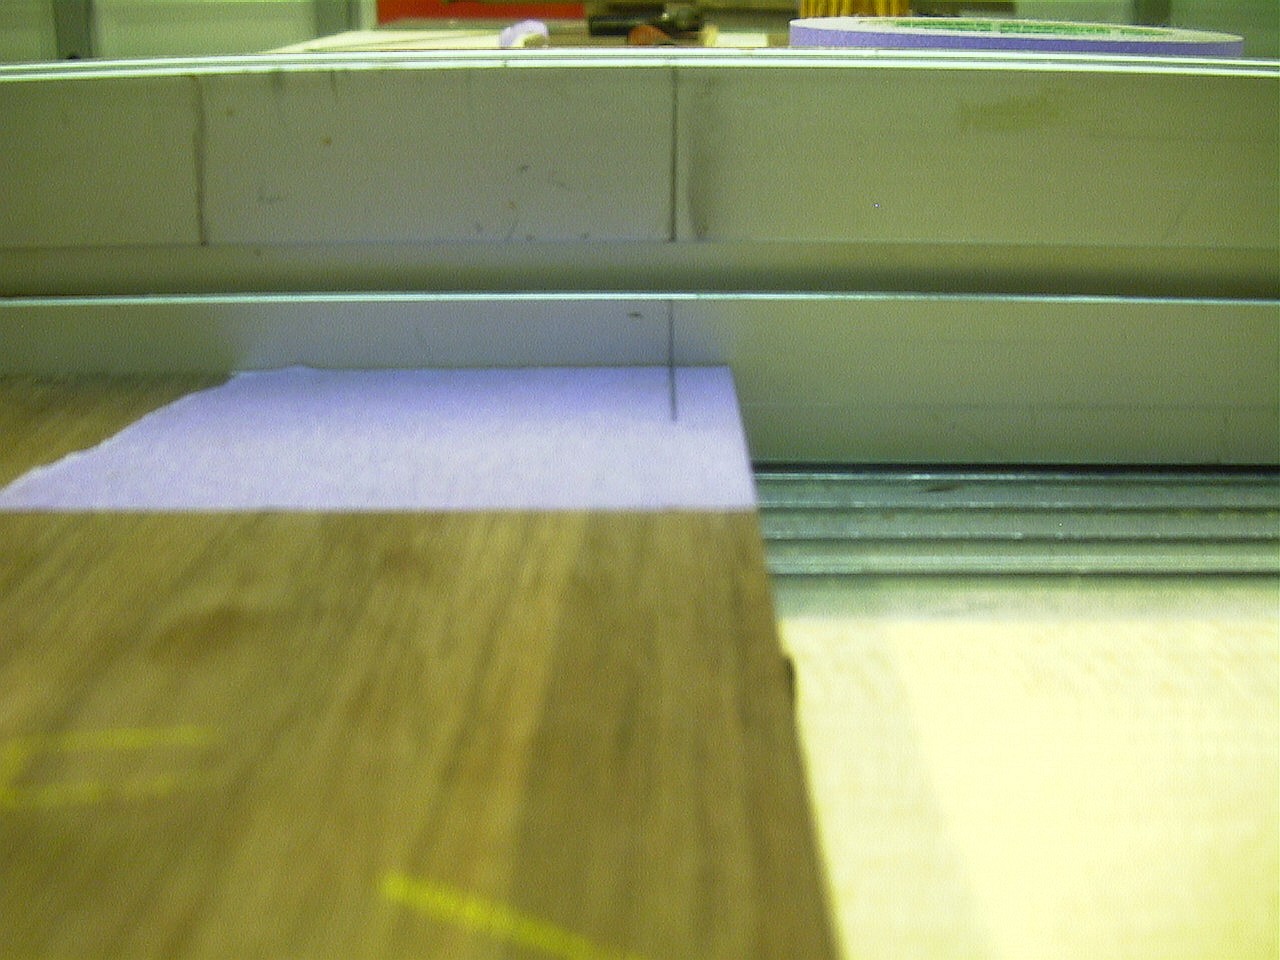
To the right, you can see where I put tape on the board to be cut...so I
could see the pencil marks. This pencil mark indicates where I want
the dado to stop, so it doesn't cut all the way to the end of the board (to
the right edge).
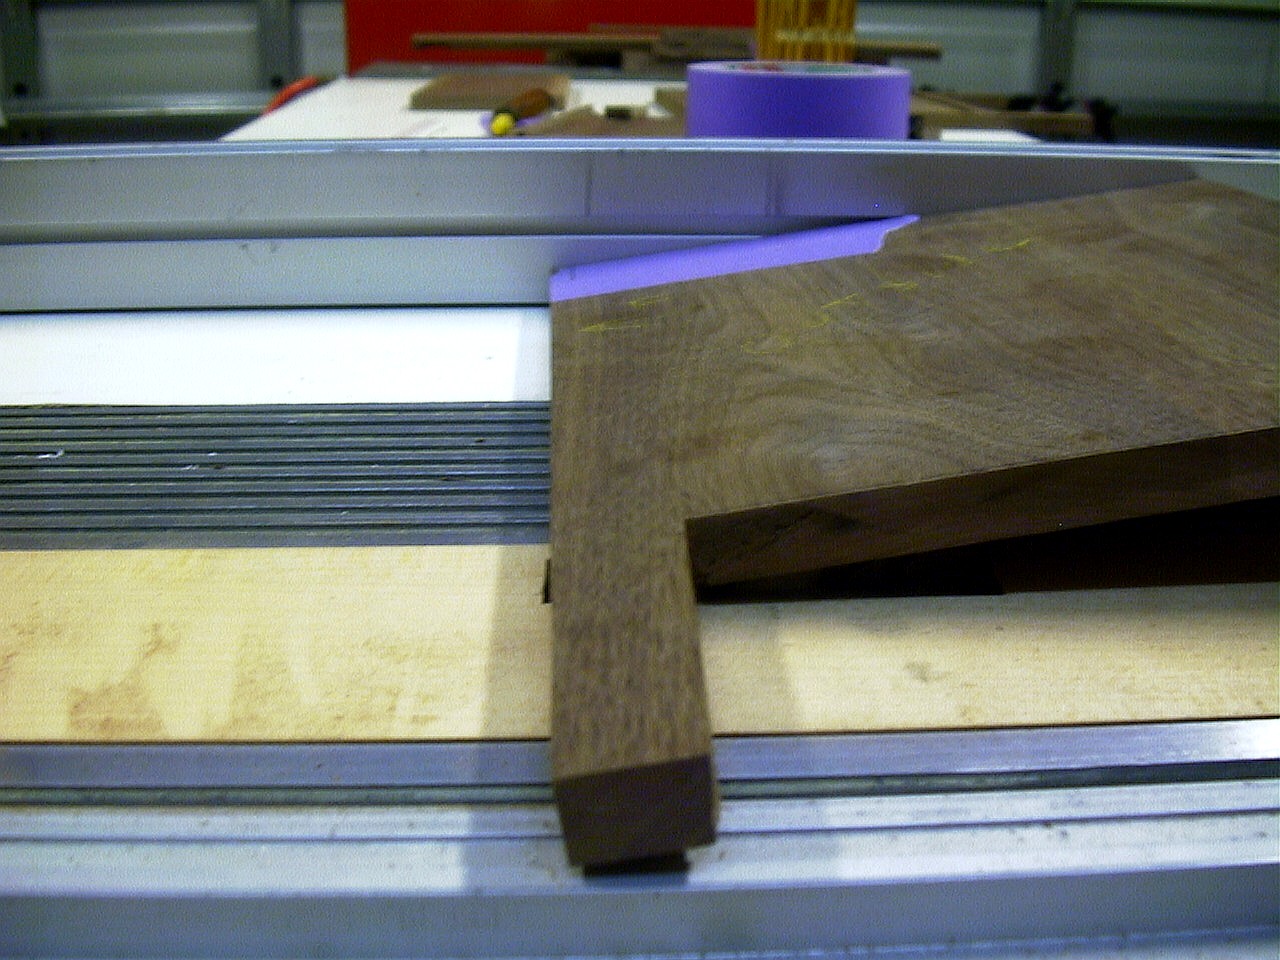
To the left, you can see where I had to raise the piece, and lower it onto the dado blade to begin the cut. As I lower it into the blade, I'm watching the markings on the fence and on the workpiece, to make sure the marking on the blue tape doesn't move past the pencil mark on the fence. It takes some concentration, as the spinning blade wants to "pull" the workpiece toward you (to the right), as it is lowered onto the blade.
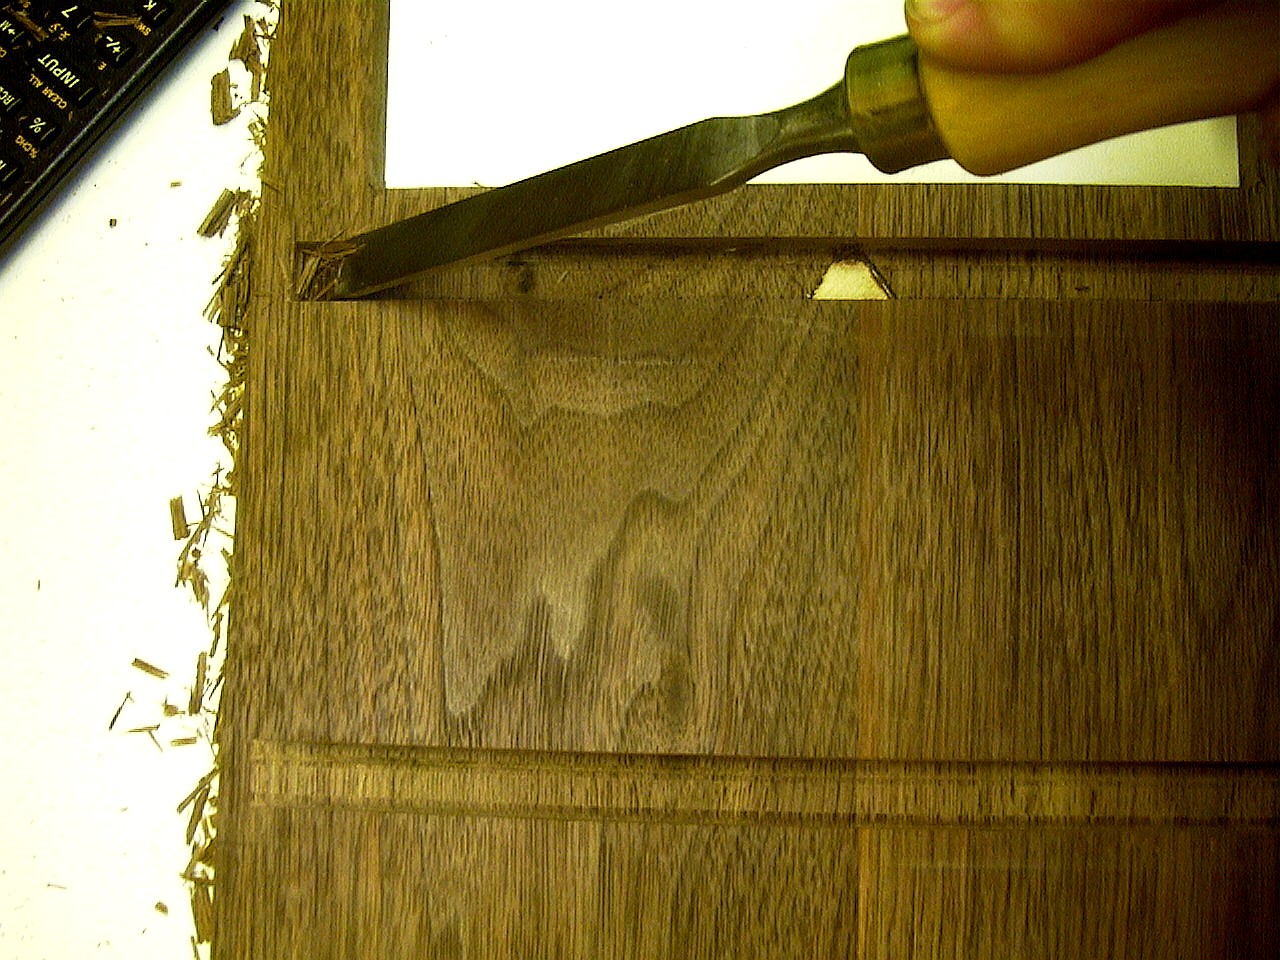
Since the curvature of the Dado Blade
creates a "ramp" of sort where the dado stops, it's necessary to complete
the forming of the Stop Dado by chiseling the edge. This is where a
set of really sharp chisels make the job much easier with less tearing of
the Walnut. There are three shelves in this pieces, and therefore
three dado with stops near the front of
the side units. Here, you can see both sides together, with all three dados cut. This is before the final chiseling of the stop dados, but to show that each dado lines up perfectly on each side. This is important since they must be identical to ensure a square assembly.
|
|
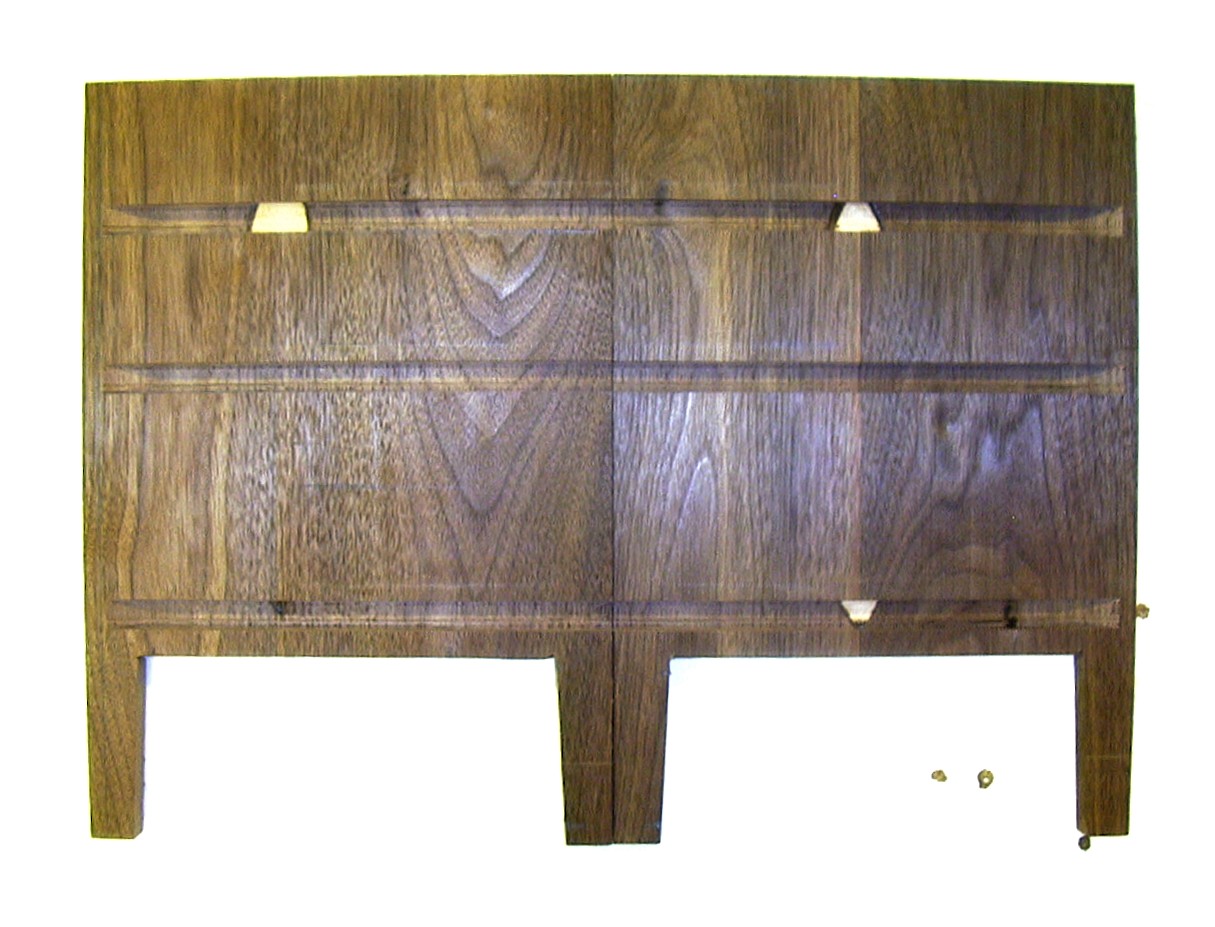
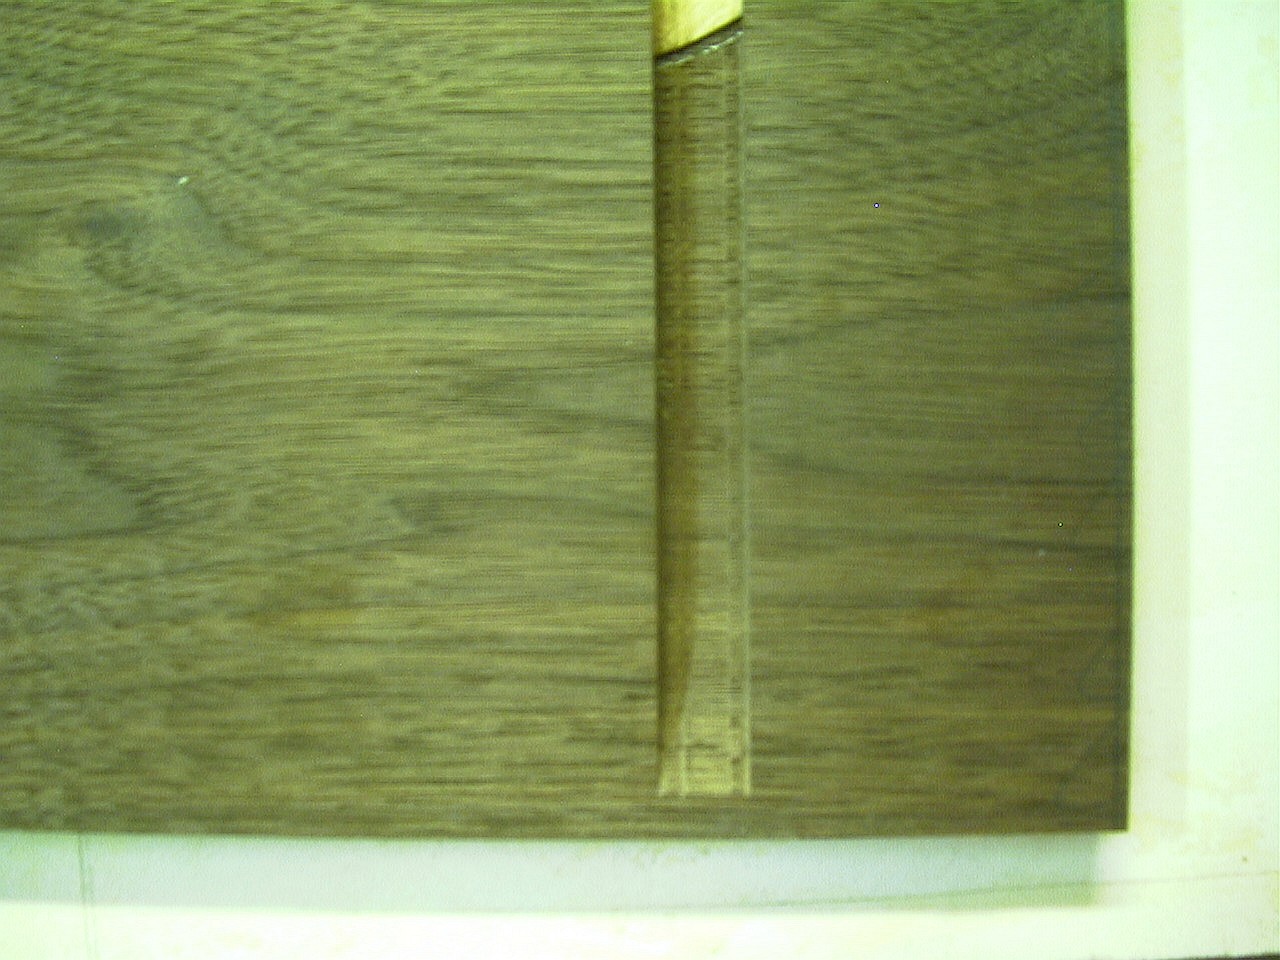 The
first dado is made on the inside of one of the Jewelry Box sides. It
will receive one of the shelves that will seperate the drawers. Toward
the top you can see where the cut has exposed one of the biscuits used
earlier to mate the two pieces of wood to make wider. It doesn't
affect the strength of the joint, since a shelf will be permanently inserted
into this groove and glued. The exposed biscuit won't be
The
first dado is made on the inside of one of the Jewelry Box sides. It
will receive one of the shelves that will seperate the drawers. Toward
the top you can see where the cut has exposed one of the biscuits used
earlier to mate the two pieces of wood to make wider. It doesn't
affect the strength of the joint, since a shelf will be permanently inserted
into this groove and glued. The exposed biscuit won't be
 seen.
seen.