 With that in mind, I was able to purchase a used engine from Ebay for only
$240.00! So now, after tearing the engine down, if indeed I needed a
new crankshaft, I already had one for about a third of what it would cost to
have new bearings pressed onto my old one. Whether I'll need it or not,
remains to be seen. So it's time to begin the disassembly process
With that in mind, I was able to purchase a used engine from Ebay for only
$240.00! So now, after tearing the engine down, if indeed I needed a
new crankshaft, I already had one for about a third of what it would cost to
have new bearings pressed onto my old one. Whether I'll need it or not,
remains to be seen. So it's time to begin the disassembly process
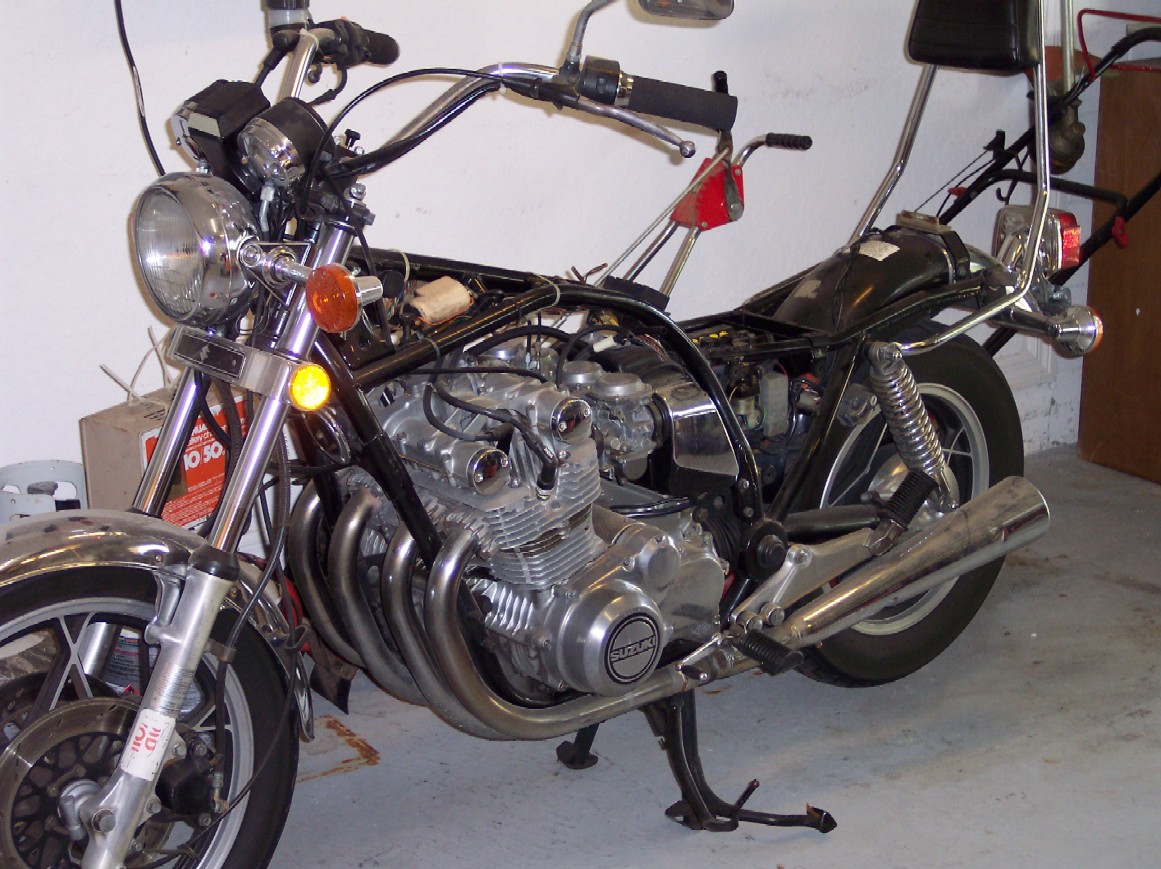
So the first to come off is the seat, gas tank, and side covers. Next, the airbox, which houses the air intake to the carburetors and the air filter. The fuel vent hoses are disconnected also. Another reason for all the photographs, is to maintain a visual record to refer to on reassembly.
Removing the airbox is a bit tricky. Remove the phillips-head hex bolt from the top, loosen all the hose clamps on each carburetor, and disconnect the crankcase vent tube. It slips out toward the right side. A new filter, and new seals will ensure that proper breathing is restored.
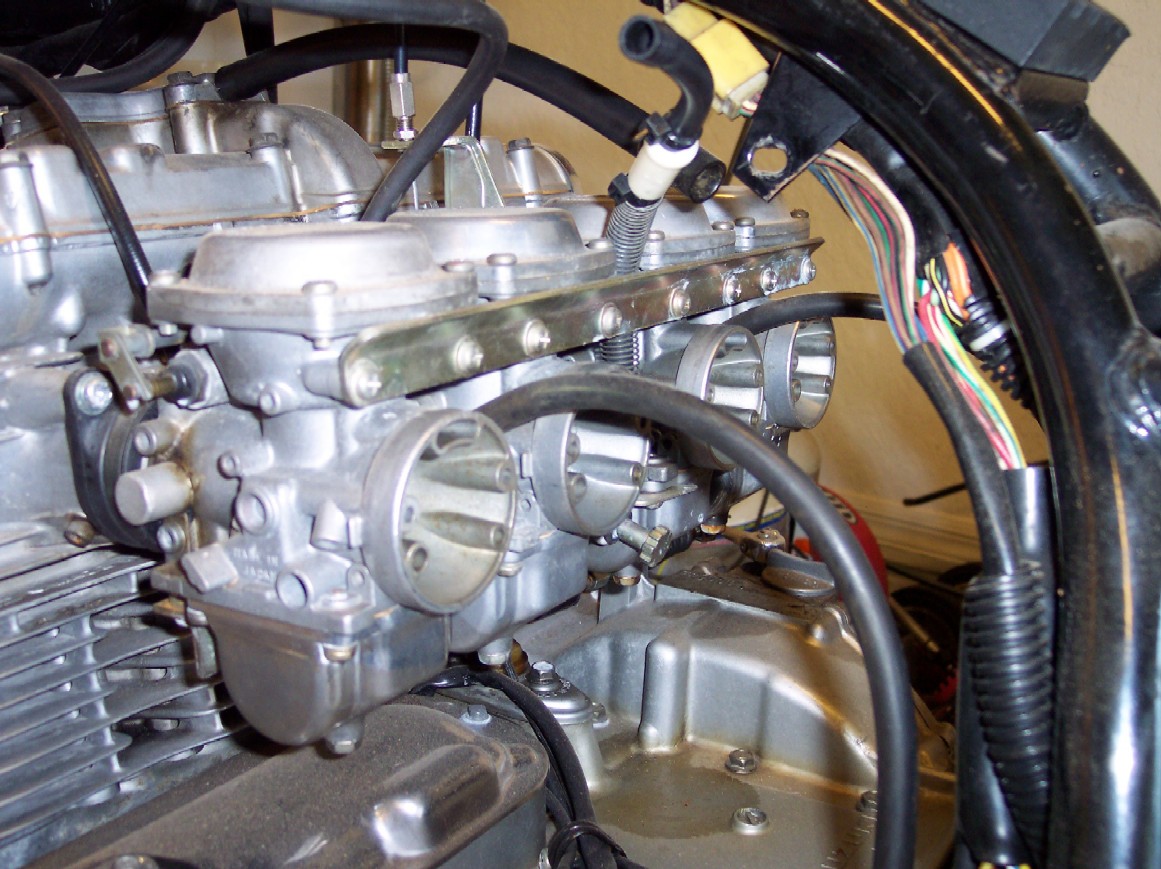
With the airbox removed, you can see the carburetors, fuel lines, and overflow tubes. Next...the carbs get pulled! The first thing to do is disconnect the throttle cable and the choke cable. They are connected between number two and three...right in the middle. The manifold side of each carb is held on by another hose clamp. Once they are all loosened, it just takes a little persuasion to rock the carbs out of the manifold boots.

Carburetors are removed, leaving the rubber intake manifolds. You can see the clutch cable passing down between 1 and 2...it gets disconnected at this point. Also, in preparation for removing the cam cover, the four chrome cam caps are taken off and put somewhere safe...these are hard to get these days!
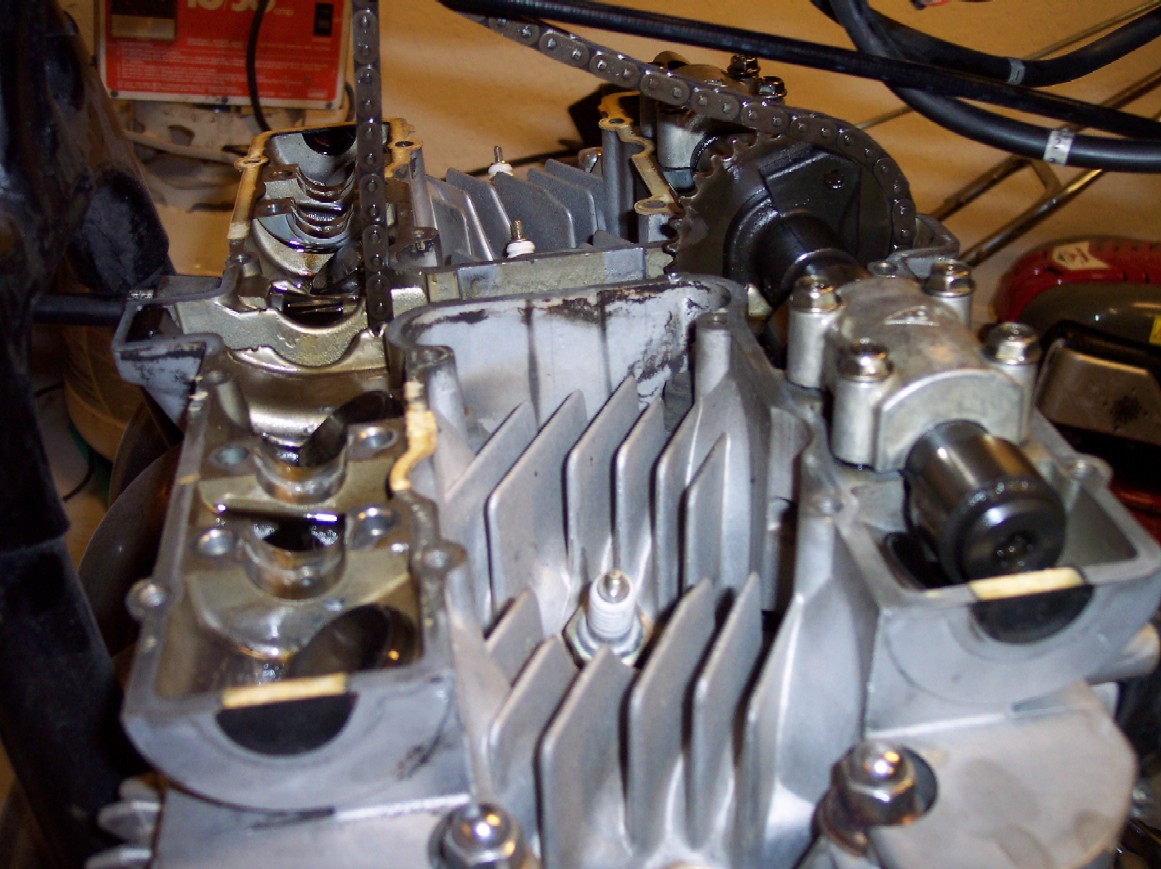
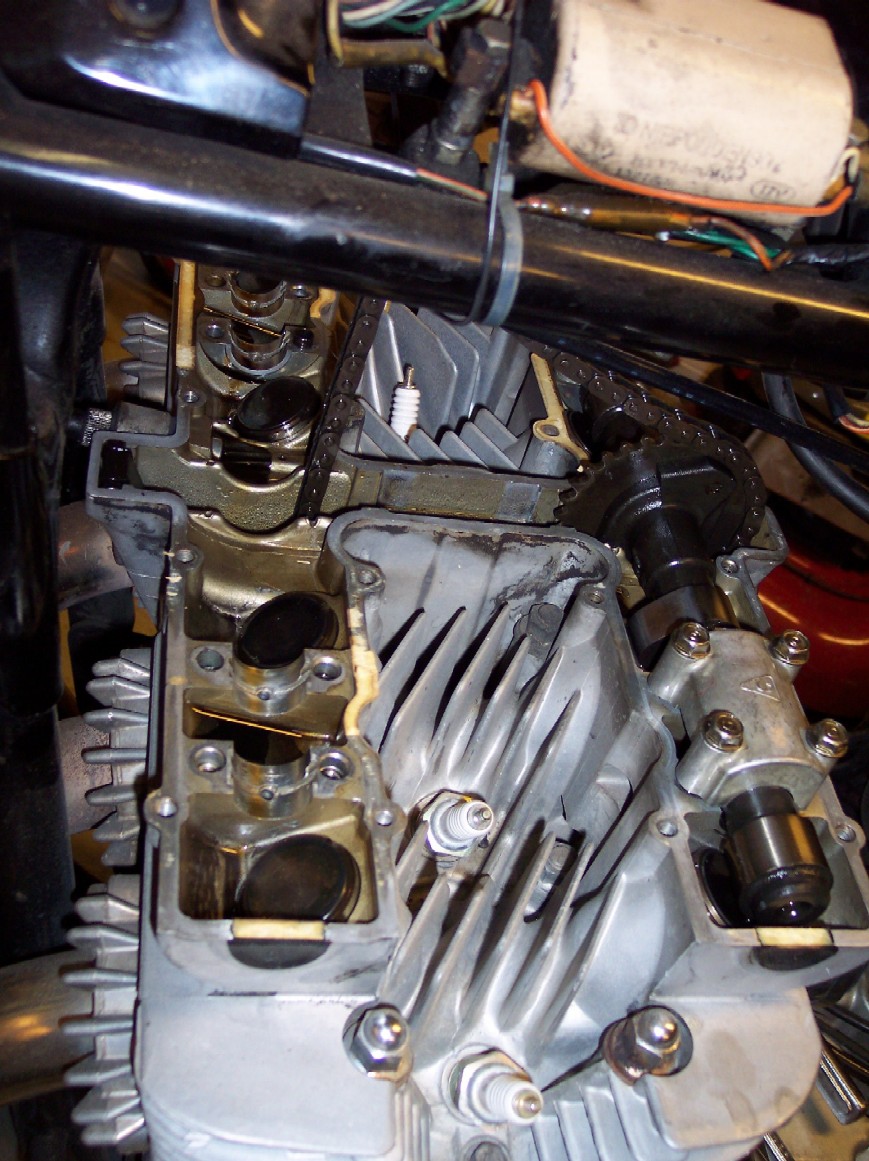
With the carbs off, the cam cover, on the lower left, must be removed to expose the cam, and the cam chain. The picture below left shows where the metal wire-guides should be when I put everything back together again.
In order to remove the cams, the cam chain must be loosened enough to provide clearance for the cam gear on the cam shafts so the cam shafts can be removed. The cam chain is held to the frame member so it doesn't fall into the engine.
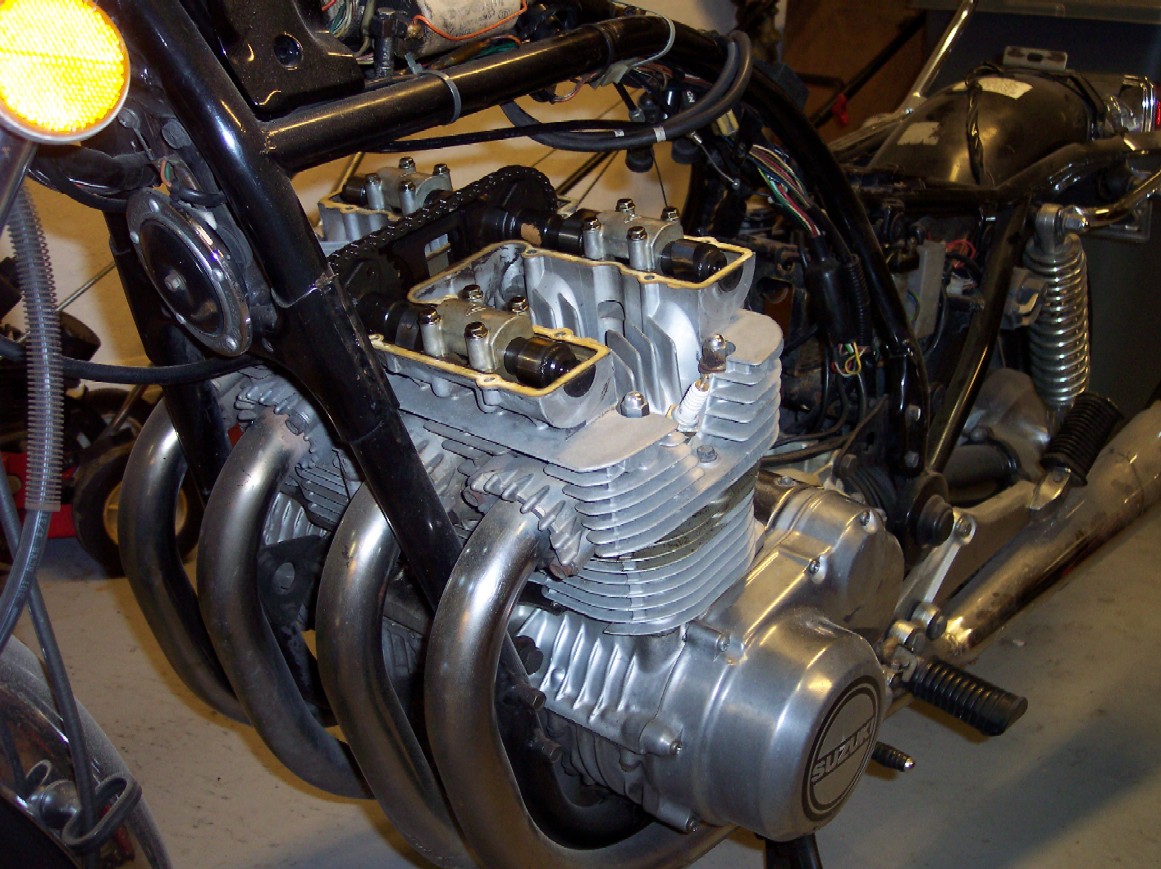
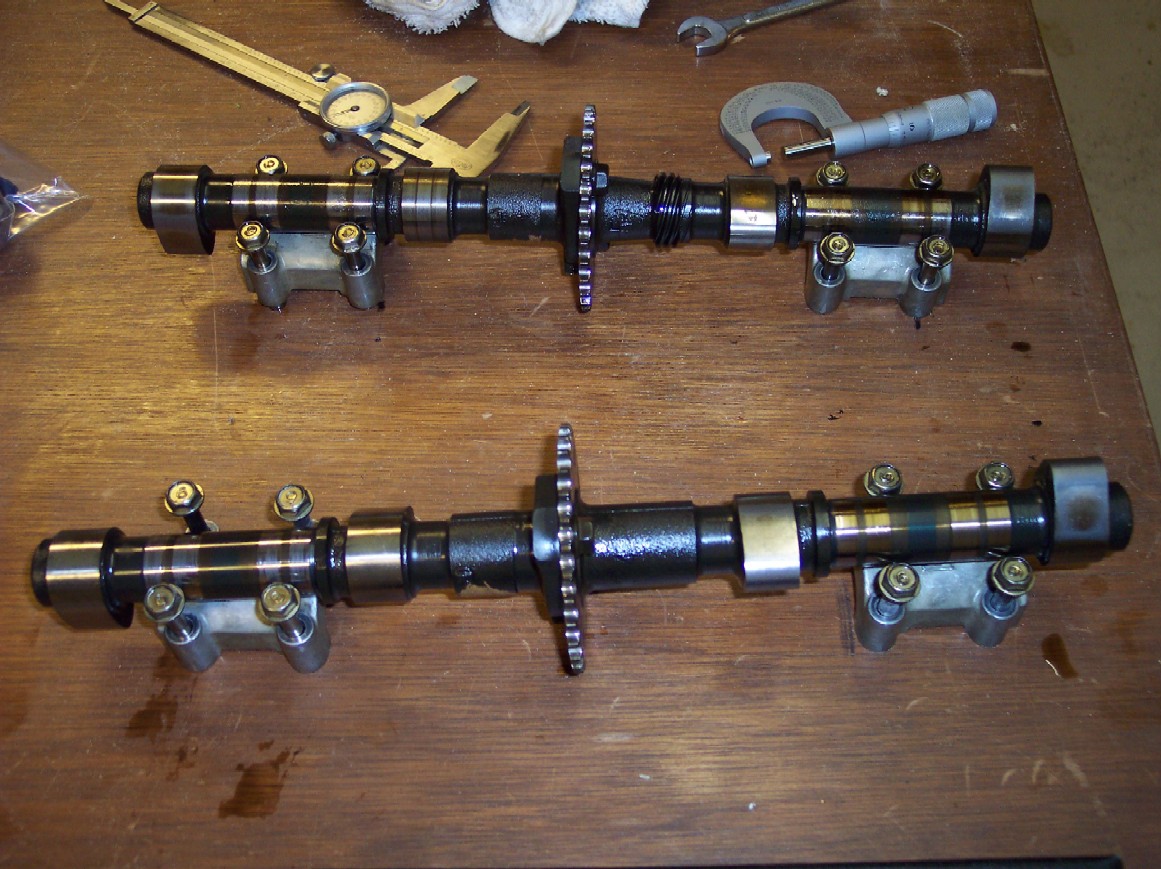
Cams are out, and all the cam lobes have been checked and mic'd to make sure there isn't excessive wear. The lobes, journals, and caps all look good, and are within spec! Good News! Before we remove the Head, however, the exhaust pipes are removed, and we are left with what you see lower right. You can lots of oil leaks, and dirt and grime on the front of the engine. This will all get glass-beaded, tanked, and repainted with Alumi-Blast paint from Seymore paints. It's a perfect match to the original paint finish on these Japanese engines.

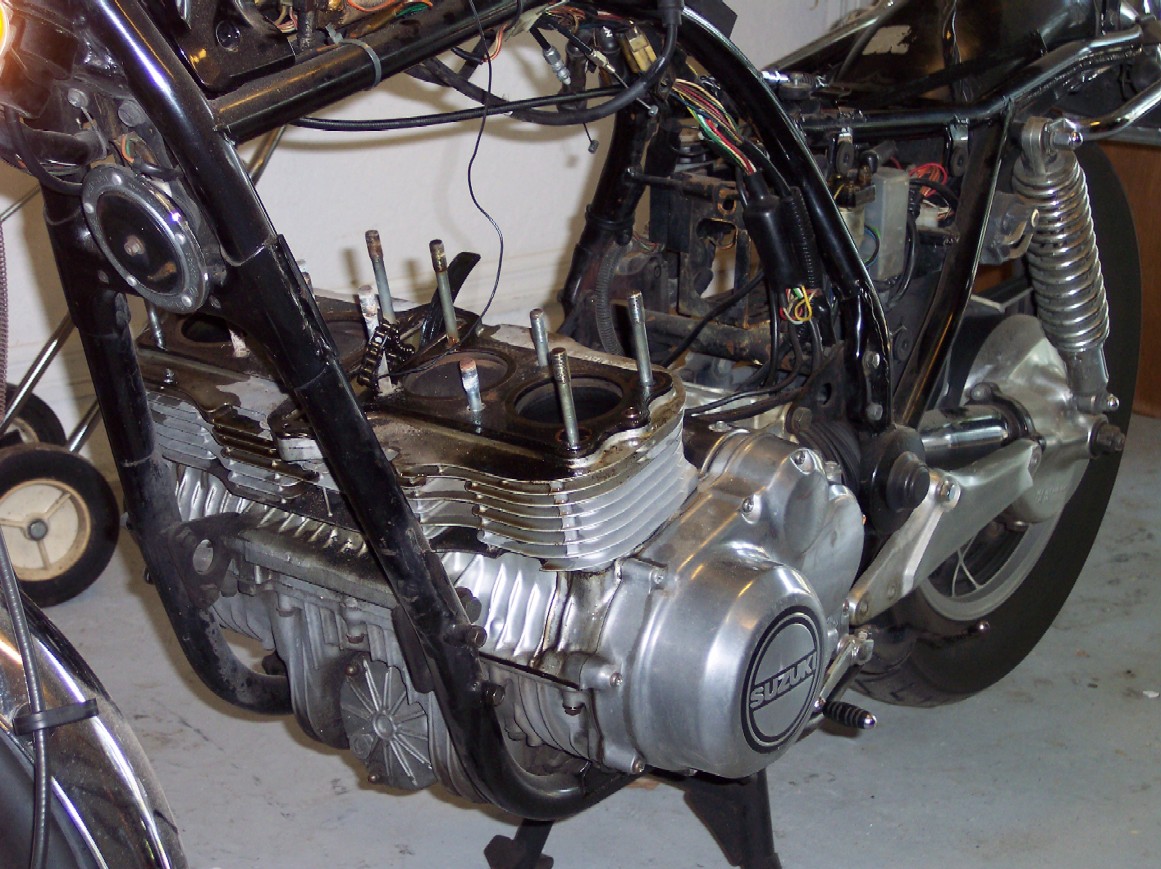
With the head removed, you can see the heads of the pistons.
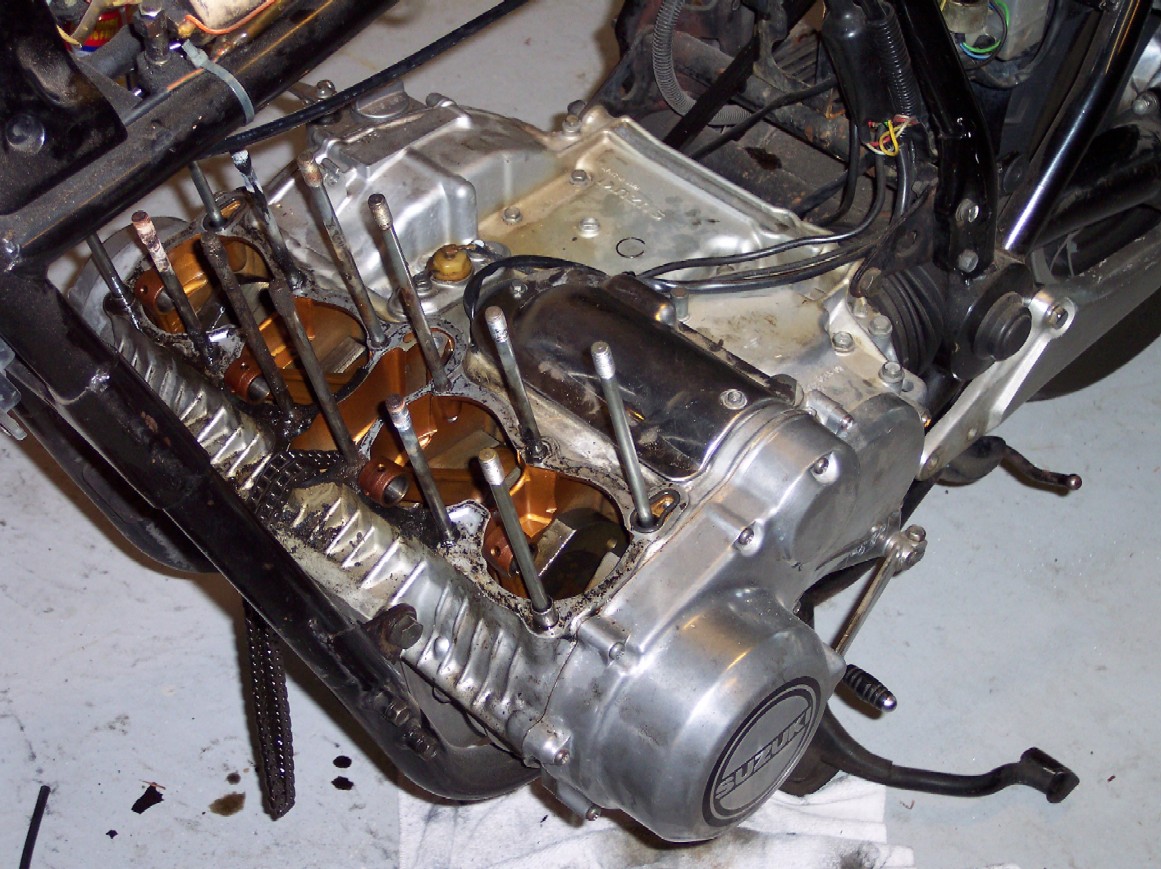
Now that the head is off, the block and the pistons remain. Removing the block lightens the engine enough that I'll be able to lift it out of the bike frame without additional help.
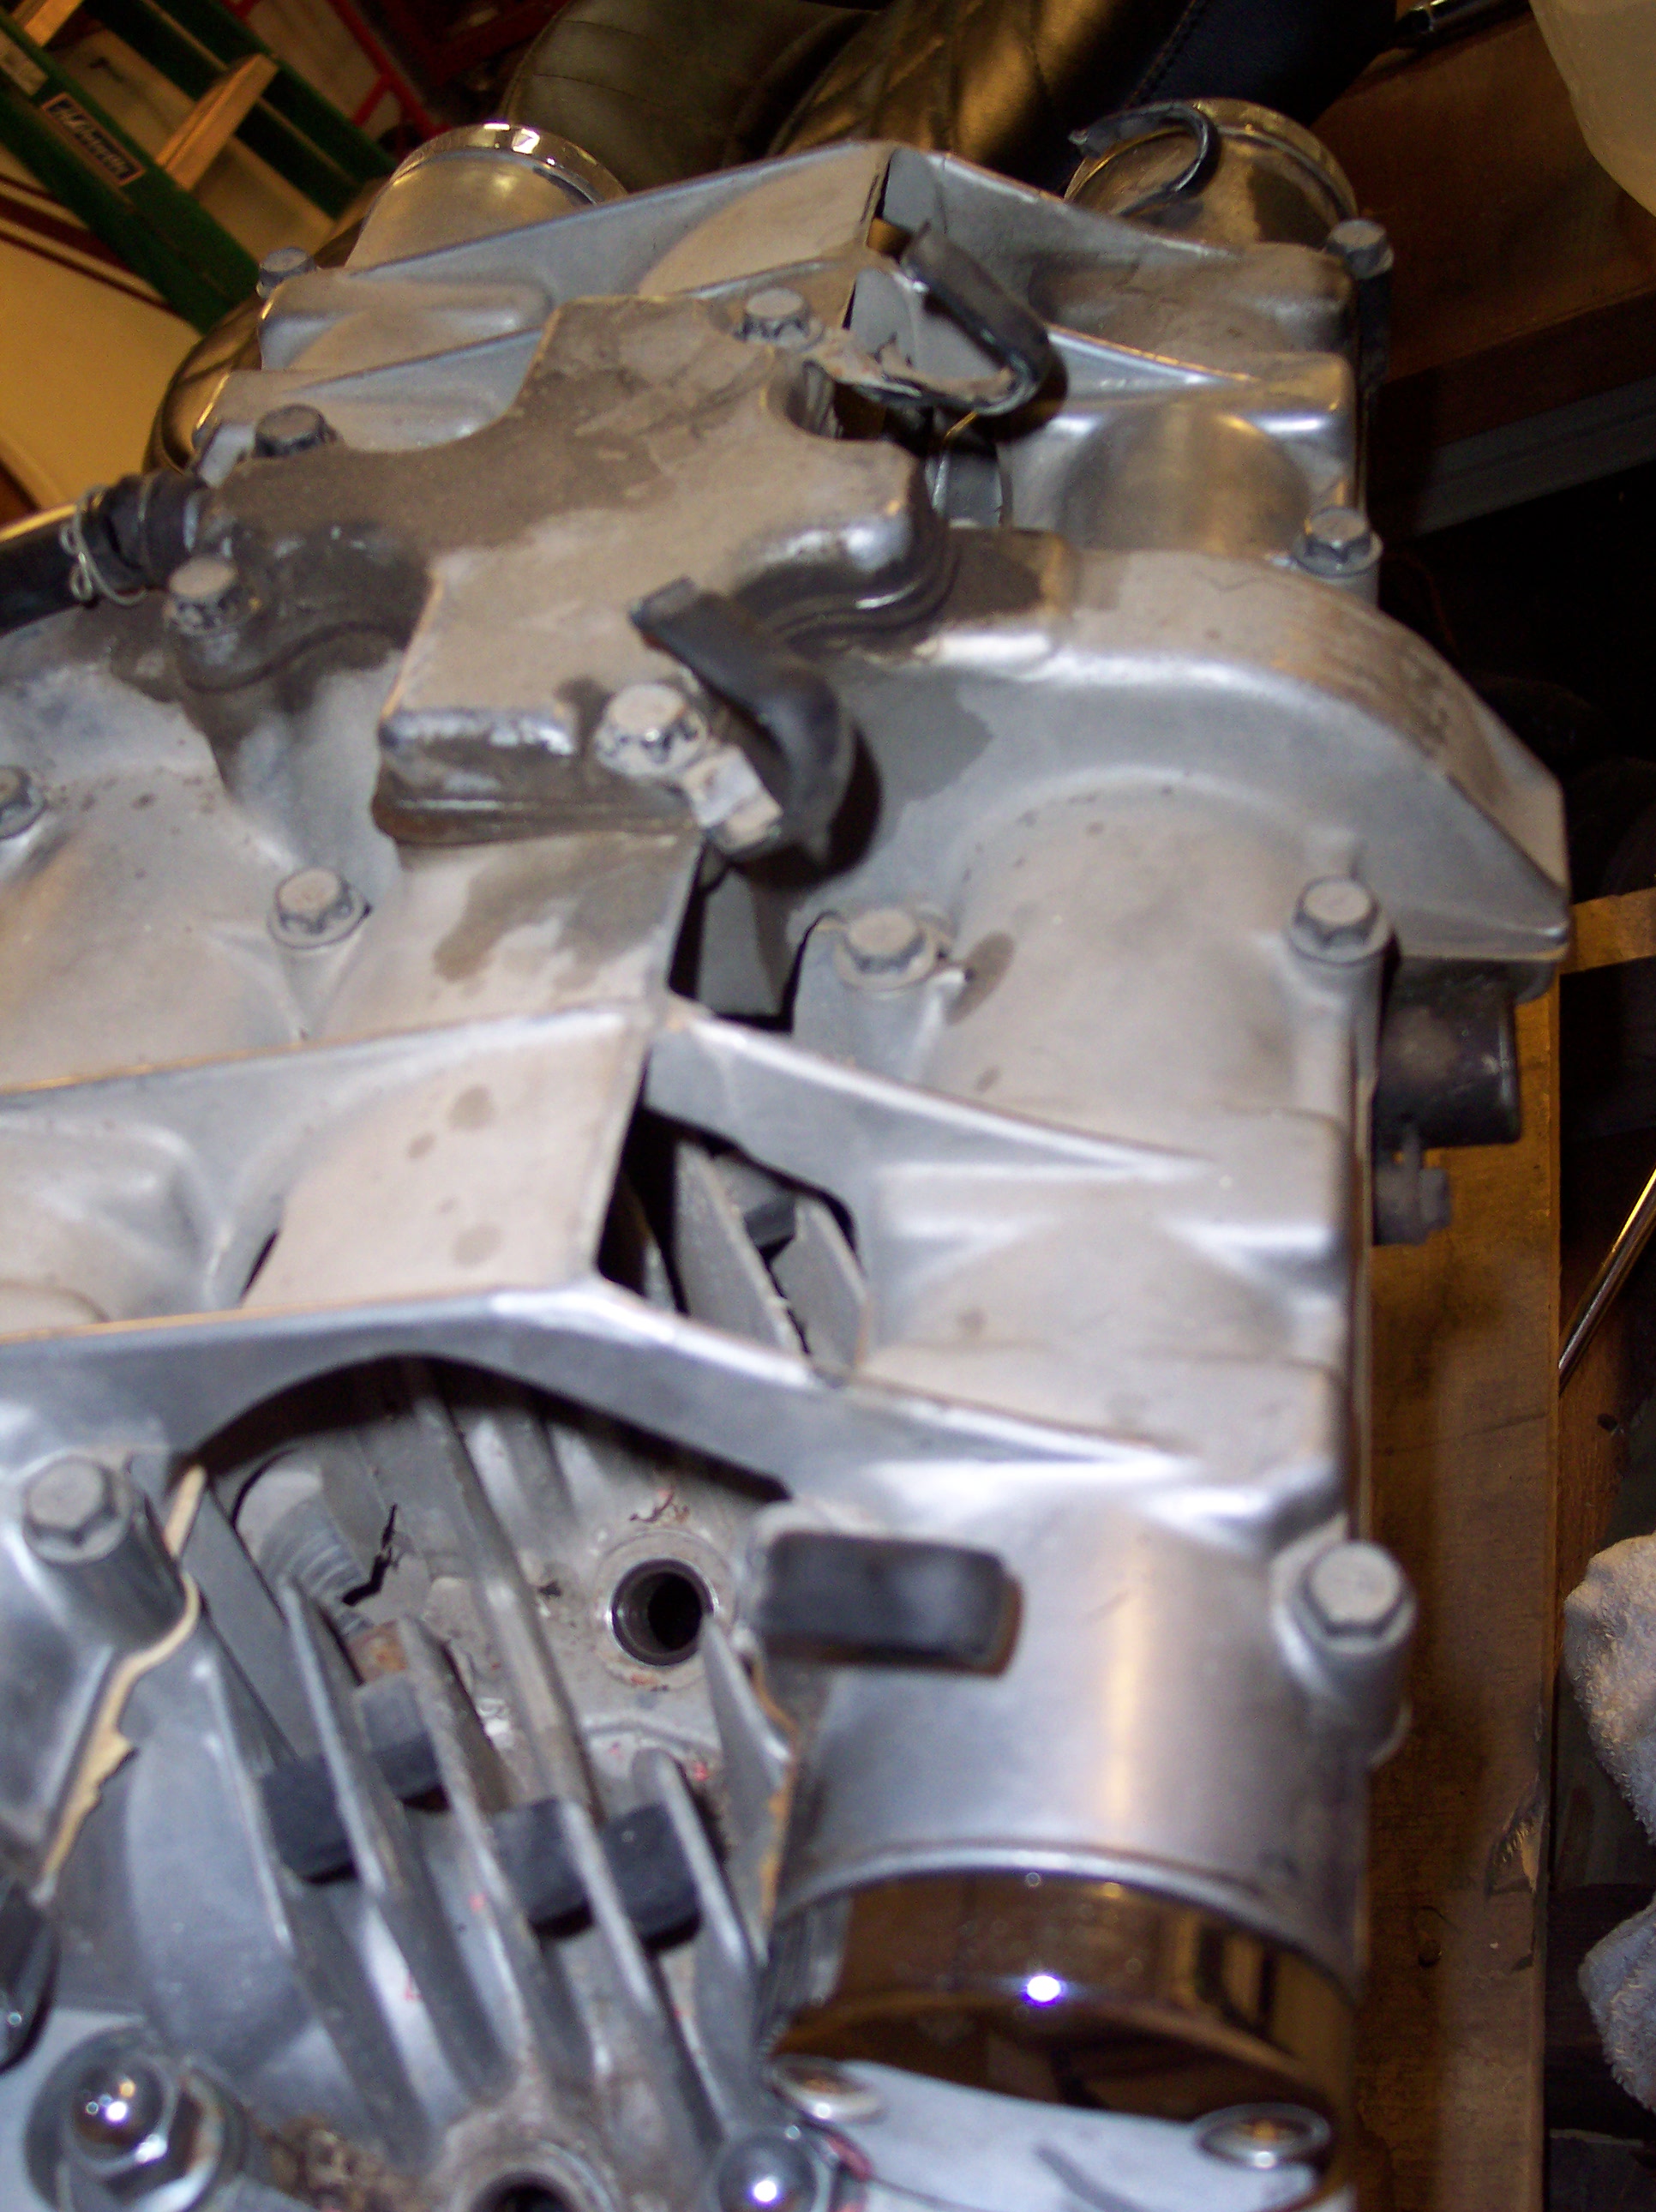
It took over two hours of persuading the block to slide up the studs and off the engine. The studs are exposed to the outside environment below the piston deck, and a bunch of grit, dirt, oil, and grime had built up around the studs making it very difficult to slide off. I finally made it, but in the effort I managed to break off one of the cooling fins. Will have to get it welded before reassembly.
With the block finally off, the next step is to disconnect the shaft drive, shift and brake pedals, and all the engine mounting bolts.
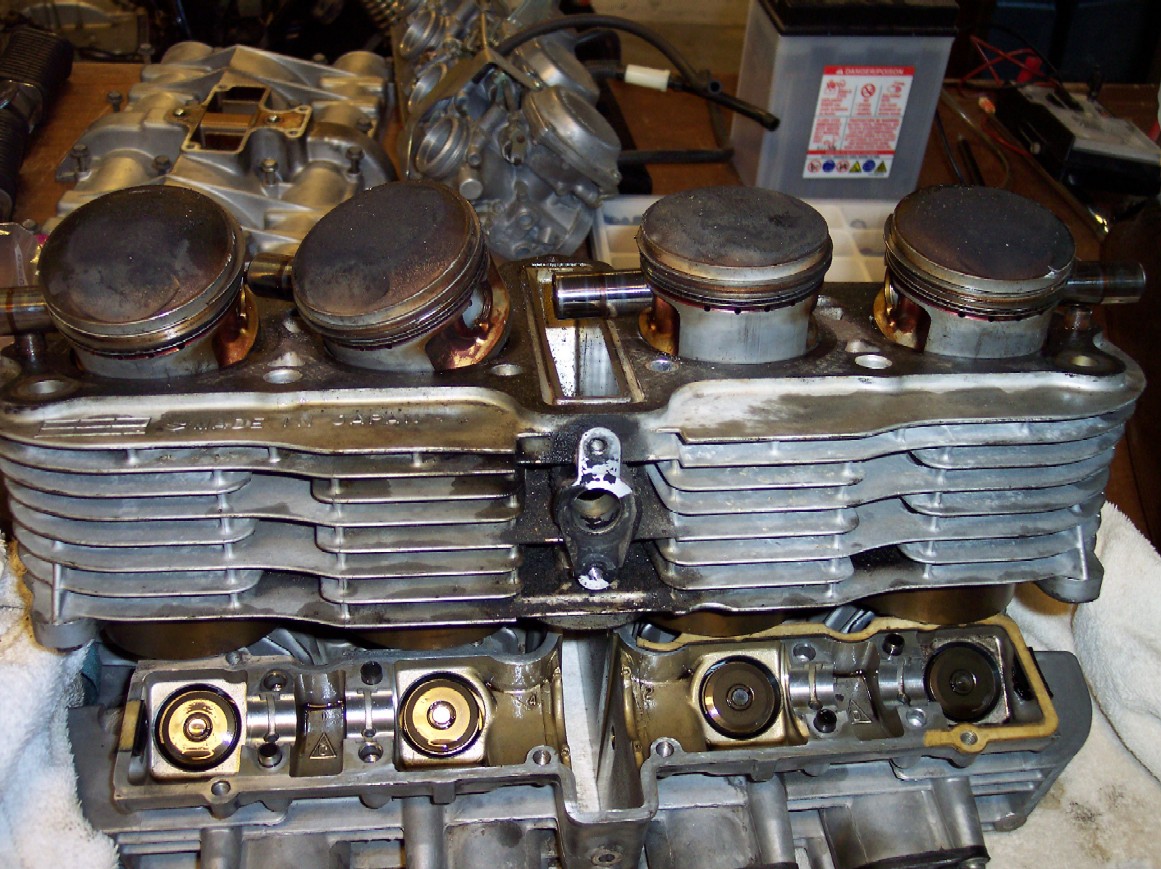
Here are the pistons sitting on top of the engine block, which is placed on top of the head. You can see the valve shim buckets for the intake valves in the head.
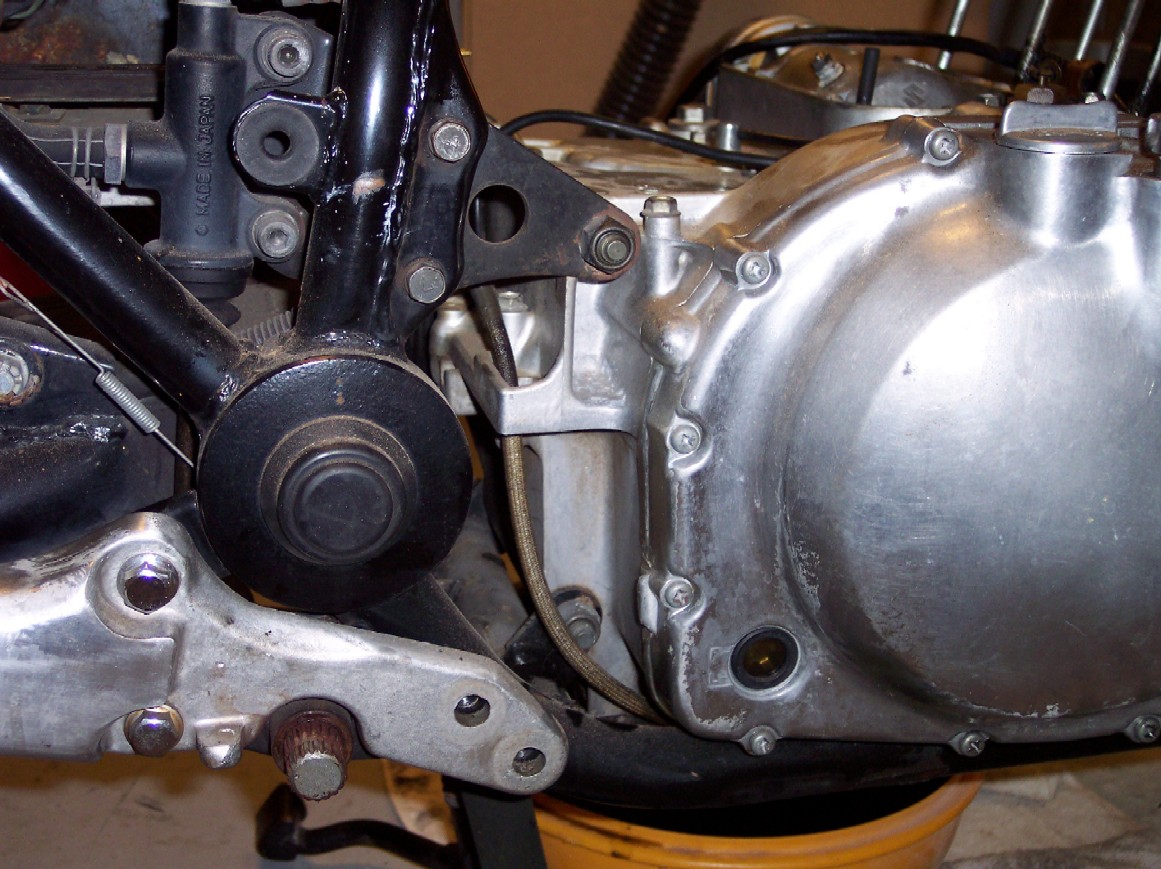
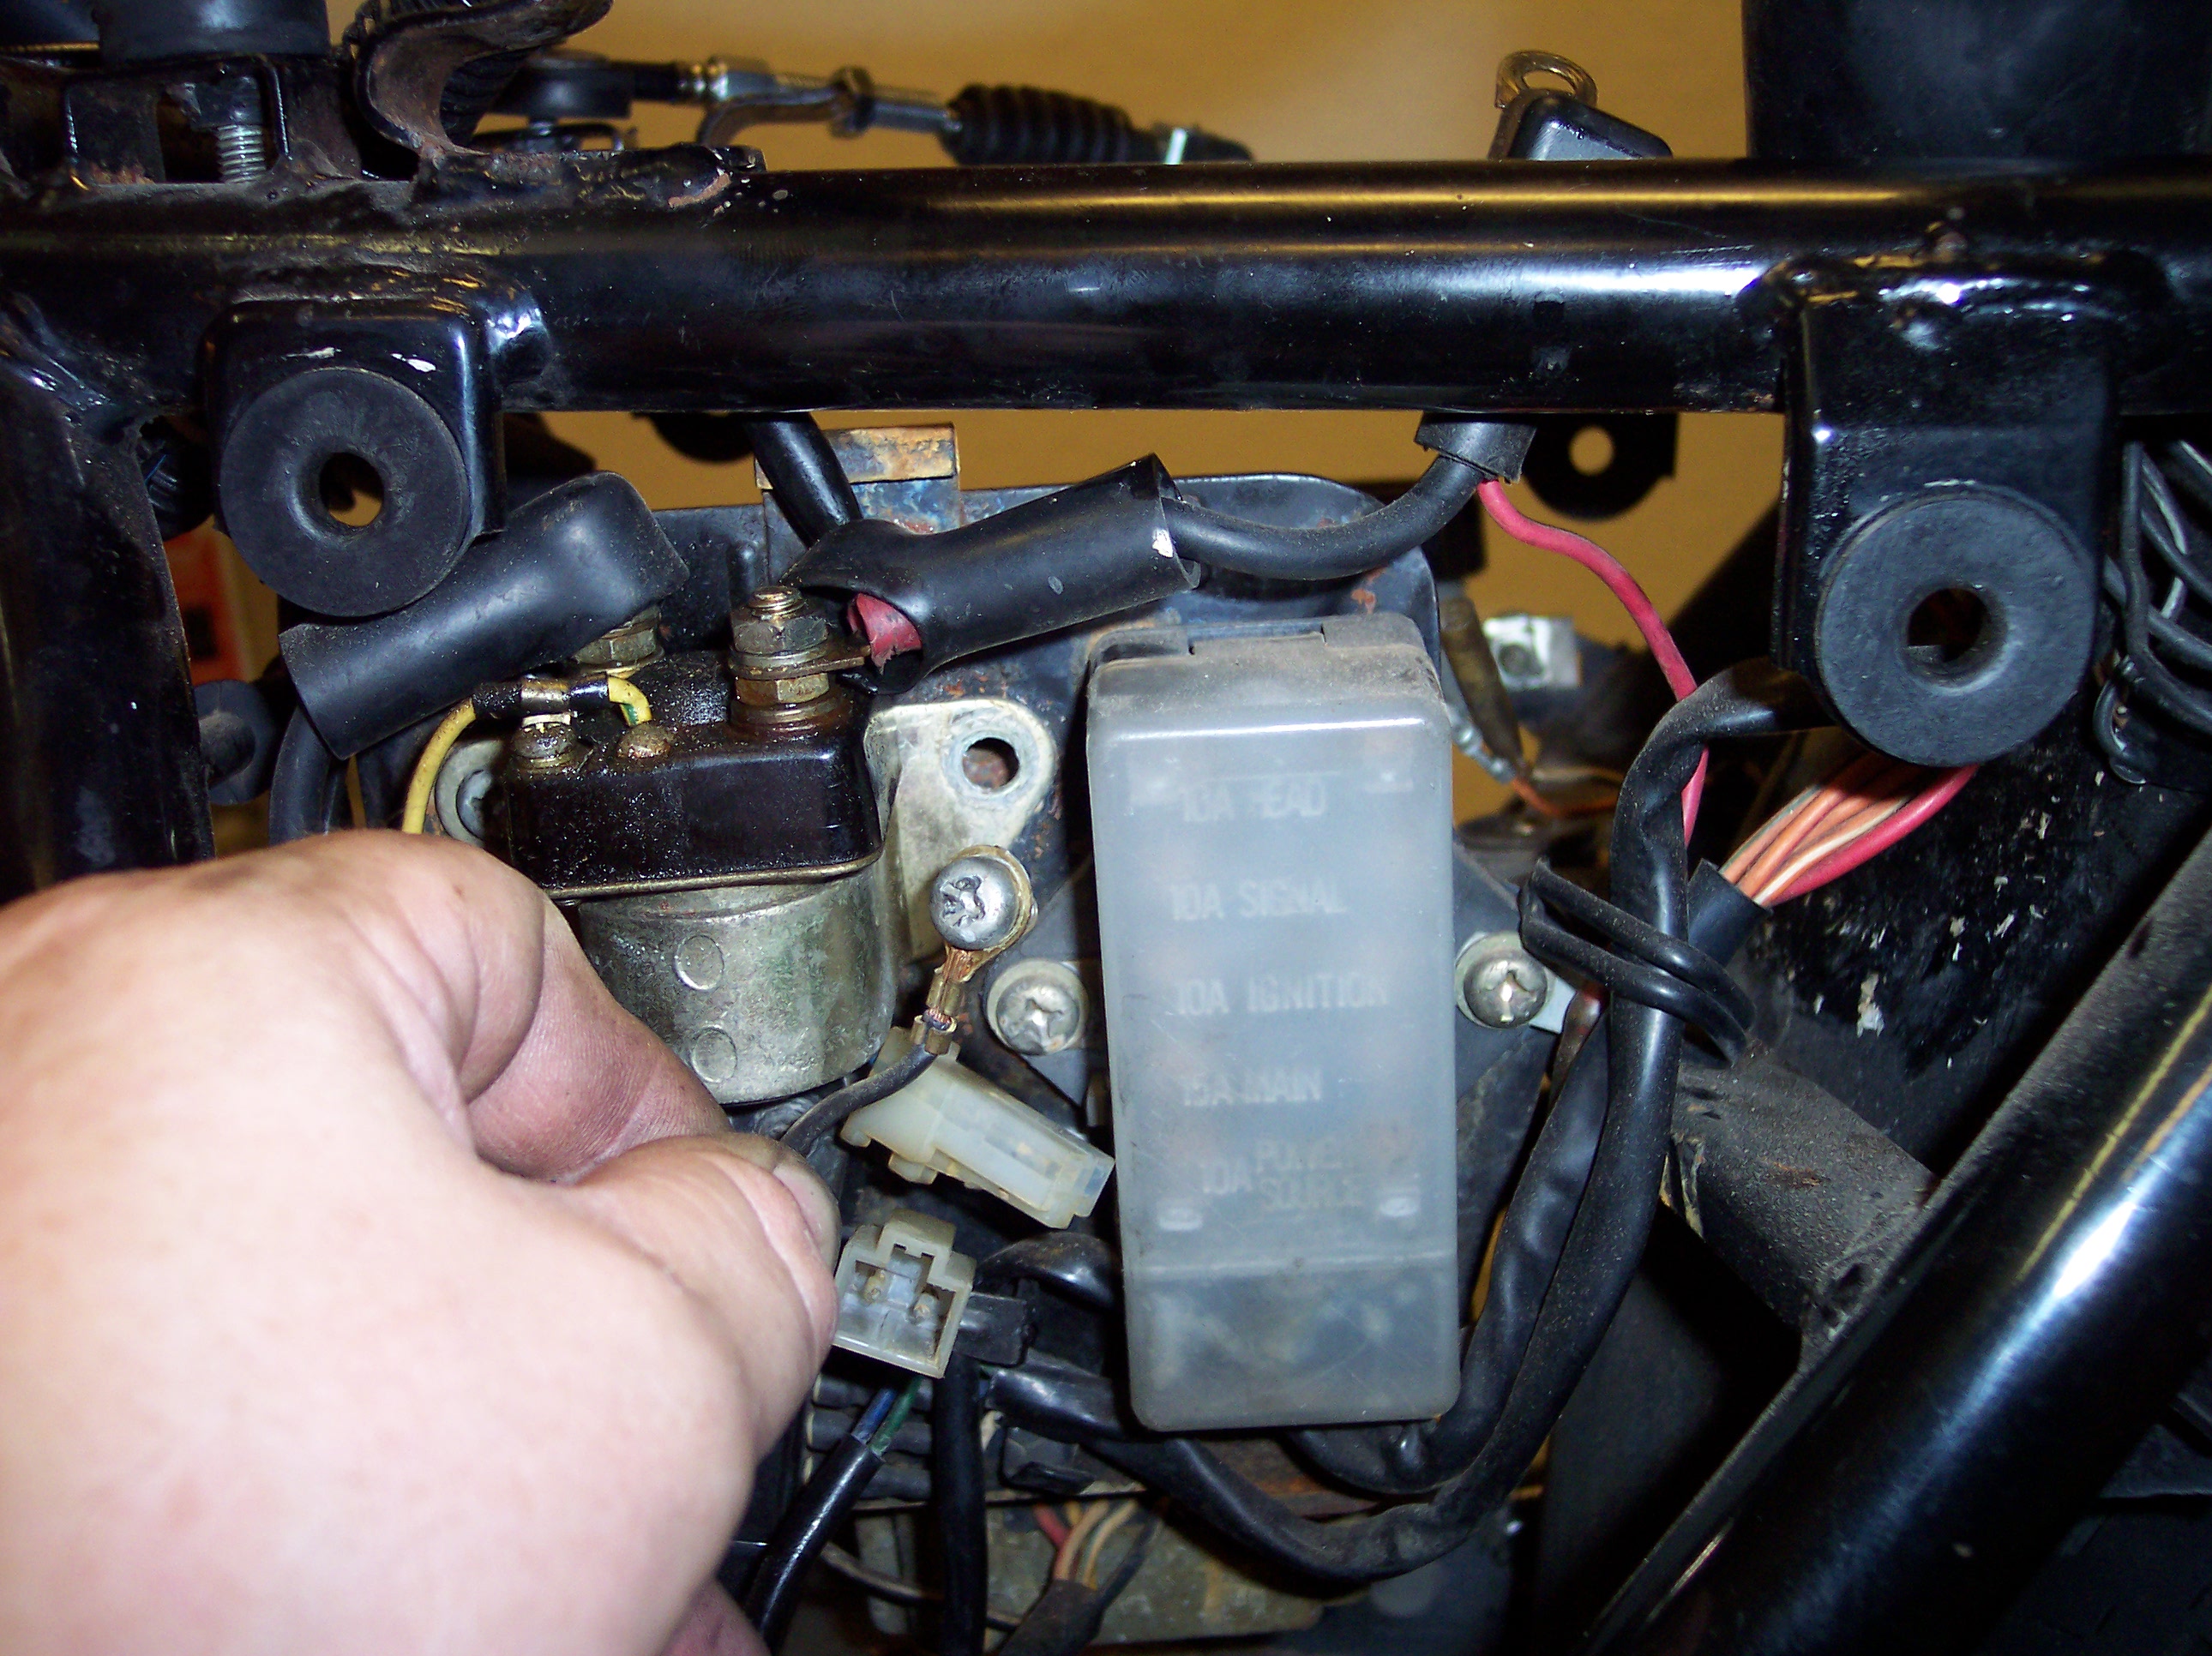
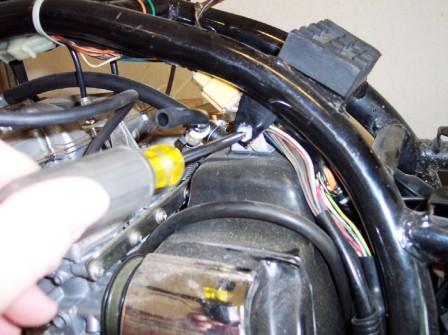
The engine mounting brackets need to be identified and loosened, and note the routing of the cable under the engine. This cable contains the wires to the electronic pickup on the right side of the engine, and goes to the electronic ignition module.
Notice the condition of the aluminum clutch cover...you can see where the lacquer clearcoat has worn off. All the aluminum covers will be cleaned, blasted, and polished before going back on.
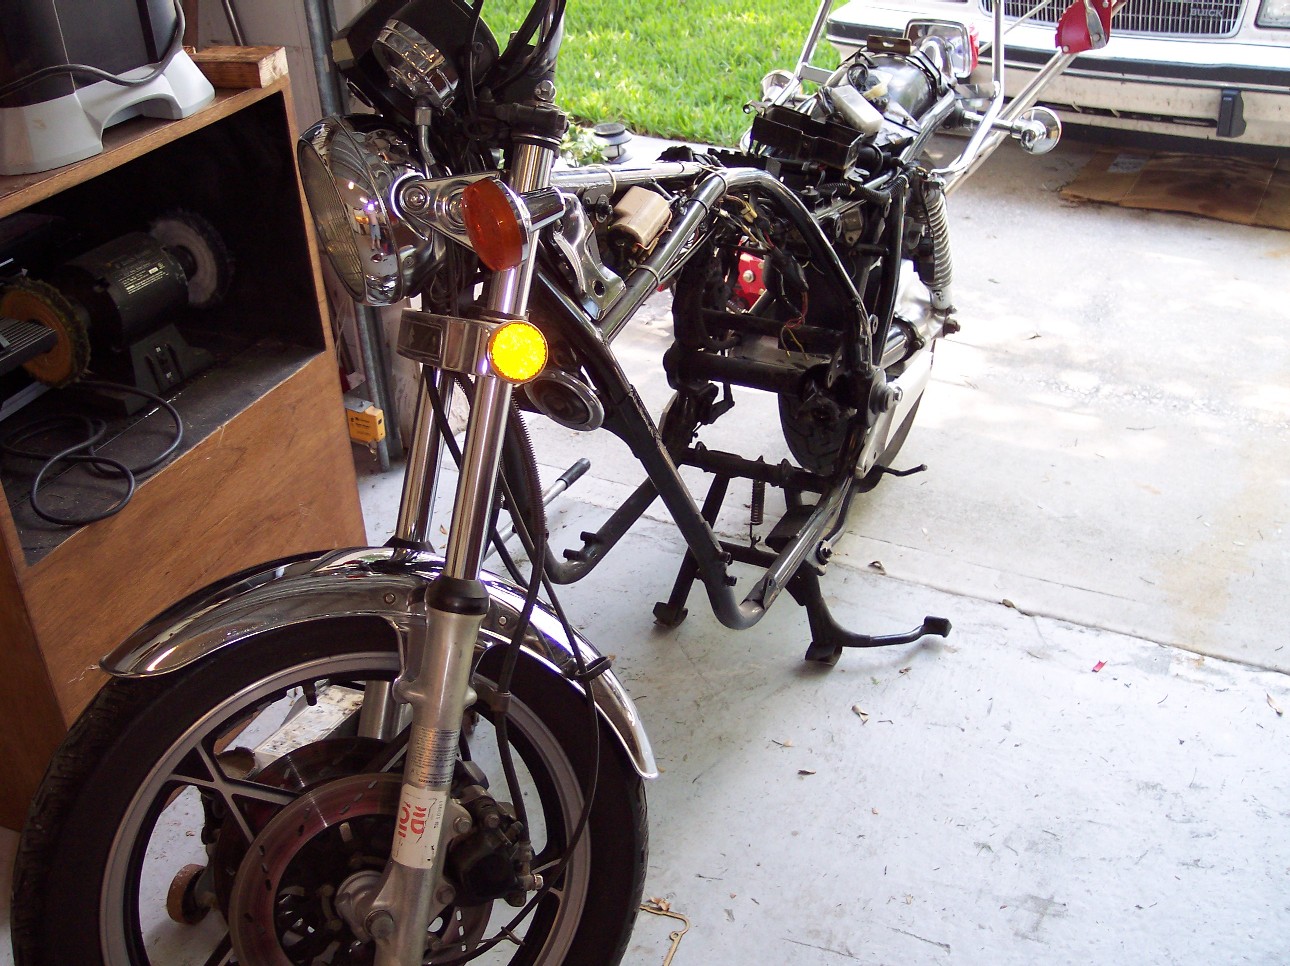
it's time to lift the remaining engine case and transmission from the bike frame, and get it on the bench for further disassembly.
The final step is to locate and disconnect the electrical connections to the pickup coils for the ignition, and to the alternator, which is on the left-side crankcase shaft. Removing the engine leaves a rather empty-looking bike frame. That's about all there is to this step. Transmission Disassembly